Start With the Outcome, Then Show the Path
Before you switch on the printer, tell the class what they are going to make and what matters most in the lesson. A simple key ring, name plate or small clip works well because learners can see the full journey from file to finished part without getting lost in detail. Keep the goal practical: design, prepare, print and inspect.
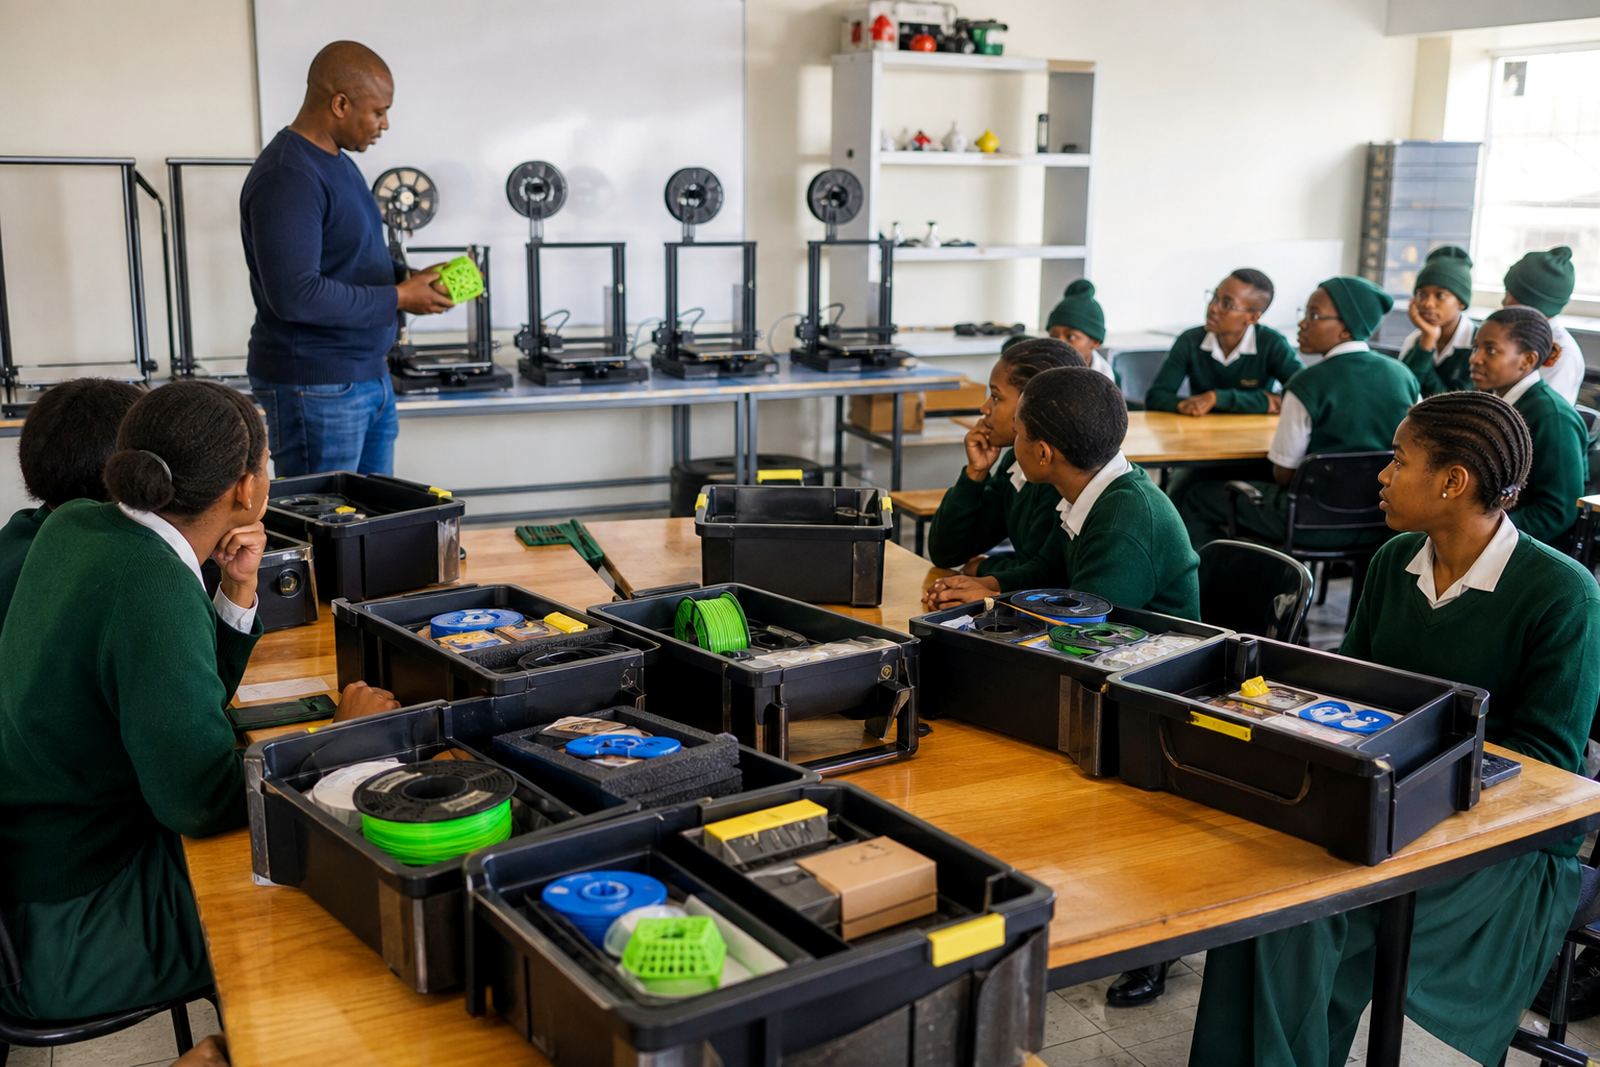
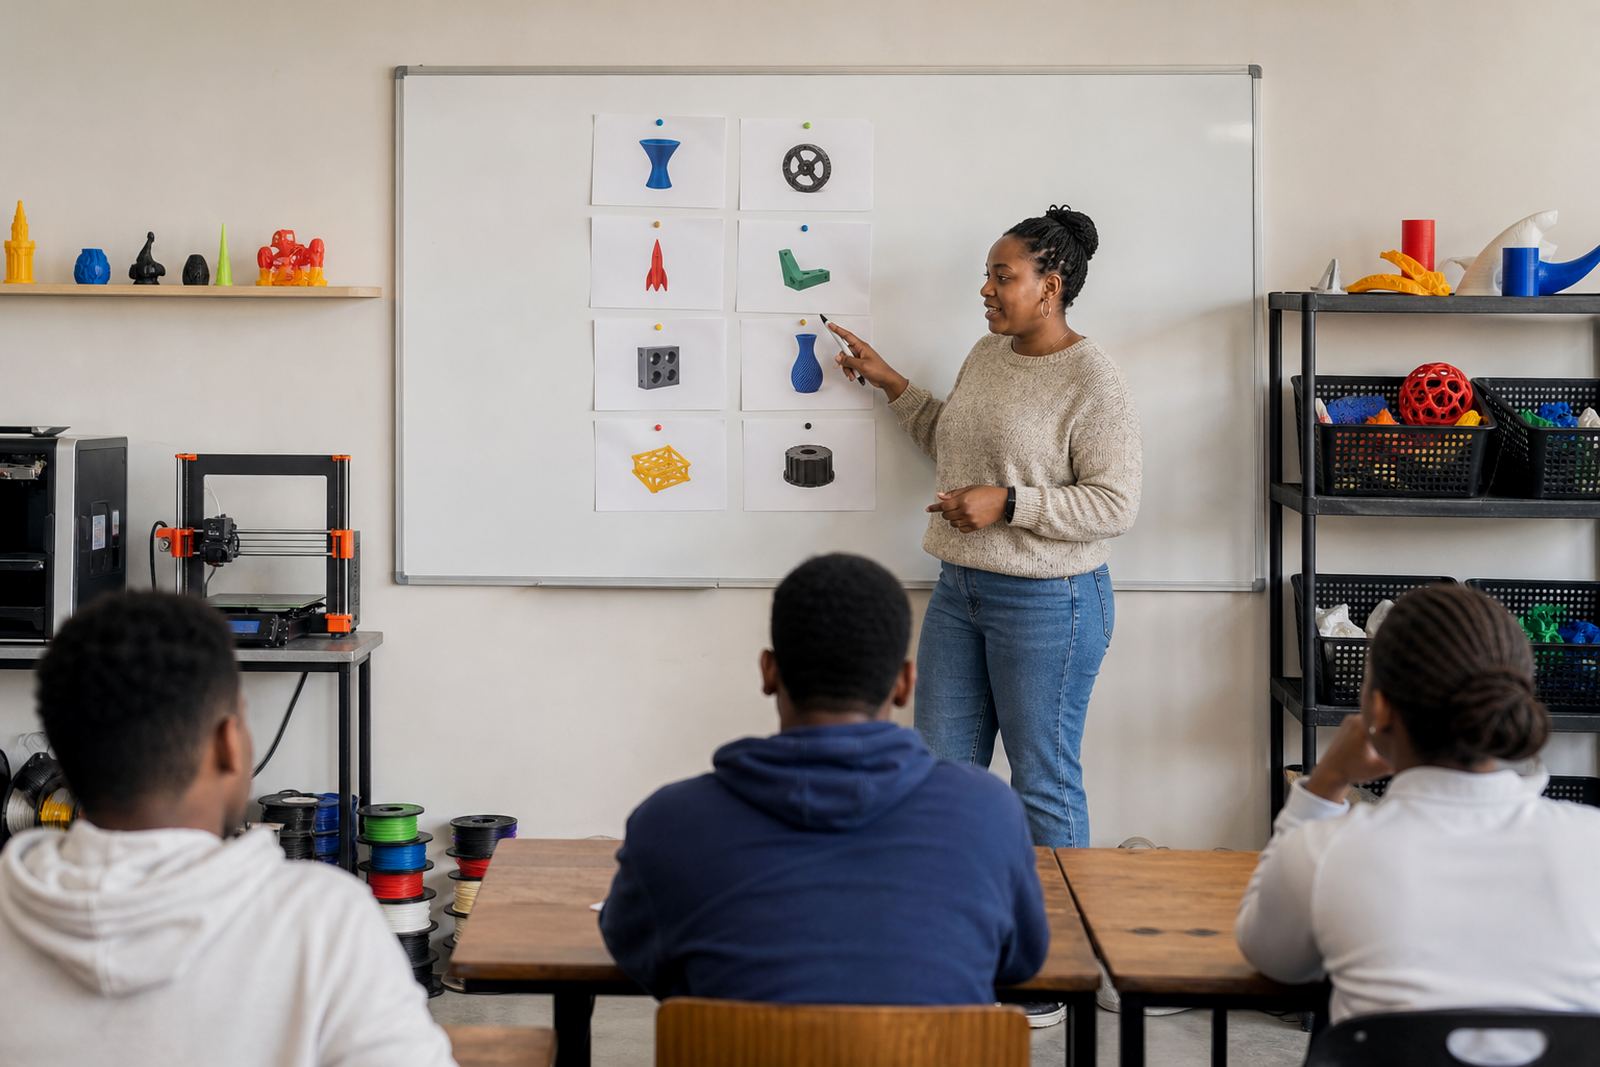
In a classroom in Stellenbosch, for example, a teacher might show a sample part first and ask learners to point out the flat base, the raised edges and the support areas. That one minute of observation gives the demo a purpose. It also helps you judge what to explain in more detail and what to save for later. If the class understands the end result, they listen better to each step.
Use One Build, Not Three Different Ones
Many teachers try to show every function in one lesson and the class ends up with half the room confused. A stronger approach is to demonstrate one clean build from start to finish, then repeat only the parts learners must copy on their own. Keep your example file simple and avoid unnecessary features that distract from the learning point.
- Choose a part with straight walls and a flat base.
- Use a model that prints in a manageable time, not something that takes all afternoon.
- Show the slicer settings you want learners to use, then leave the rest for a later lesson.
- Pause briefly at each stage so learners can note the steps before moving on.
This also helps with load-shedding planning. If your demo takes too long, the class may lose the chance to finish the practical part. A shorter, focused print is easier to manage and gives you time to review quality before the bell goes.
Narrate the Safety Checks as You Go
Safety should be part of the demonstration, not a separate lecture at the end. As you move through the setup, point out the hot nozzle, the heated bed, moving parts and power cables. Learners need to see where hands should stay clear and why the printer must not be left unattended during the early stages of a print. Keep the language plain and direct.
For schools near the coast, moisture can affect filament storage and print quality, so it is worth showing the class how to keep material sealed when not in use. In humid areas like Durban or Gqeberha this matters more than learners usually expect. It is a small habit that saves a lot of failed prints and frustration later on.
- Check that the work area is tidy before starting.
- Keep cords and tools away from the moving gantry.
- Show learners where to stand when the printer is running.
- Remind them not to touch the build plate until it has cooled.
Break the Demo Into Short Visible Steps
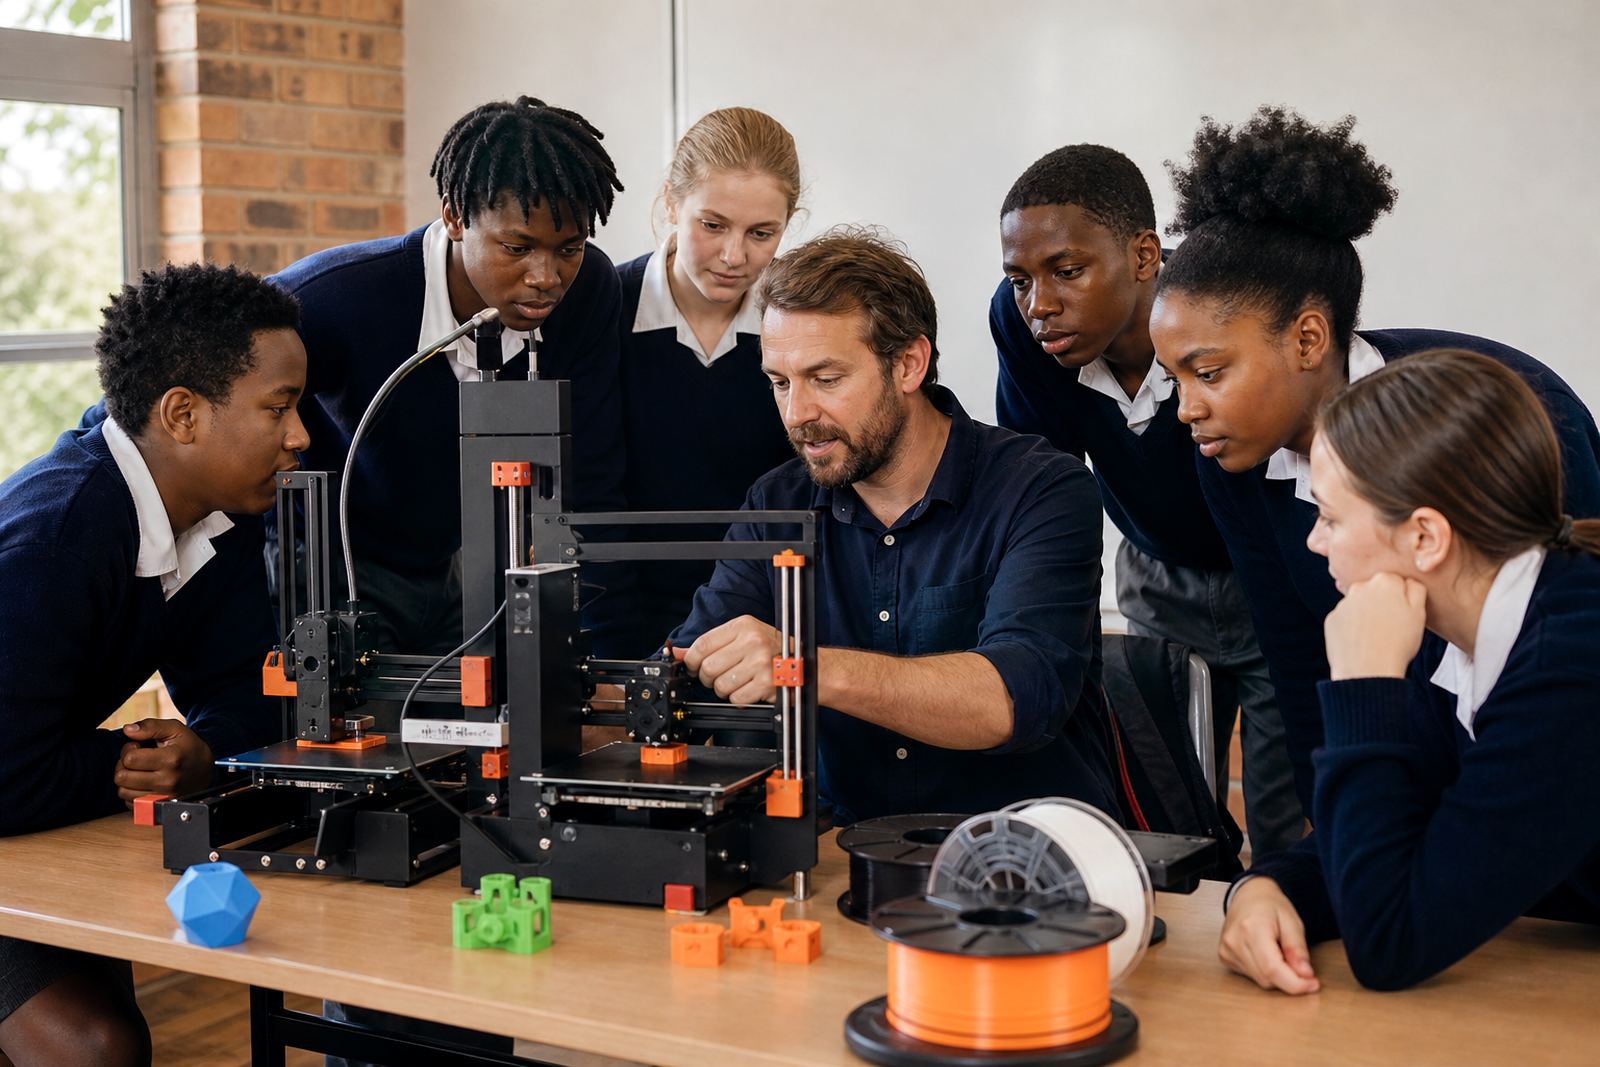
Clear demonstrations work best when learners can follow the sequence without guessing what comes next. Use short pauses after each action and explain what changed. For example, when you level the bed, say what you are checking for and what a correct result looks like. When you slice the model, point out the layer height and infill choice rather than speaking in broad terms.
It helps to repeat the same structure every time: show the step, explain the reason, and let one learner repeat the step with guidance. That routine builds confidence quickly. If the class sees the same pattern across lessons, they spend less time asking what to do next and more time understanding the process.
Turn Questions Into Checks, Not Distractions
Learners often ask good questions in the middle of a demonstration, but if you answer everything at once the lesson can drift off course. Keep a notebook or whiteboard nearby for questions that are useful but not urgent. That way the demo stays on track and you can return to the open points once the printer is running.
Try a quick check before moving on:
- Can the class identify the first step without prompting?
- Do they know which settings affect print time?
- Can they name the safety risk at the hotend or bed?
- Do they understand what to do if a print starts lifting at the corners?
These checks are simple, but they show whether the demonstration has actually landed. If not, you can slow down before learners begin their own work and save time later. It is easier to correct a misunderstanding early than after three failed prints.
Use a Local Classroom Example That Matches Real Conditions
A good demo should feel relevant to the school environment. In a Stellenbosch classroom, for instance, a teacher might demonstrate how to prepare a small organiser component for a life sciences display or a simple bracket for a robotics activity. The point is not the object itself but the decisions behind it: size, orientation, print time and material use.
For schools handling limited power windows or shared computer access, the demo should also show how to work in stages. Learners can plan the model in one lesson, prepare the file in the next and print once the equipment is ready. That makes the teaching practical and realistic, which is exactly what most schools need when the schedule is tight and the room is in demand.
Our training team works with schools across South Africa and the same principle holds in Cape Town, Johannesburg, Pretoria, Durban and Gqeberha. A demonstration that is clear, short and repeatable gives teachers a better base for the rest of the term. It also makes classroom management easier because learners know what is expected before they touch the equipment.