The brief from a Bellville school tech room
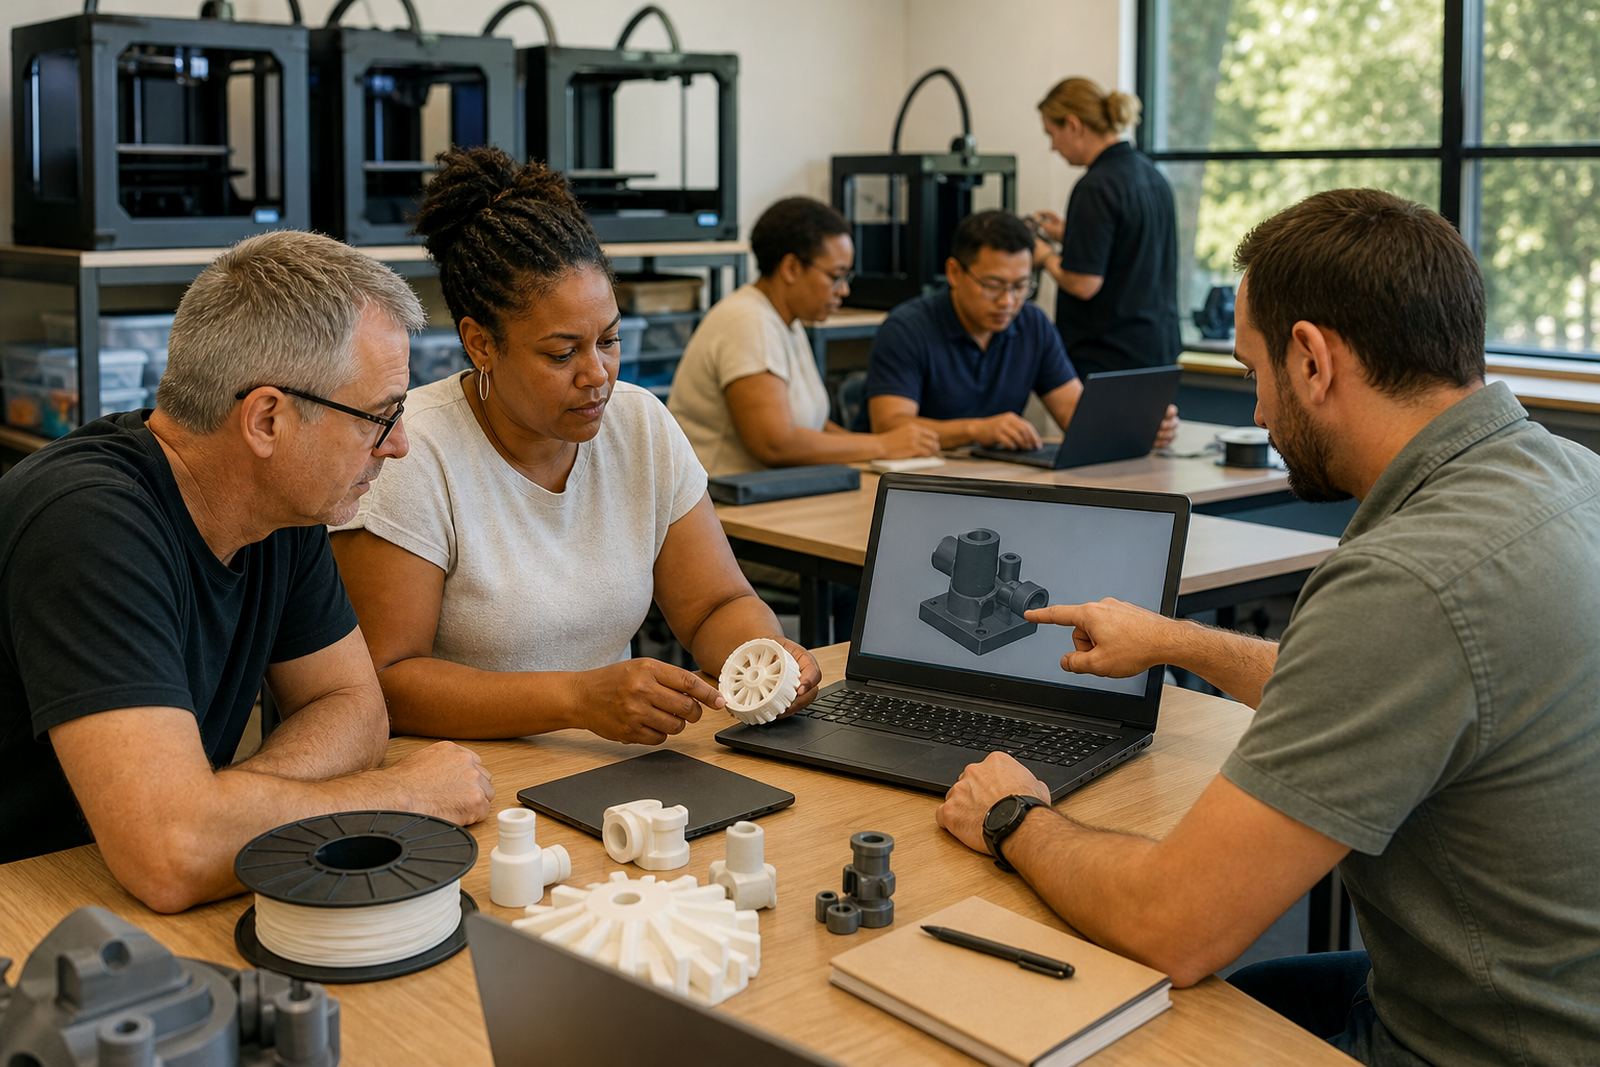
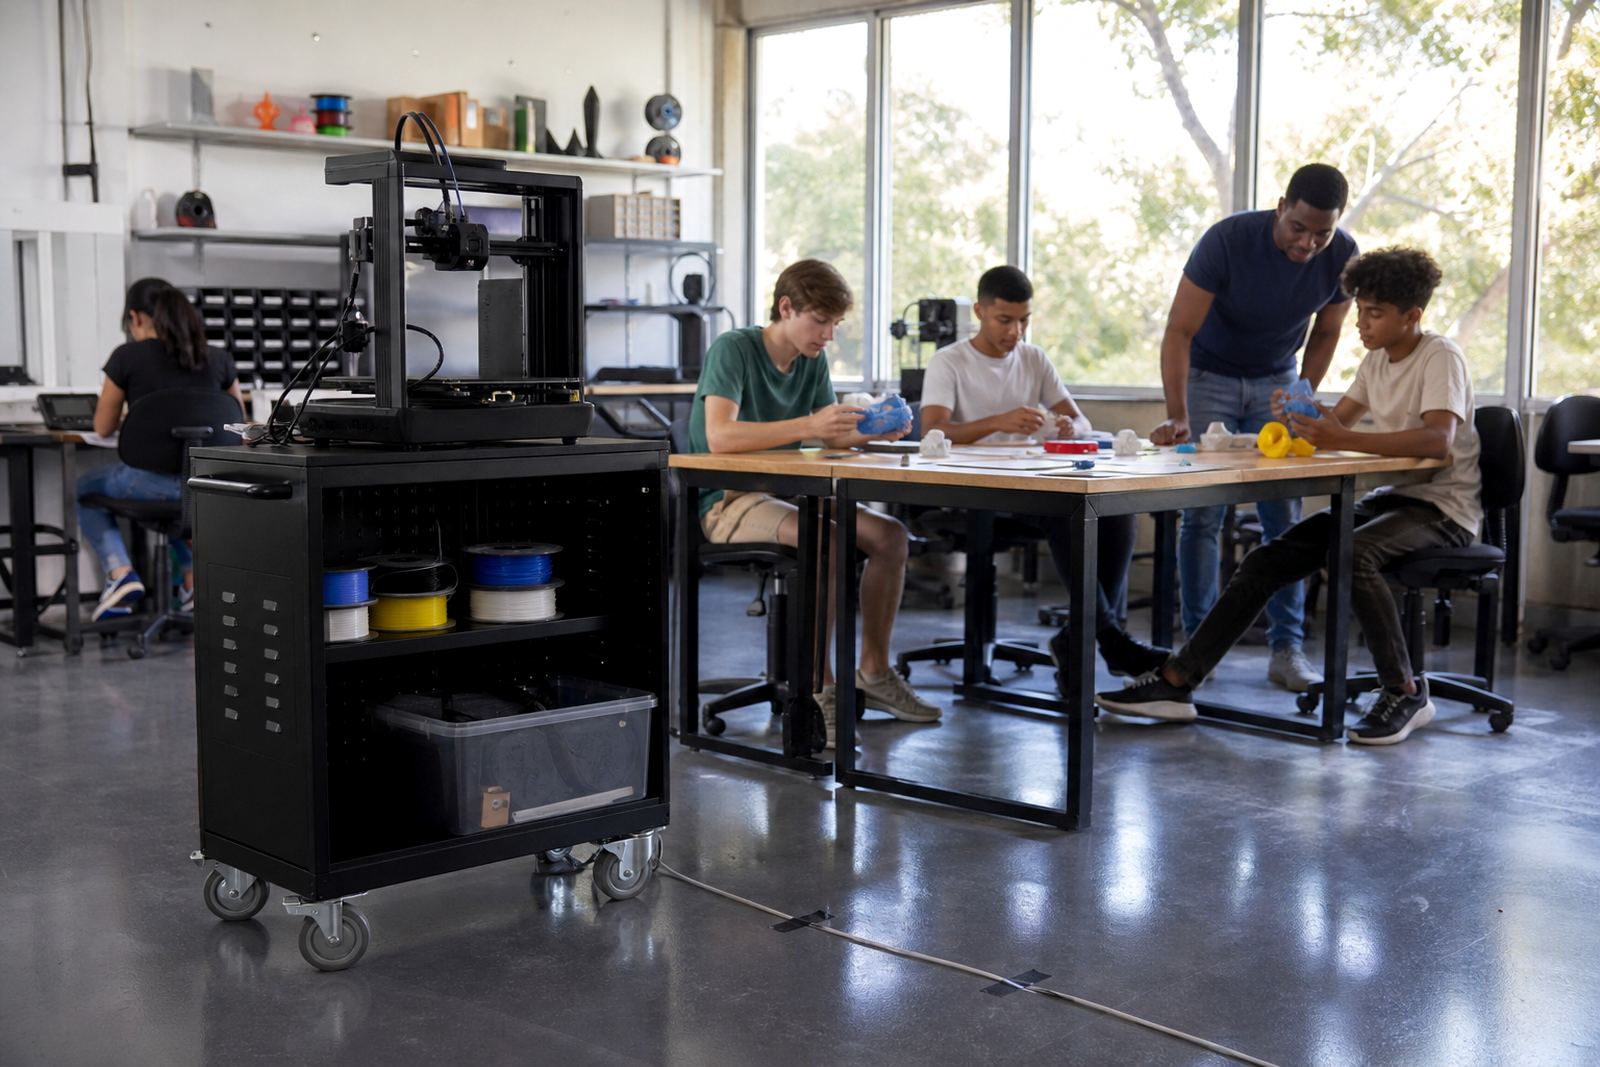
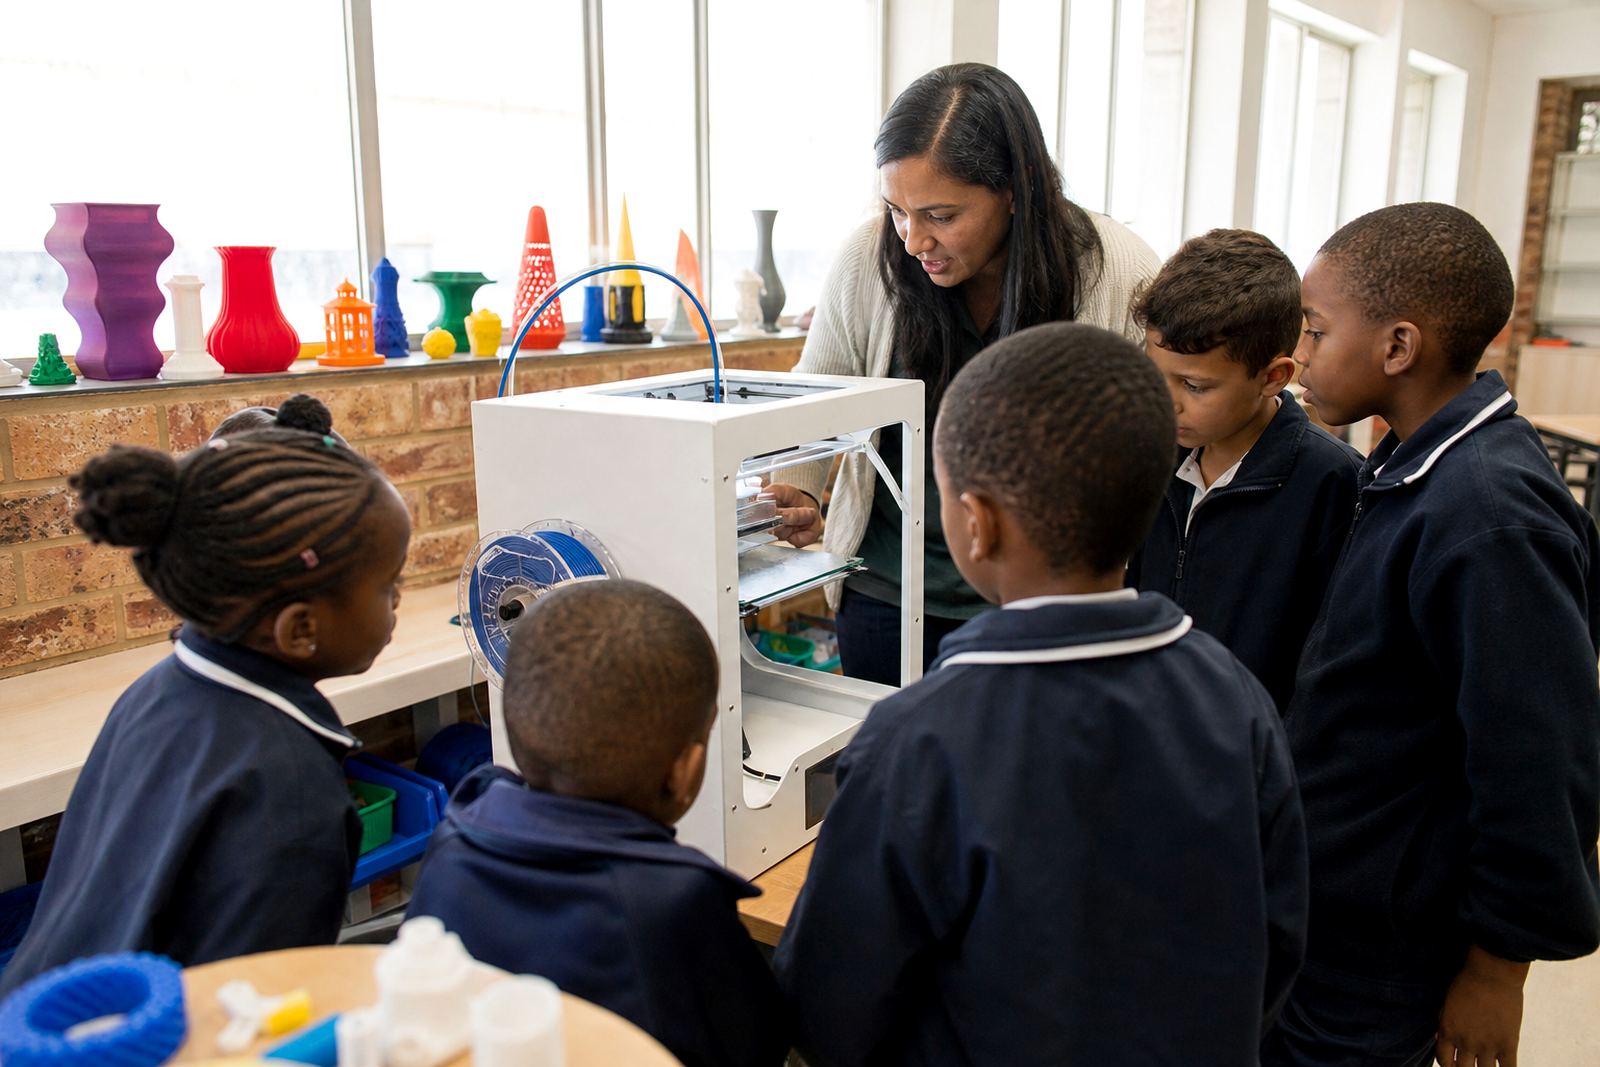
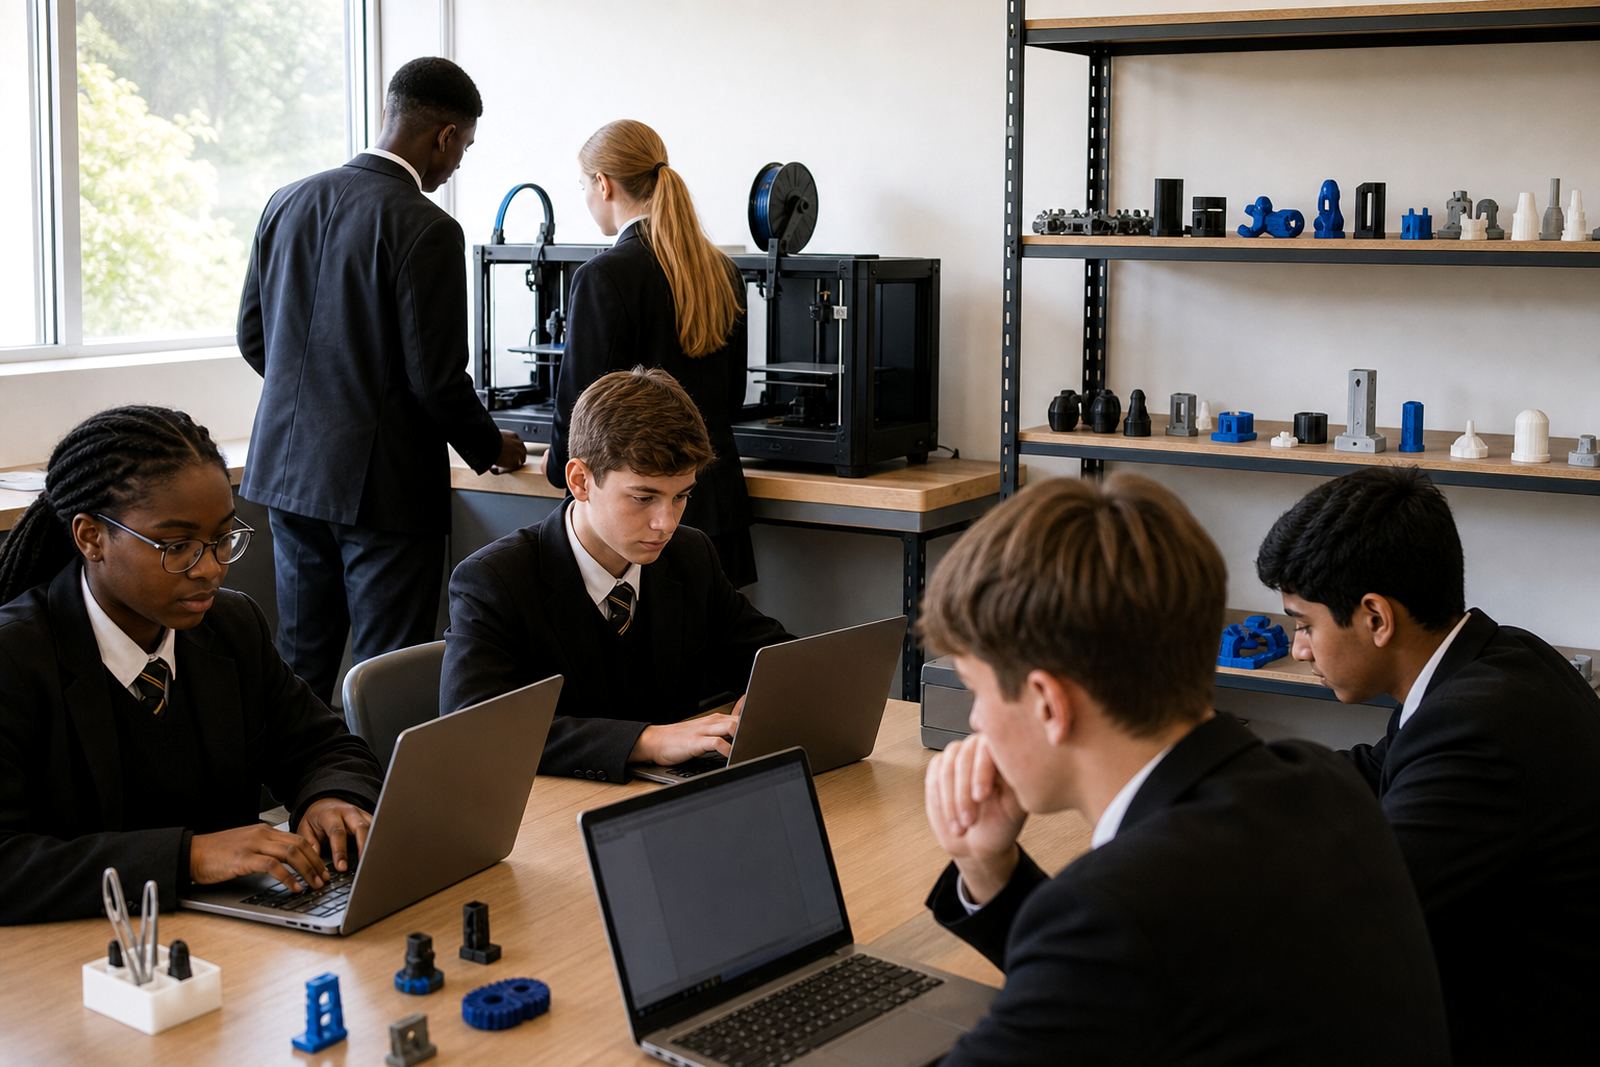
The client was a secondary school in Bellville, working with a small technology classroom used for design tasks, prototype review and general maker activities. The teaching team wanted a clearer print workflow so learners could move from drawing and CAD work into actual physical models without spending half the lesson figuring out the machine settings. They also wanted a setup that would be manageable for teachers, safe for learners, and practical during normal school hours.
The brief was straightforward but specific. The room had to support regular class use, handle the usual pressure of learners coming and going, and stay workable during load-shedding. The school also wanted a system that would suit a mixed group of beginners and more confident learners, so the process had to be easy to repeat. In a room like this, if the steps are too complicated the printers sit idle and the learning slows down.
We also had to work within a standard school timetable and the room layout already in place. That meant keeping the footprint tidy, using clear storage, and setting up a workflow that did not depend on constant one-to-one supervision. The school needed something they could keep using after the initial setup, not a flashy one-off installation.
Room constraints and what shaped the setup
Bellville schools often need to balance tight indoor space with busy class cycles, and this room was no different. There was limited counter space, a need for safe cable routing, and enough ambient dust from daily use to make enclosed storage a sensible choice. The room also had to stay comfortable in warm months, while still coping with the dry indoor air that can affect filament quality and print stability.
We kept the plan practical. That meant placing the printers where teachers could see them from most angles, leaving a clear path for learners, and allowing enough room for part removal, inspection and basic maintenance. We also considered municipal and school safety expectations, including keeping aisles clear, avoiding loose leads, and giving the room a simple shutdown routine for after hours. In a classroom, a few small habits make a big difference.
Because the school wanted a practical print workflow, we separated the room into simple zones: prep, printing, and review. That made it easier for learners to understand the sequence. It also reduced congestion when a class was handling several projects at once, especially when a teacher needed to check files, swap materials, or review a print that had failed early on.
What we supplied and set up
We supplied a classroom 3D-printing kit built around entry-level print and learning needs, not a hobby setup that would be too fragile for school use. The package included printers, filament handling support, basic tools, storage, lesson flow guidance and the practical items needed to keep the room organised. We also assisted with setup so the school could start using the room quickly instead of spending weeks trying to assemble it piece by piece.
- Two classroom 3D printers with enclosed print areas for better supervision
- Starter filament in common classroom colours for test prints and learner projects
- Basic maintenance tools, nozzle clearing items and part removal tools
- File prep guidance for CAD basics and print slicing workflow
- Clear storage for spools, accessories and printed samples
- Simple safety reminders for heat, moving parts and unsupervised operation
The setup was aimed at ordinary school conditions. It had to be easy to clean, easy to explain and easy to hand over from one teacher to another. We also made sure the room could be used for short class periods without needing a full reset each time, which is important when learners are working in groups and the bell goes quickly.
Training for teachers and learners
Once the room was ready, we ran a structured training sequence for the staff. The focus was on the kind of practical knowledge that keeps the room useful month after month. Teachers were shown how to prepare a print, check file orientation, load material, monitor the first layer, and handle basic troubleshooting. We also covered how to store filament properly and how to keep the room in working order when the weather shifts or power cuts interrupt the day.
For learners, the emphasis was on understanding the full process rather than just pressing print. They worked through design thinking, simple CAD basics, file checks, print time planning and prototype review. That helped them see why certain parts print well and others fail. It also gave them a better sense of measurement, tolerances and iteration, which matters when a class is building something they expect to fit together.
- Teacher Introduction and Printer Operations for classroom use
- CAD Basics for learner design tasks
- Maintenance Basics for regular cleaning and checks
- Project Planning for timed class work and prototype stages
By the end of the training, the staff had a usable routine. Learners knew what to expect before a print started, and teachers had a clear method for supervising work without standing over every single machine. That makes a room like this much easier to run during a normal school week.
Timeline, rollout and results after six weeks
The project ran over six weeks from planning to handover. Week one covered the room review and workflow planning. Weeks two and three focused on supply and setup. Week four was used for staff training and test prints. Weeks five and six were reserved for learner-facing practice, classroom adjustments and final troubleshooting. This gave the school enough time to settle into the process without rushing the handover.
The result was a classroom that could support design exercises and prototype review in a more ordered way. Learners had a practical route from digital work to a physical print, and teachers had a process they could repeat. The room also became easier to supervise because the zones were clear and the equipment was grouped logically. There were fewer bottlenecks, less confusion around material handling, and better use of lesson time. A small typo here and there in a class handout is normal, but lost print time is not.
The school reported that the biggest improvement was consistency. Instead of treating 3D printing as an occasional novelty, they now had a working classroom process. That meant more regular use, better planning and a stronger link between theory and hands-on making.
What we would repeat for the next school rollout
If we were doing a similar Bellville classroom again, we would keep the same simple structure. A clear workflow, a short staff training period, and a small but reliable kit are usually better than overcomplicating the room. Schools do not need a room full of extras. They need equipment that fits the timetable, can handle the conditions, and is simple enough for busy teachers to manage day after day.
We would also keep the habit of building around teacher confidence first. When the staff know the steps, the learners benefit straight away. The room becomes part of the curriculum instead of an added stress point. That is especially useful where the school wants to introduce maker work across more than one subject or grade group.
For schools in Bellville, Stellenbosch, Cape Town and other South African towns, the best results usually come from a modest setup that is properly explained. That was the thinking behind this project, and it is what we would use again.
Key facts
| Project type | School technology classroom 3D-print workflow setup |
|---|---|
| Town | Bellville, Western Cape |
| Rollout period | 6 weeks |
| Classroom focus | Design exercises, prototype review and learner print workflow |
| Setup included | 2 enclosed classroom printers, starter filament, tools and storage |
| Training covered | Teacher Introduction, CAD Basics, Printer Operations and Maintenance Basics |