A practical brief for a busy Centurion campus
The client was a college in Centurion looking to add prototyping tools to a teaching room used for design, technology and project work. The goal was simple: give students a space where they could move from sketching to CAD, then print small parts and evaluate them in class. The room needed to suit frequent use by different groups, so the layout had to be clear, durable and easy for staff to supervise.
Because the room served more than one subject group, the brief also called for a setup that could handle basic storage, safe movement around equipment, and enough bench space for learners to work in pairs. We kept the planning practical from the start, with no unnecessary extras and a focus on items that would be used every week.
- College learning room in Centurion, Gauteng
- Used for design exercises, printing practice and model review
- Required a simple, supervised workflow for groups of learners
What the room had to work around
The room came with the usual constraints you get in an active academic setting. There was limited floor space, mixed lighting, and a timetable that left short windows for setup and pack-down. The college also wanted the room to stay manageable during load-shedding and normal municipal interruptions, so the workflow had to be practical even when power was not ideal.
We also had to account for safety and tidiness. Filament, tools and printed parts needed defined places, and the equipment had to be arranged so staff could keep an eye on the room without blocking movement. Ventilation was considered, as was access to cleaning materials and basic maintenance items. The result was a room that could support practical learning without becoming cluttered or difficult to supervise.
- Limited space and fixed classroom furniture
- Need for easy supervision and clean cable routing
- Shared-use environment with regular student turnover
Supplied for classroom use
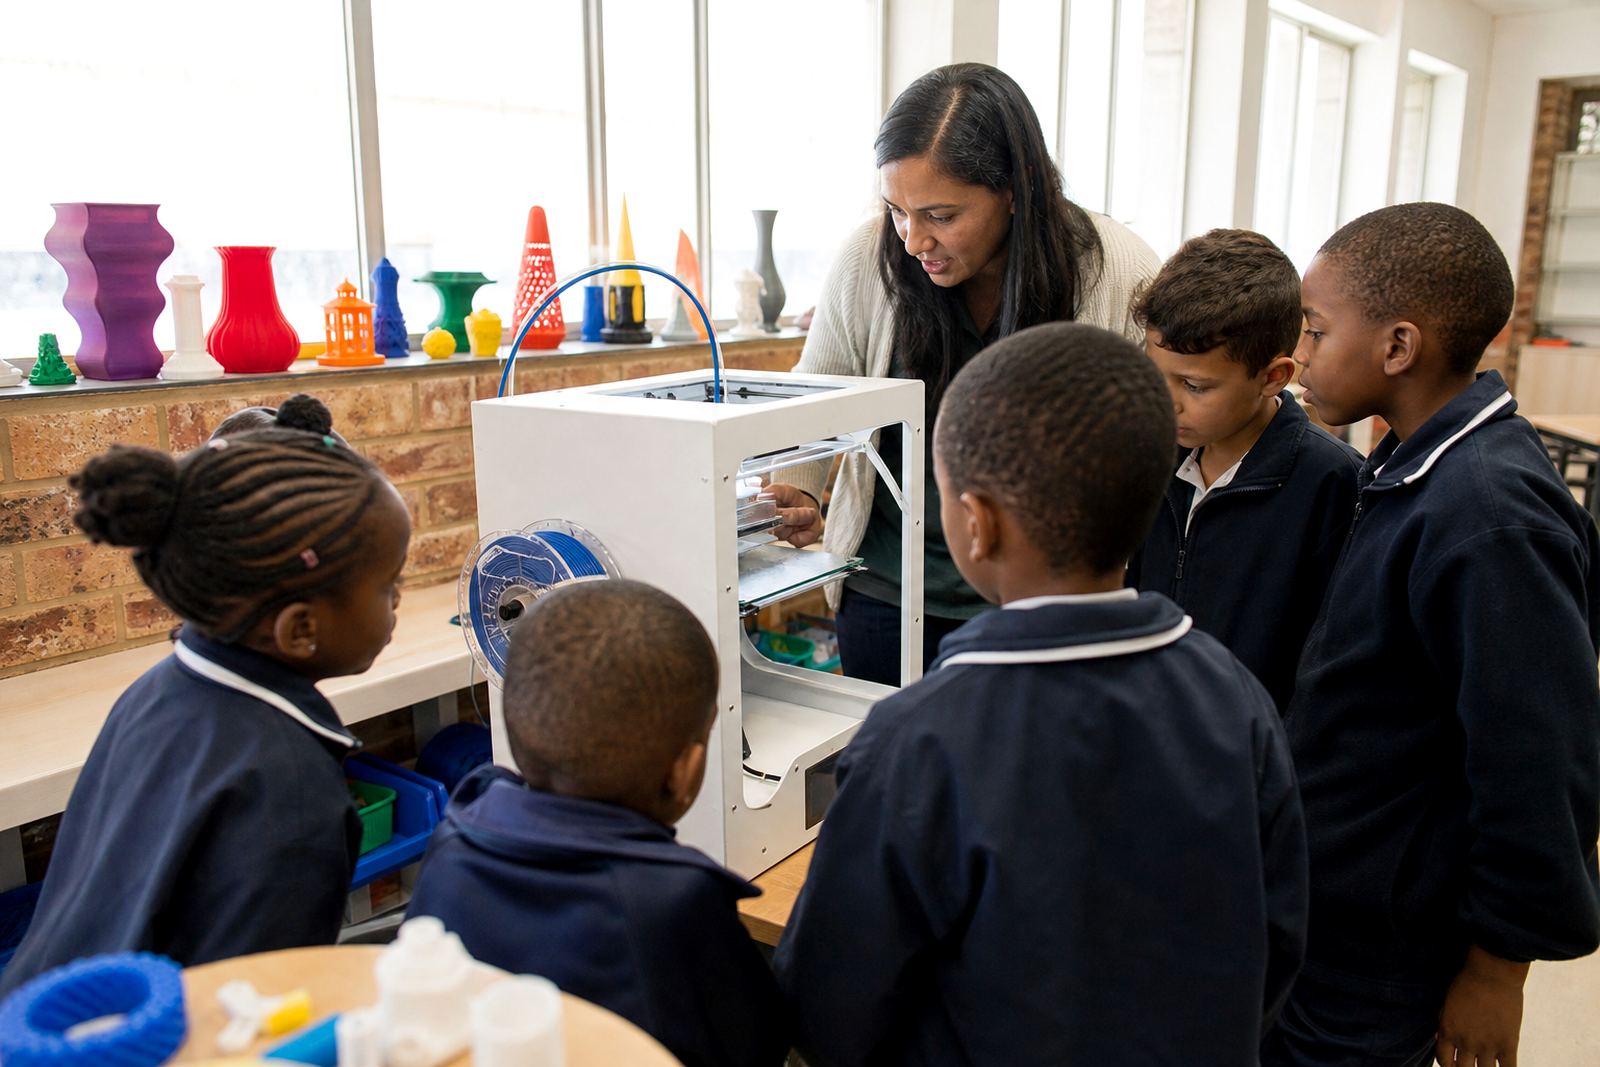
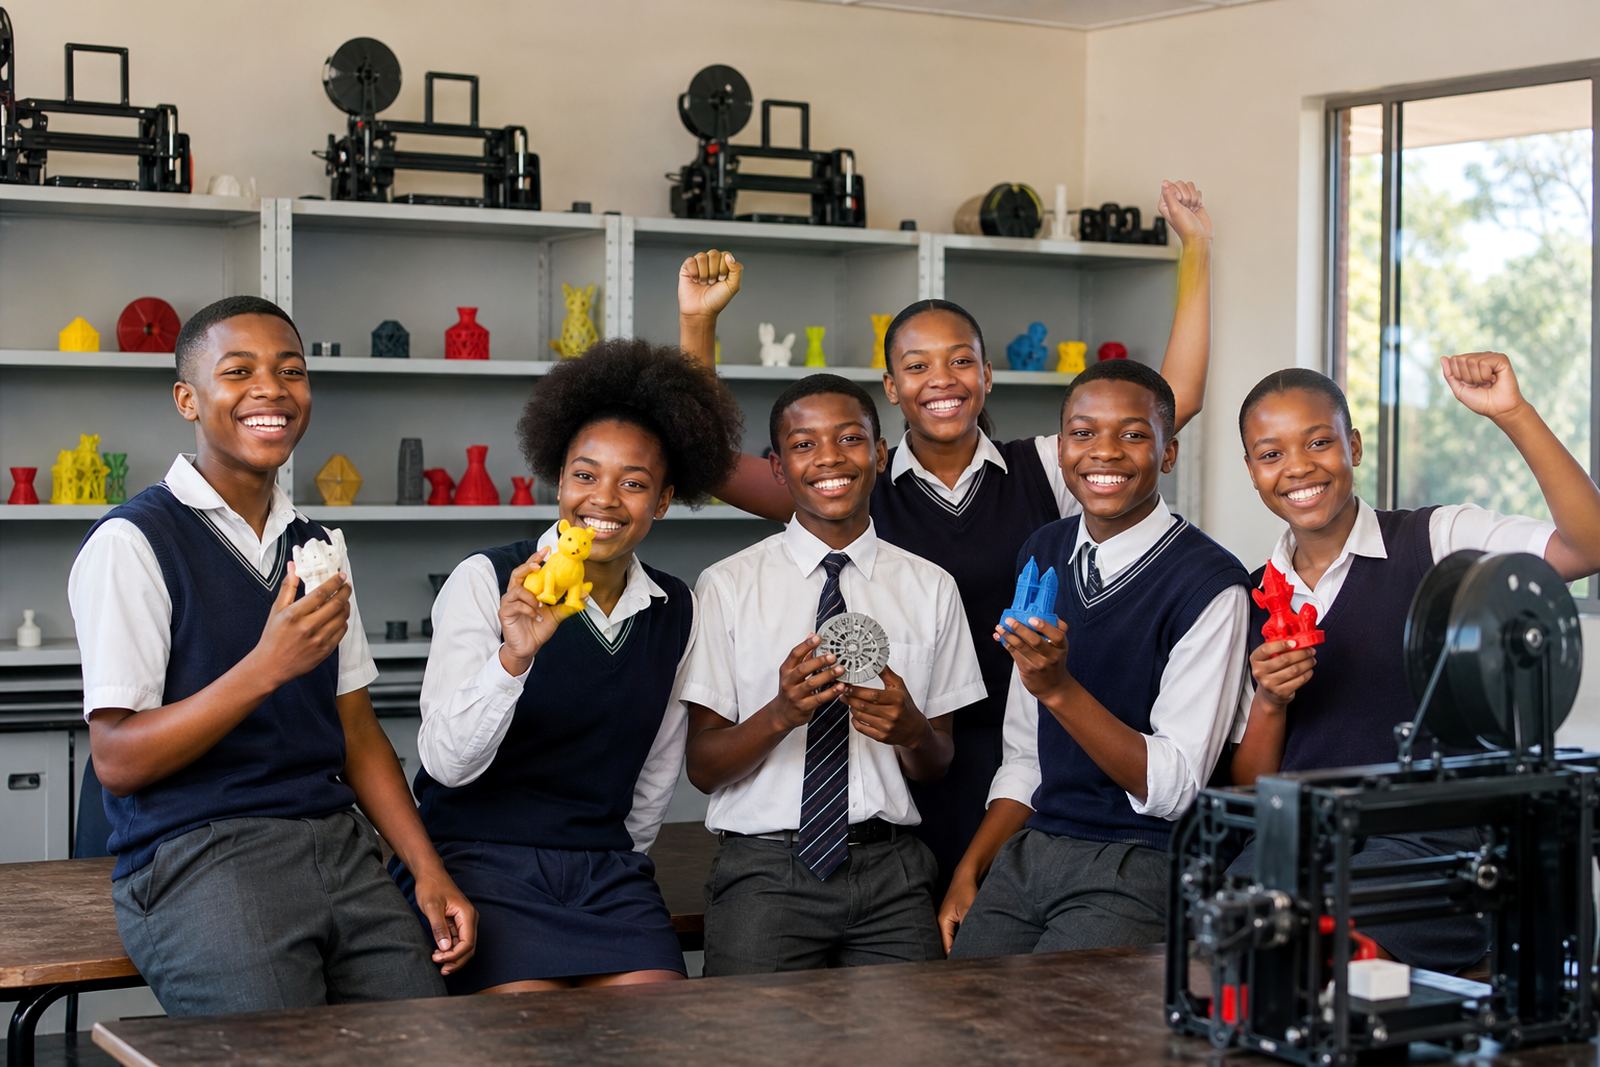
We supplied a compact 3D-printing learning setup built around classroom use rather than industrial production. The room included printers for teaching and demonstration, a computer-based design area, filament storage, hand tools, and consumables needed for day-to-day practice. We also provided printed workflow guidance so staff could keep the sequence of tasks consistent across groups.
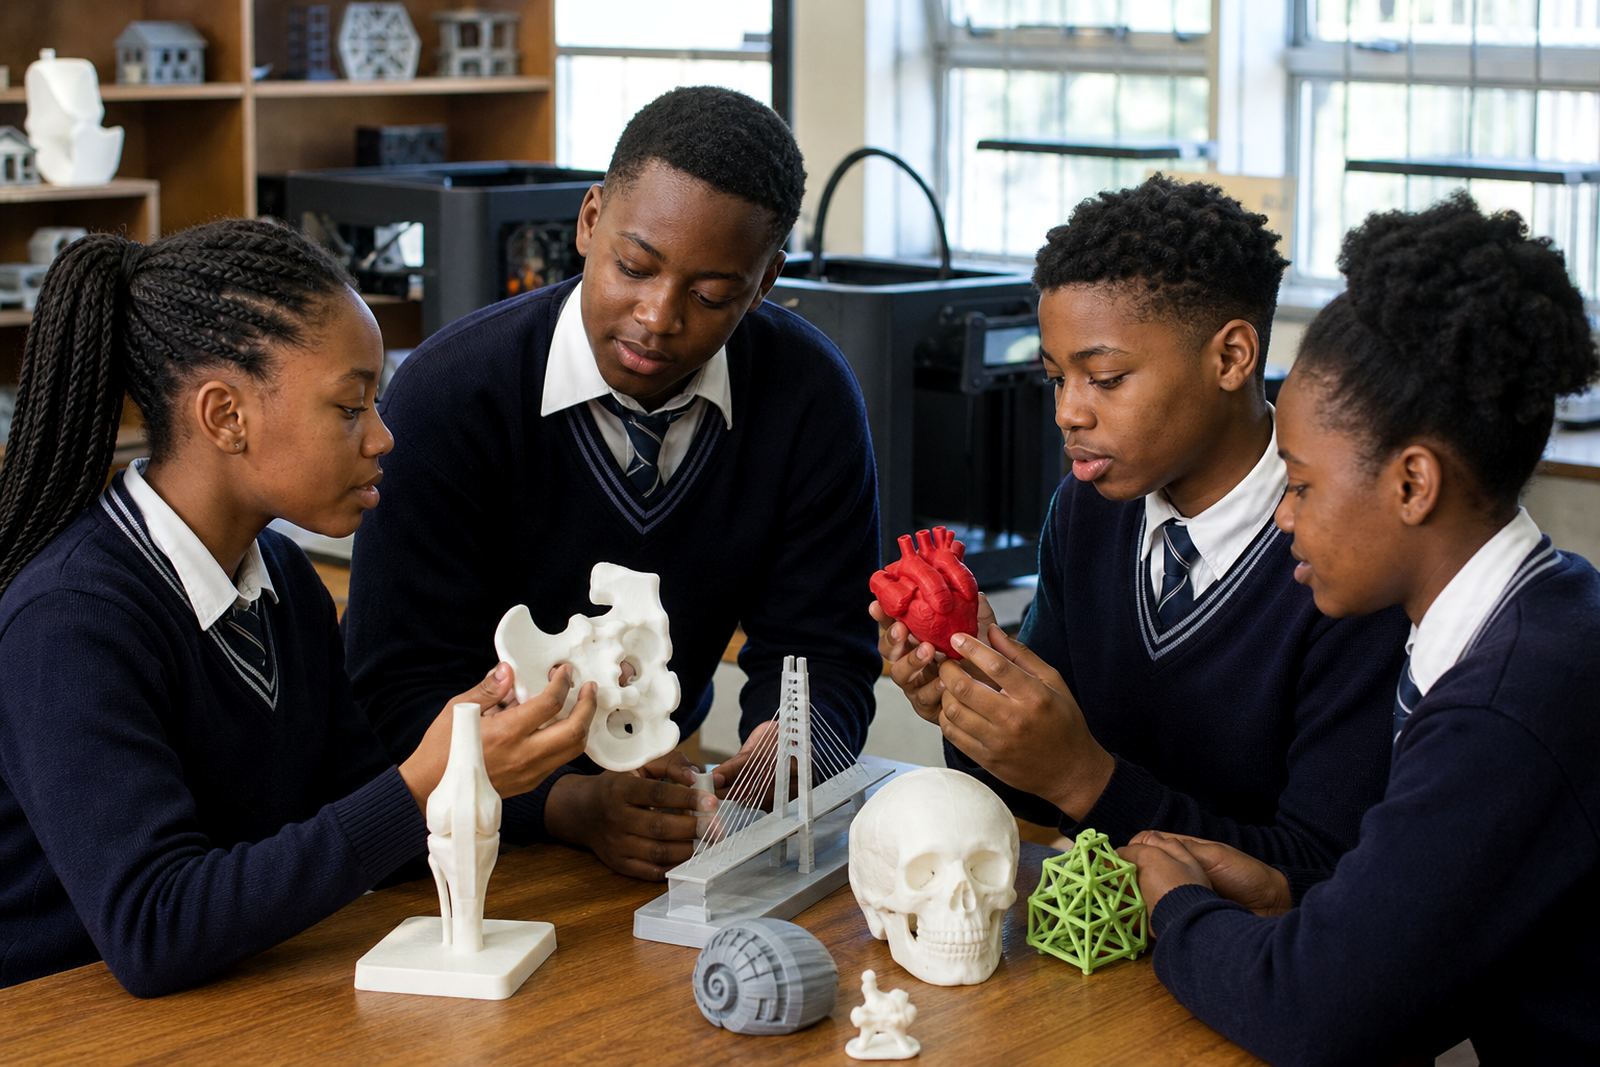
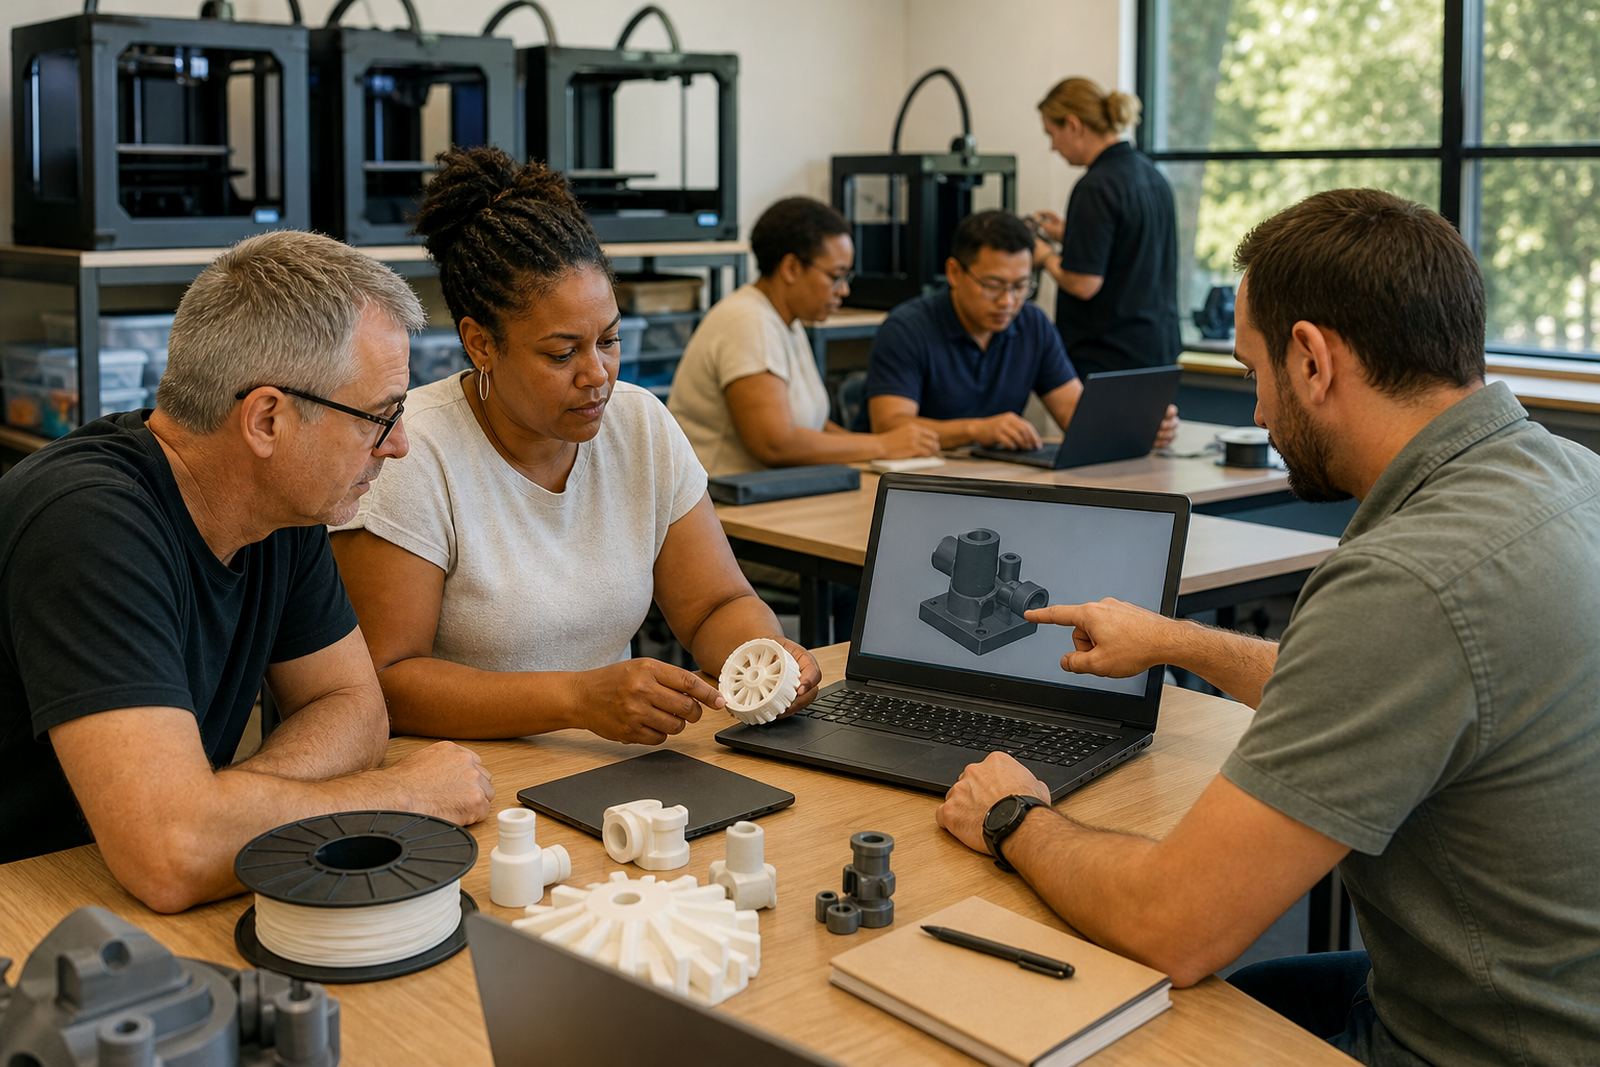
The room package supported a full learning cycle: idea development, digital modelling, printer preparation, print monitoring and part evaluation. Students could work on objects that suited a classroom context, such as simple enclosures, test pieces, fit checks and concept models. The tools were chosen for frequent handling and straightforward operation, because a college room has to keep working when the timetable gets busy.
- 3D printers suited to education and small-format prototyping
- Filament storage and basic hand tools
- Design workstation area for CAD basics and file prep
- Printed operating guides and classroom workflow notes
How the room was arranged for teaching
The setup was planned so learners could see the process from start to finish. Design work happened at one end of the room, while the print area stayed visible but separate from the main worktables. This made it easier for the facilitator to keep learners moving in sequence, and it reduced confusion when more than one group was in the room at once. The layout was neat, maybe a bit tighter than a lab in a bigger campus but it worked well for the available footprint.
We also made sure the room could be reset quickly between classes. Storage points were labelled, consumables were grouped by use, and the printer area was positioned for easy inspection. That meant the teaching team could spend more time on the learning itself, instead of wasting time hunting for parts or redoing a setup after every period.
- Clear separation between design, print and review zones
- Easy reset between classes and workshops
- Visible printer placement for guided learning
Training and handover over a few weeks
The project ran over a short, structured timeline of four weeks from planning to handover. In week one, we assessed the room and finalised the learning flow. In week two, we prepared the supplied equipment and room layout. Week three covered installation, testing and staff orientation. In week four, we completed handover support and worked through the first classroom routines with the team.
The handover was important because a room like this only helps if staff feel confident using it. We walked through printer checks, material handling, start-up steps and simple troubleshooting. We also discussed classroom safety reminders, including supervision near heated parts, keeping tools stored after use, and making sure learners only handle equipment with guidance. The process was straightforward, but it made a real difference to how quickly the room became usable.
- Week 1: site check and workflow planning
- Week 2: equipment preparation and room staging
- Week 3: installation, testing and staff orientation
- Week 4: handover support and first-use guidance
What changed after the setup
Once the room was in use, the college had a clearer way to support practical design exercises. Students could move from digital concepts to physical parts without waiting for an external service, and staff had a repeatable process for managing print jobs. That gave the room a proper teaching function, not just a collection of equipment. It also helped with learner confidence, because they could test ideas and see the result in their own hands.
What we would do again is keep the approach simple: plan the workflow first, then fit the equipment to the teaching method. That matters in any campus setting, especially where space, timetable pressure and electricity interruptions can affect daily use. A good learning room does not need to be flashy, it just needs to work reliably and be easy to run.
- Improved access to practical prototyping inside the college
- Clearer workflow for staff and learners
- Better use of class time for making, testing and reviewing
Key facts
| Project | Centurion College Room |
|---|---|
| Client type | College learning room |
| Town | Centurion, Gauteng |
| Timeline | 4 weeks |
| Scope | 3D-printing classroom setup, workflow planning and staff handover |
| Use case | Practical design exercises, CAD basics and prototype making |