Club Brief From Polokwane
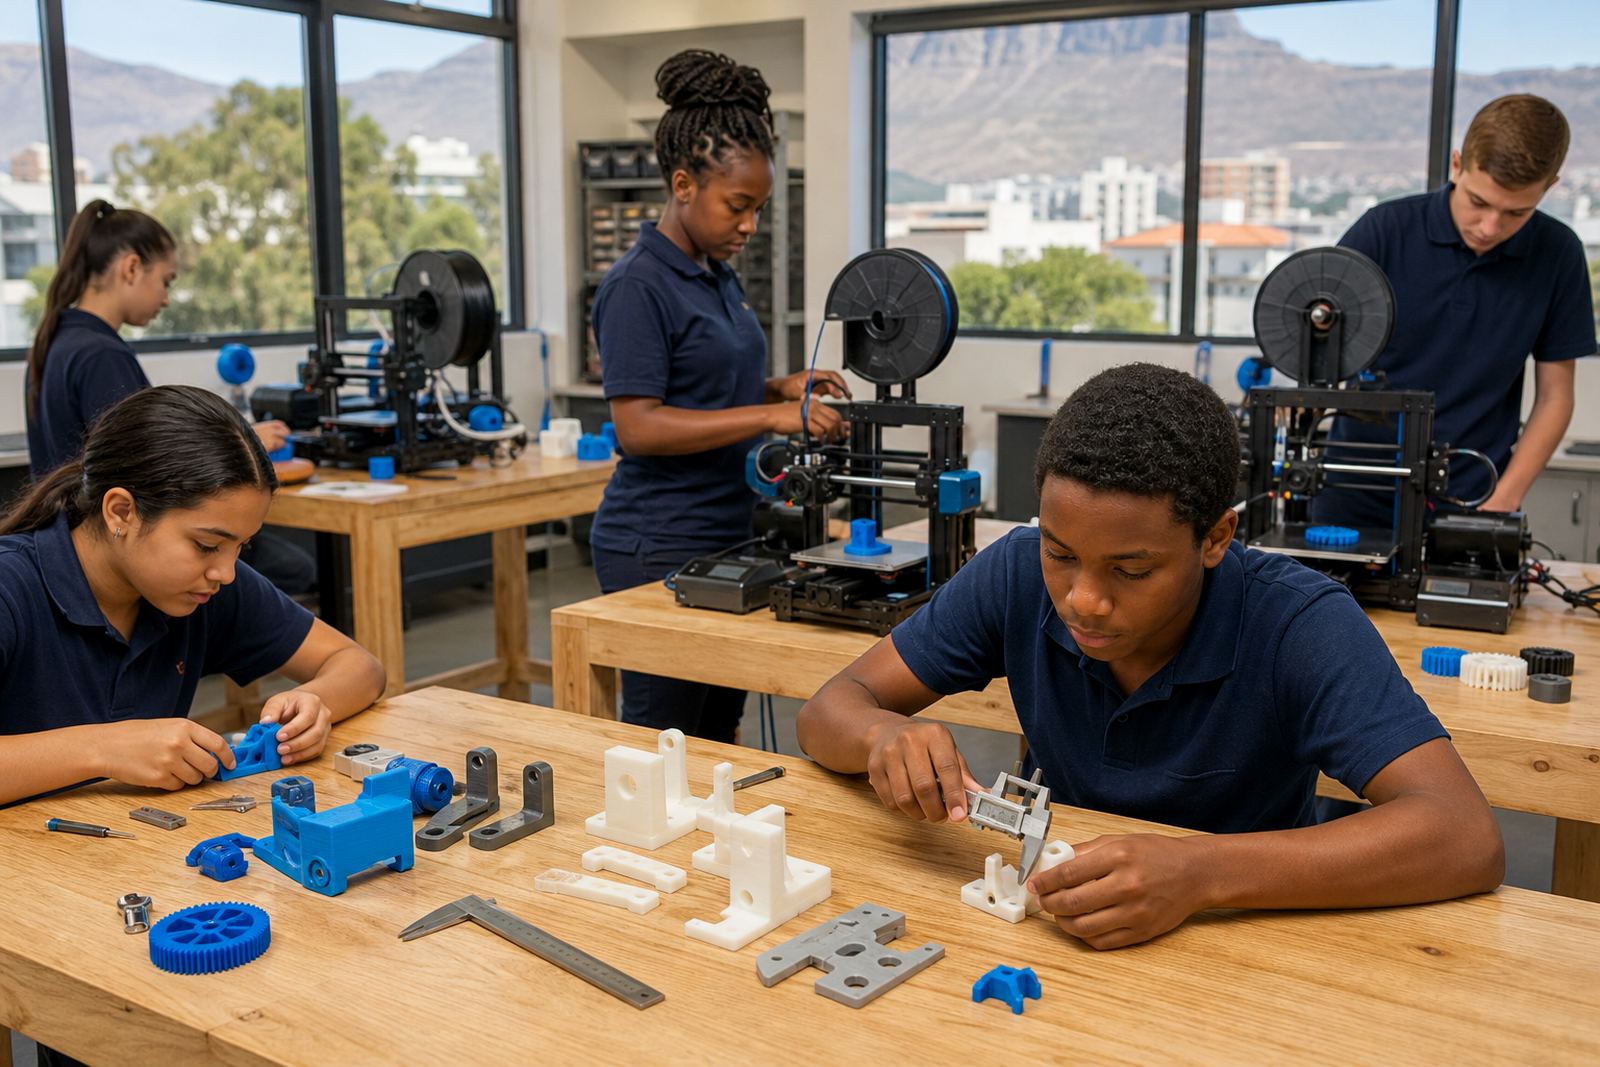
The brief came from a school club in Polokwane that needed a small, reliable 3D printing setup for learners who wanted to test ideas after class and on Saturdays. The club had a strong maker spirit, but very limited room, a modest power supply and only a few hours each week when staff could supervise the room properly.
They wanted something that could support beginner design work, simple challenge builds and repeatable print jobs without turning the club room into a full technical workshop. The focus was on learner creativity, clean routines and equipment that could cope with regular use in a school setting.
- Client type: school club at a secondary school in Polokwane
- Use case: learner projects, weekend builds and basic maker activities
- Main need: a compact, easy to supervise 3D printing space
What Limited The Room
The biggest constraint was space. The club room had to double as a teaching area, so every item needed a fixed place and a clear pack-away routine. We also had to work around load-shedding risk and a school timetable that left little time for long setup sessions. Dust control and heat management were also considered, especially for a classroom that gets warm on summer afternoons.
Because the club was not a full-time lab, we kept the kit practical and low-fuss. The school needed a setup that would not overwhelm teachers or older learners, and that could be used safely with simple supervision rules. No fancy extras, just the bits needed to print, check, store and continue the next session without confusion.
- Compact footprint for a shared room
- Simple power and shutdown routine for outages
- Storage that kept filament, tools and models together
Compact Lab Kit Supplied
We supplied a classroom-ready 3D printing lab kit built around a small, dependable footprint. The kit included a benchtop 3D printer, filament storage, basic hand tools, model removal tools, build surface care items, safety signage and a simple work tray system for learner projects. We also provided a basic calibration and maintenance pack so staff could keep the machine running between sessions.
Key specs were chosen for school use rather than heavy production. The printer had a standard build volume suitable for classroom projects, a heated bed for better first-layer adhesion and a covered motion area for safer handling around learners. The set-up also included a filament holder, spare nozzles, cleaning tools and a power protection plan suited to short interruptions. It is not a big industrial room, but it gave the club enough capacity to work properly.
- 1 benchtop 3D printer for classroom and club use
- Starter consumables for test prints and learner projects
- Tool set for trimming, removal and basic upkeep
- Safety reminders for supervision, hot parts and moving components
Training For Teachers And Club Leaders
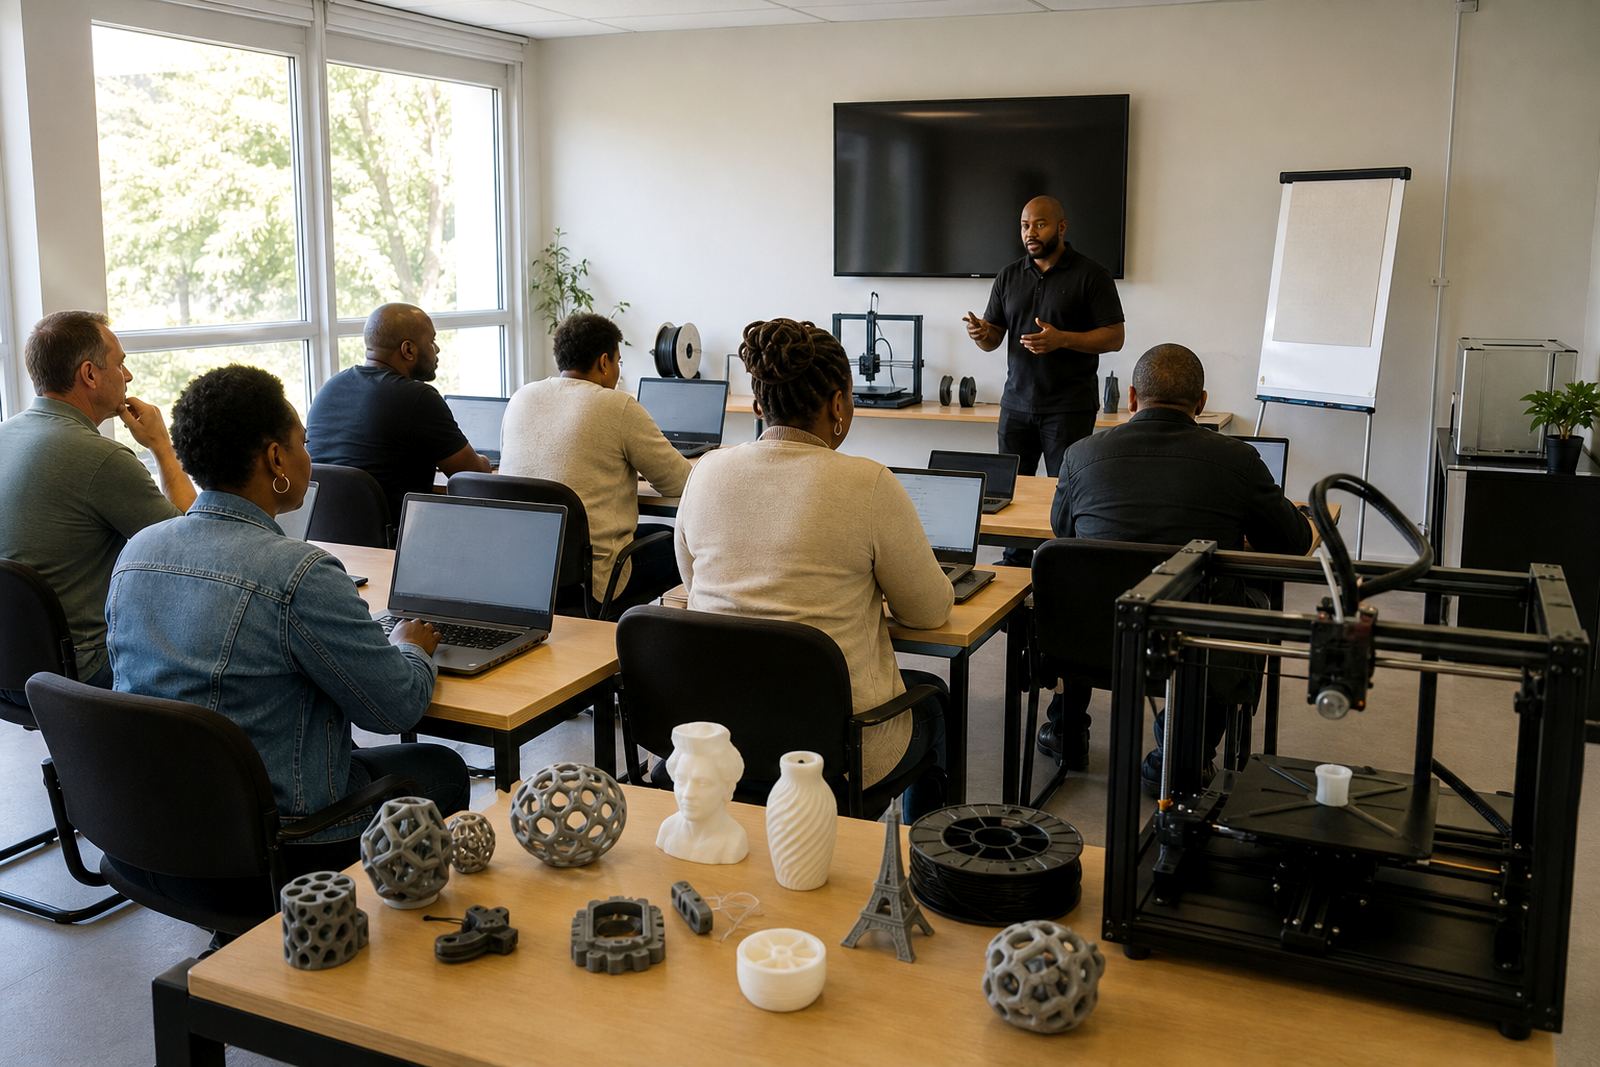
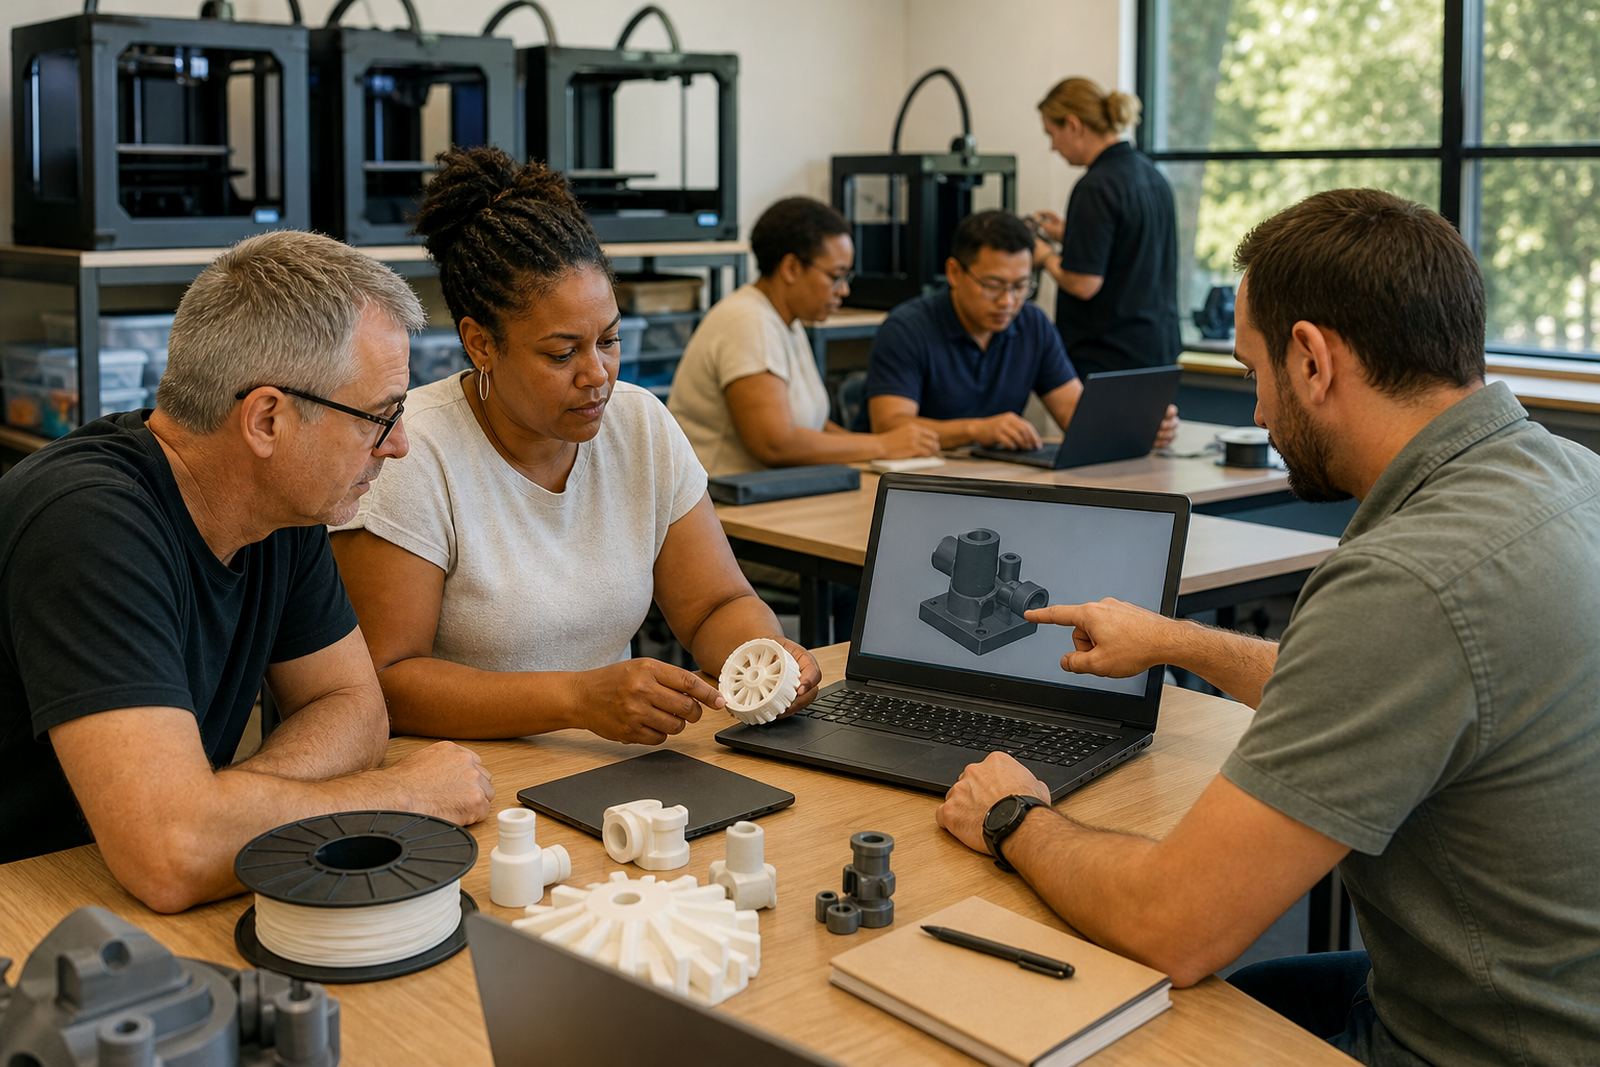
Before the club opened its room to learners, we worked through printer operations, project planning and basic maintenance with the supervising staff. The aim was to make the setup easy to manage on a normal school day. We covered start-up, bed levelling, loading filament, checking a sliced file, print monitoring and the right way to shut down after a session.
We also showed the team how to structure a club project from idea to finished print. That meant teaching learners to think about wall thickness, overhangs, print time and the limits of small parts before they start. Small habits make a big difference when the room is busy and the teacher has five other things going on.
- Printer start-up and shutdown routine
- Filament handling and storage basics
- Simple project planning for learners
- Maintenance checks between print sessions
Timeline And Setup Flow
The project ran over three weeks from first site discussion to handover. Week one was the room check, equipment list and space planning. Week two covered delivery, positioning and first prints. Week three focused on staff walkthroughs, learner introductions and practical test jobs for the weekend challenge programme.
That timeline worked well because it gave the school time to clear space, confirm storage and organise the club schedule. We did not rush the room into service before the team was ready. Instead, we built a clean process that could be repeated each term. The result was a setup that felt orderly from the first session, not patched together at the last minute.
- Week 1: room check and planning
- Week 2: delivery and printer setup
- Week 3: staff training and learner launch
Results In The Club Room
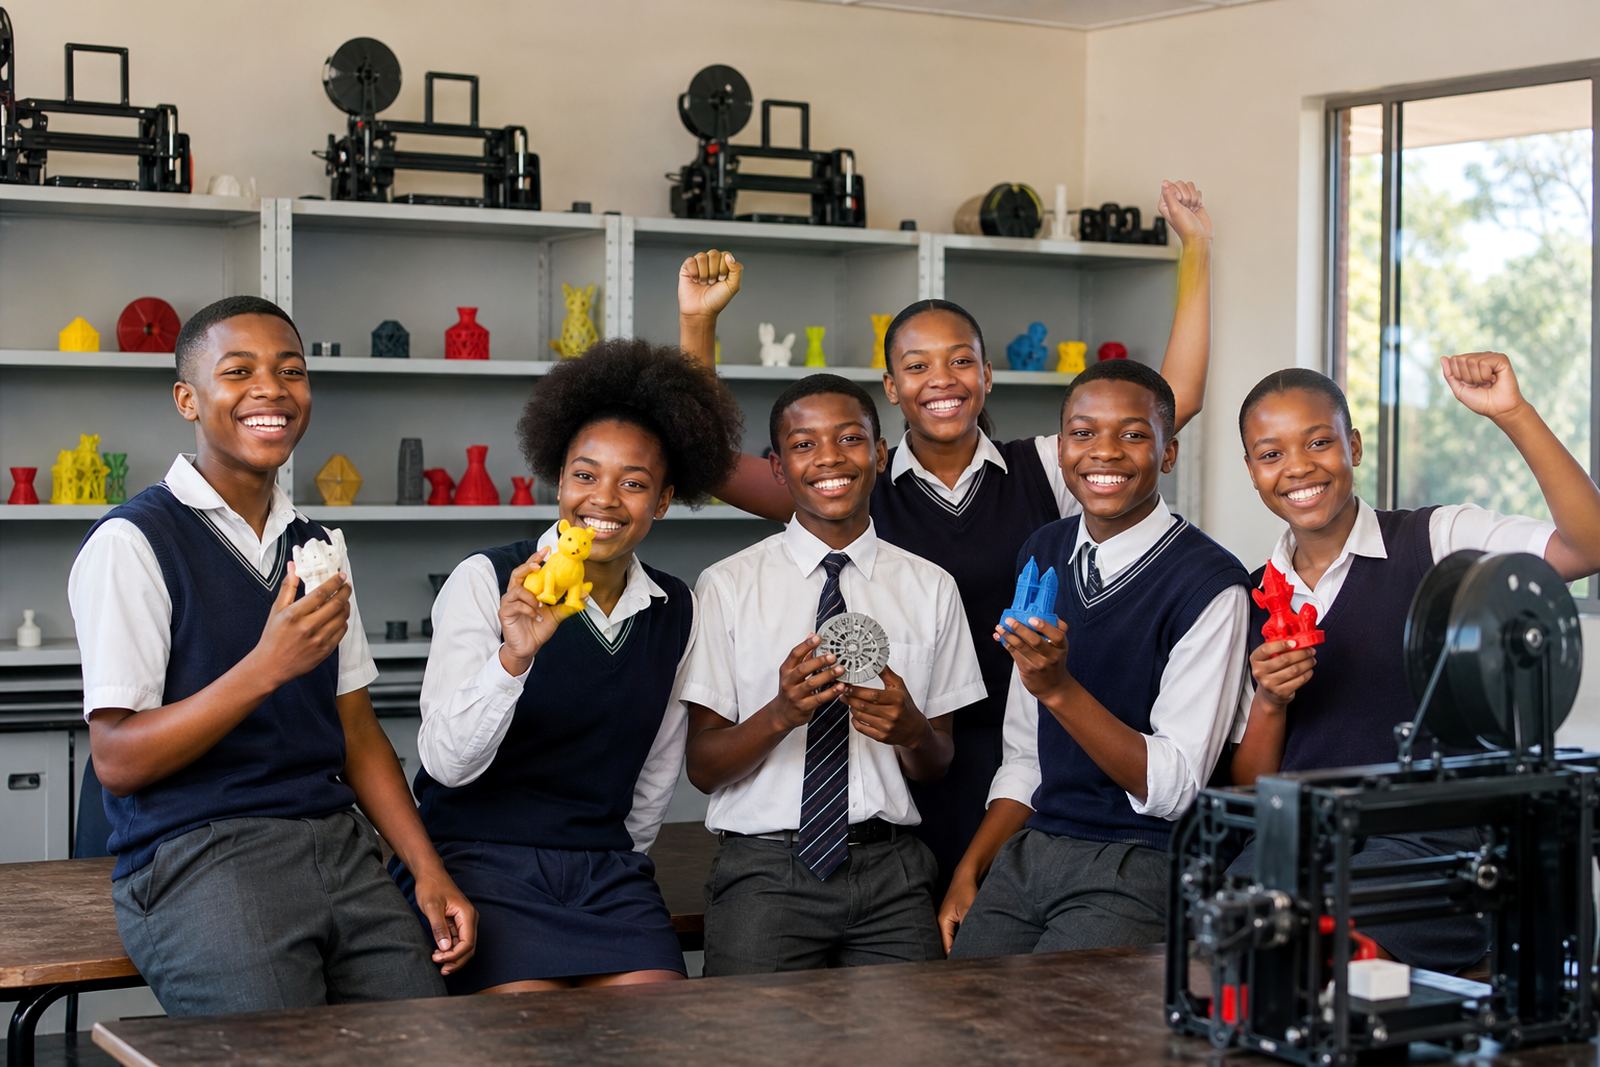
Once the club started printing, learners moved quickly from simple shapes to practical challenge builds. They worked on badges, nameplates, small mechanical parts and display items for school activities. The compact setup made it easy to run short sessions without packing away half the room, and the teachers could keep the workflow steady from one week to the next.
The main result was confidence. Learners started understanding that a design on screen has to survive in the real world, which means checking size, fit and print time before pressing go. The club also became a useful place for quiet problem-solving after school. The room stayed manageable, even with limited time and the usual school interruptions.
- Better learner engagement in weekend builds
- Simple, repeatable use for club meetings
- Clearer understanding of design constraints and print quality
What We Would Repeat Again
If we were doing this type of club setup again, we would keep the same approach: compact equipment, simple training and a clear storage routine. For a school in Polokwane, or anywhere else in South Africa, the best results come from keeping the system practical and matching it to the timetable rather than trying to create a full maker lab in one go.
We would also keep classroom safety reminders straightforward. Supervision around hot nozzles, moving parts and cutting tools must stay part of the routine, and filament should be stored neatly away from dust and heat. That is what makes the club sustainable over a long school year, not just for the first few exciting weeks.
- Keep the setup small enough for daily school use
- Use a fixed storage system for tools and filament
- Build in basic safety checks before every session
Key facts
| Project location | Polokwane, Limpopo |
|---|---|
| Client type | School club |
| Timeline | 3 weeks |
| Setup | Compact classroom 3D printing lab kit |
| Training included | Printer operations, project planning and maintenance basics |
| Use case | Learner creativity, weekend challenge builds and club sessions |