Why the Pinetown brief needed classroom-first training
The brief came from a group of educators in Pinetown who wanted a working introduction to 3D printing without turning it into a technical headache. They needed a room-based session that showed them how to move from an idea on paper to a classroom activity, with enough detail for younger learners and enough structure for teachers to repeat the process later.
The school team was dealing with the usual pressures: limited prep time, busy timetables, varied teacher confidence levels and the reality of load-shedding in KwaZulu-Natal. They also needed guidance that would work in a normal school environment, not a specialist lab with ideal conditions. That meant keeping the lesson flow simple, planning for power interruptions and making sure the setup could cope with daily use.
- Client type: educator group from a public school environment
- Town: Pinetown, KwaZulu-Natal
- Main need: introductory teacher training for classroom-ready 3D printing activities
- Key concern: safe use, easy lesson planning and practical maintenance
What we planned for the room setup
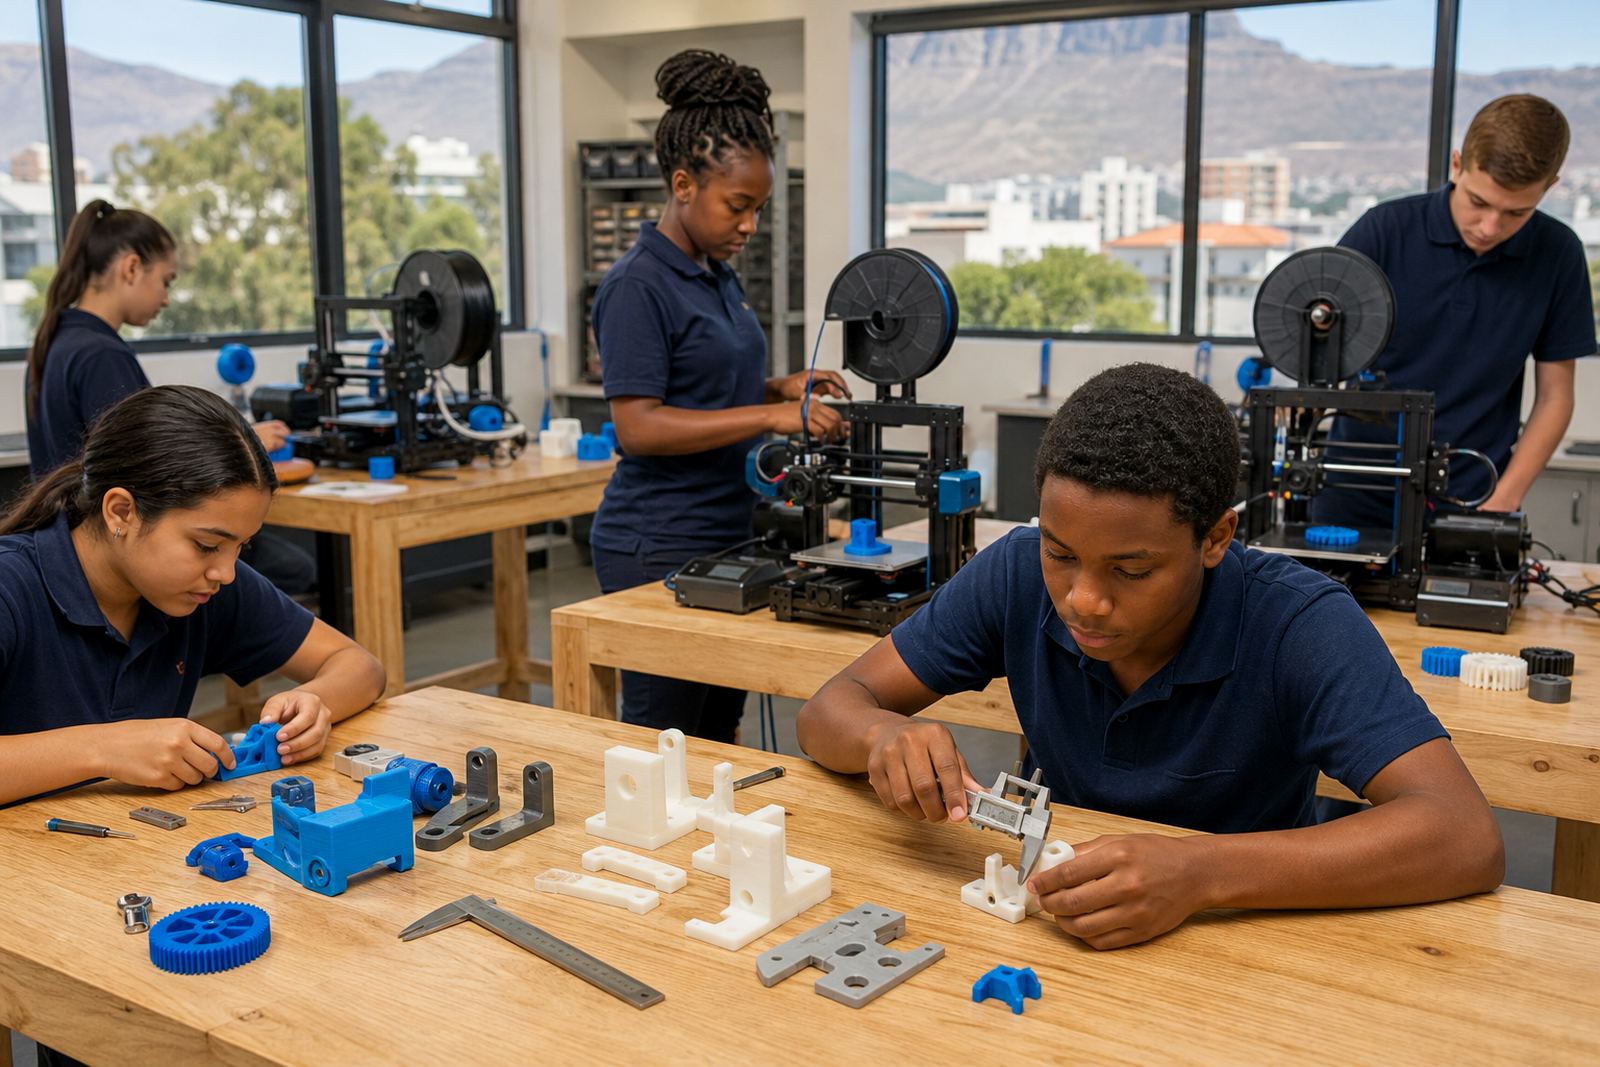
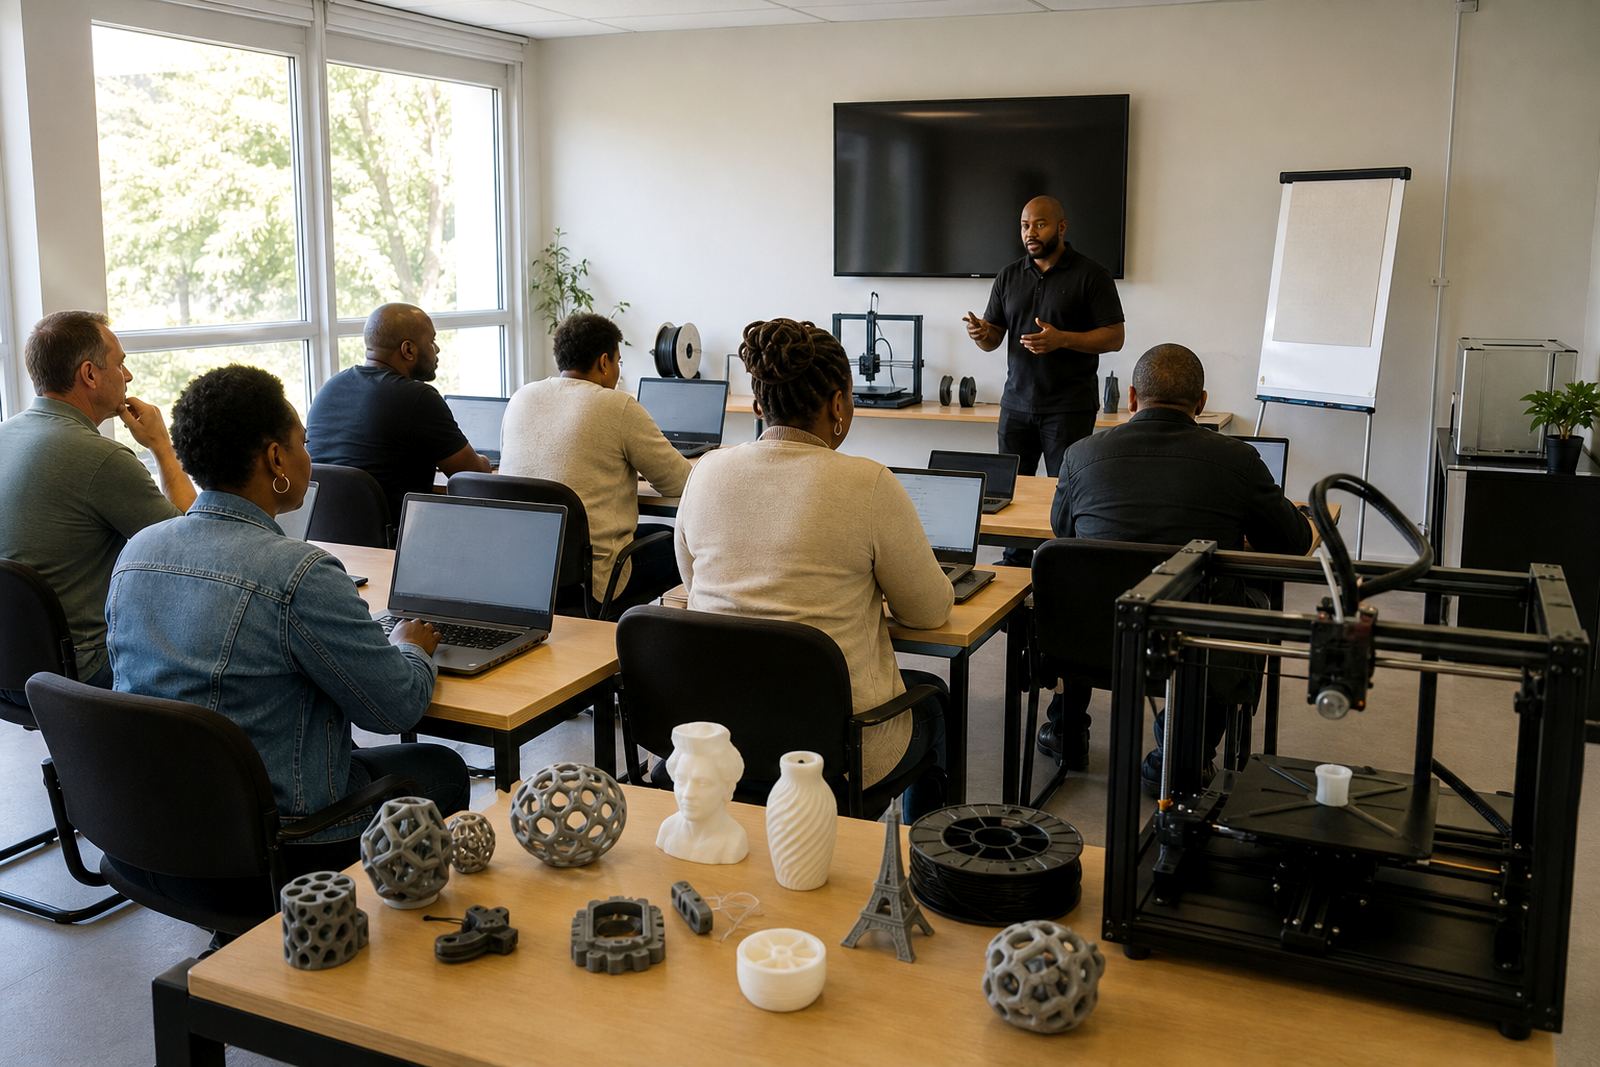
We supplied and demonstrated a compact training-room setup that could be used for teacher demonstrations and small learner groups. The room was arranged around a print station, a prep area for models and tools, and a clear viewing space so every participant could see the process. The layout was kept open, with walking space around the equipment and enough room for a facilitator to move between groups.
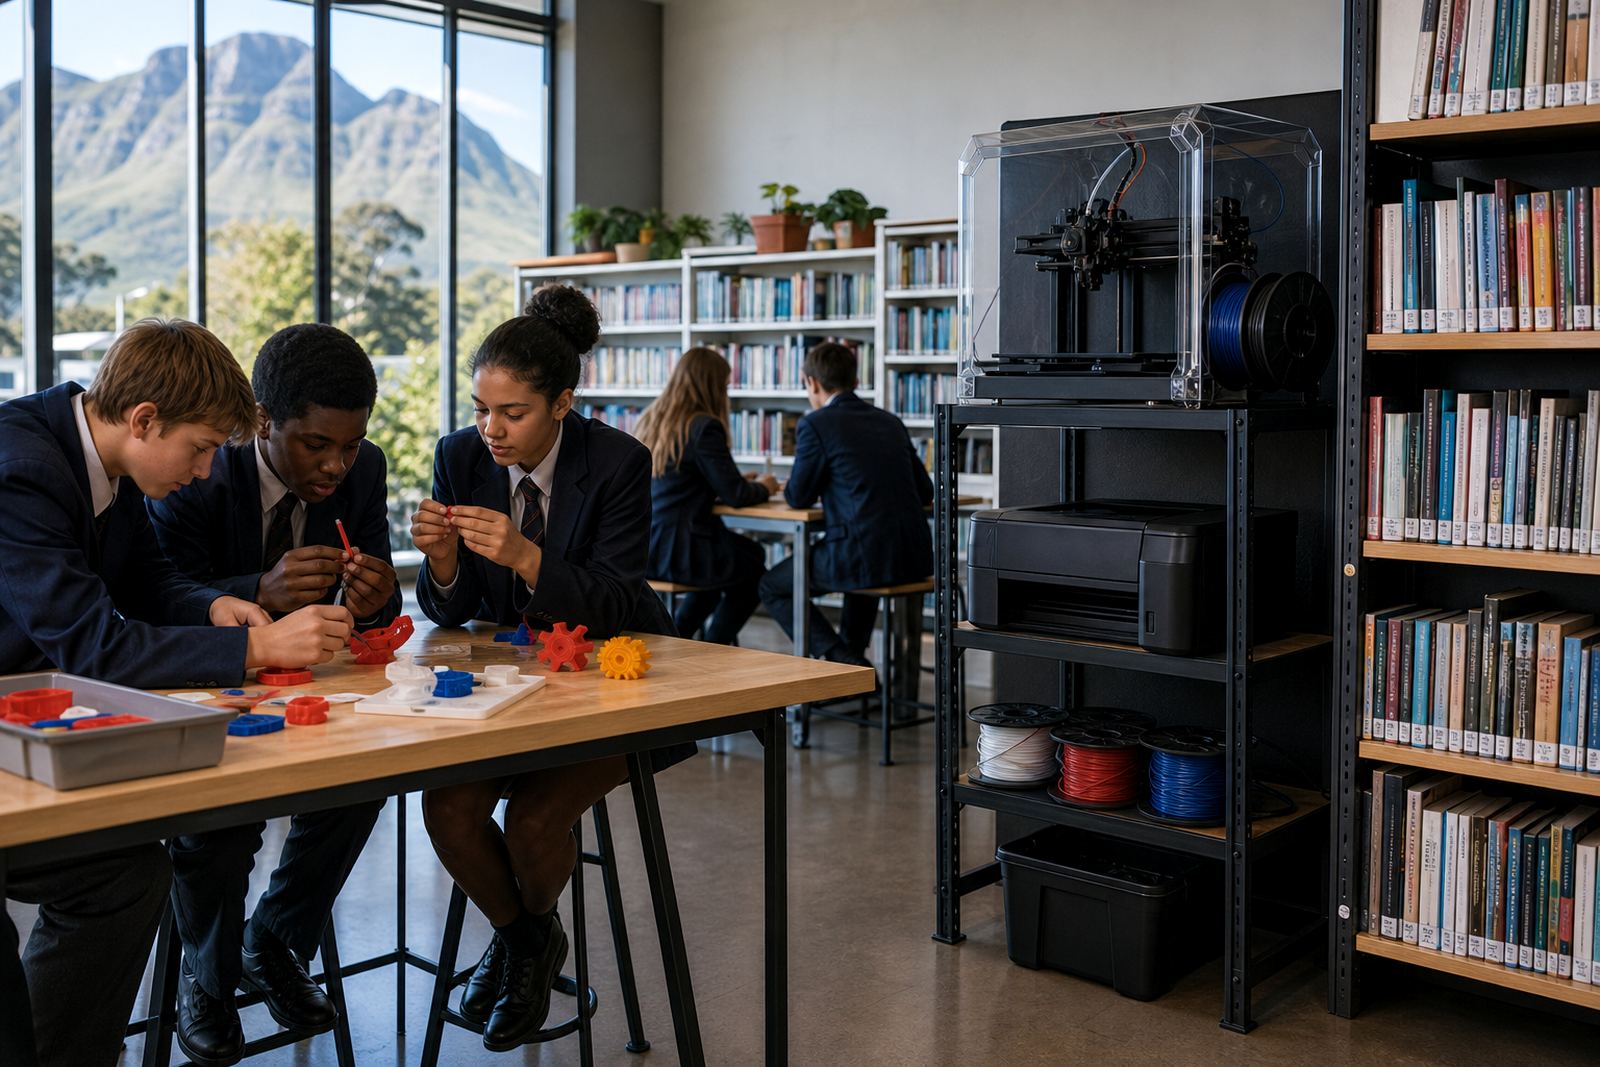
The equipment package focused on everyday school use rather than complex features. It included benchtop printing units, slicing software guidance, filament handling, sample prints, basic tools, safety items and a cleaning kit for routine care. We also covered room placement, ventilation, power protection and storage for materials. In coastal or humid conditions, filament storage matters more than people think, so we showed how to keep spools dry and organised.
- Training-room footprint planned for small group rotation
- Standard 230V power use with surge protection and safe cable routing
- Benchtop printer format suitable for classroom demonstrations
- Filament storage and moisture control covered in the setup
- Basic hand tools and cleaning items included for maintenance demos
How the sessions were delivered over three weeks
The project ran over three weeks, with an introductory session, a hands-on follow-up and a final consolidation visit. Week one focused on teacher confidence and the basics of preparing classroom-ready activities. Week two moved into model preparation, printer operation and print management, while week three dealt with classroom routines, maintenance checks and how to adapt activities for different age groups.
Each session was built around practical examples. Teachers worked through a simple design task, watched the printer stages, and then planned how they would explain the same process to learners. We kept the language plain and the pace steady, because not every participant had used CAD tools before. Where needed, we repeated steps and showed alternate ways to manage the same task if class time was short.
- Week 1: teacher introduction and lab orientation
- Week 2: CAD basics, printer operations and sample activity planning
- Week 3: maintenance basics, lesson recap and classroom use planning
Classroom safety and daily-use reminders
Safety was built into every part of the room briefing. We covered hot surfaces, moving parts, cable management, supervised use and where to place tools after each session. The team also discussed how to keep learners at a sensible distance during active printing and how to separate prep work from the print zone. These reminders were general, but they gave the school a practical routine to follow from day one.
We also addressed municipal and school-site realities that affect the room over time. Dust control, secure storage after hours and tidying the workspace after each lesson all matter. In our experience, a good print room fails when it is treated like a science display instead of an active teaching space. The educators in Pinetown were very clear that they wanted a system they could keep going week after week without extra admin. That was the point of the session, really.
- Keep learners away from moving and heated parts during active printing
- Use supervised access only when tools or knives are in use
- Store filament in sealed containers when not in use
- Switch off equipment and check cables at the end of each lesson
- Keep the room tidy so prints, tools and work surfaces stay usable
What the educators could do after the training
By the end of the project, the educators had a clear starting point for running short, classroom-ready printing activities. They were able to explain the basic workflow, choose simple projects, and manage the room with a practical routine. The team also left with a better sense of what can be taught in one period and what is better left for a follow-up lesson. That matters when the timetable is tight and a class has to move on to the next subject.
The result was not just a better understanding of the equipment. It was a workable teaching plan. Teachers could now prepare a class activity, manage the print queue and review finished items without guesswork. They also had a better idea of what to watch for during everyday use, from nozzle build-up to filament handling. The room became less intimidating, which is often the real barrier in the first place.
- Teachers gained a repeatable lesson flow for beginner activities
- The room was set up for small-group teaching and supervision
- Basic troubleshooting was covered for day-to-day issues
- Sample activities could be adapted for different grades and time slots
What we would do again for a similar school room
If we were doing the same project again for a school in Pinetown, Durban or anywhere else in South Africa, we would keep the structure almost exactly the same. Short sessions, practical examples and a room layout that supports supervision work best. We would also keep the first lesson focused on teacher confidence rather than trying to cover everything at once. In our view, that is the quickest way to make a new print room useful.
We would repeat the same approach for schools that need an introduction to 3D printing before they commit to a larger rollout. Start with the people, then the room, then the activity. That order keeps things manageable and avoids buying equipment before the staff know how they want to use it. It sounds simple, but it saves a lot of confusion later on.
The Pinetown session showed that even a modest training room can do good work when it is planned properly. With the right setup, a teacher can move from curiosity to a classroom task in a matter of weeks, not months. And once the room has a routine, the whole thing becomes easier to run day after day.
Key facts
| Project location | Pinetown, KwaZulu-Natal |
|---|---|
| Project type | Educator training room for introductory 3D printing sessions |
| Timeline | 3 weeks |
| Room use | Teacher sessions, small-group demonstrations and lesson planning |
| Equipment scope | Benchtop printers, slicing guidance, basic tools, filament storage and safety items |
| Training focus | Teacher introduction, CAD basics, printer operations, project planning and maintenance basics |