What the library needed from the maker corner
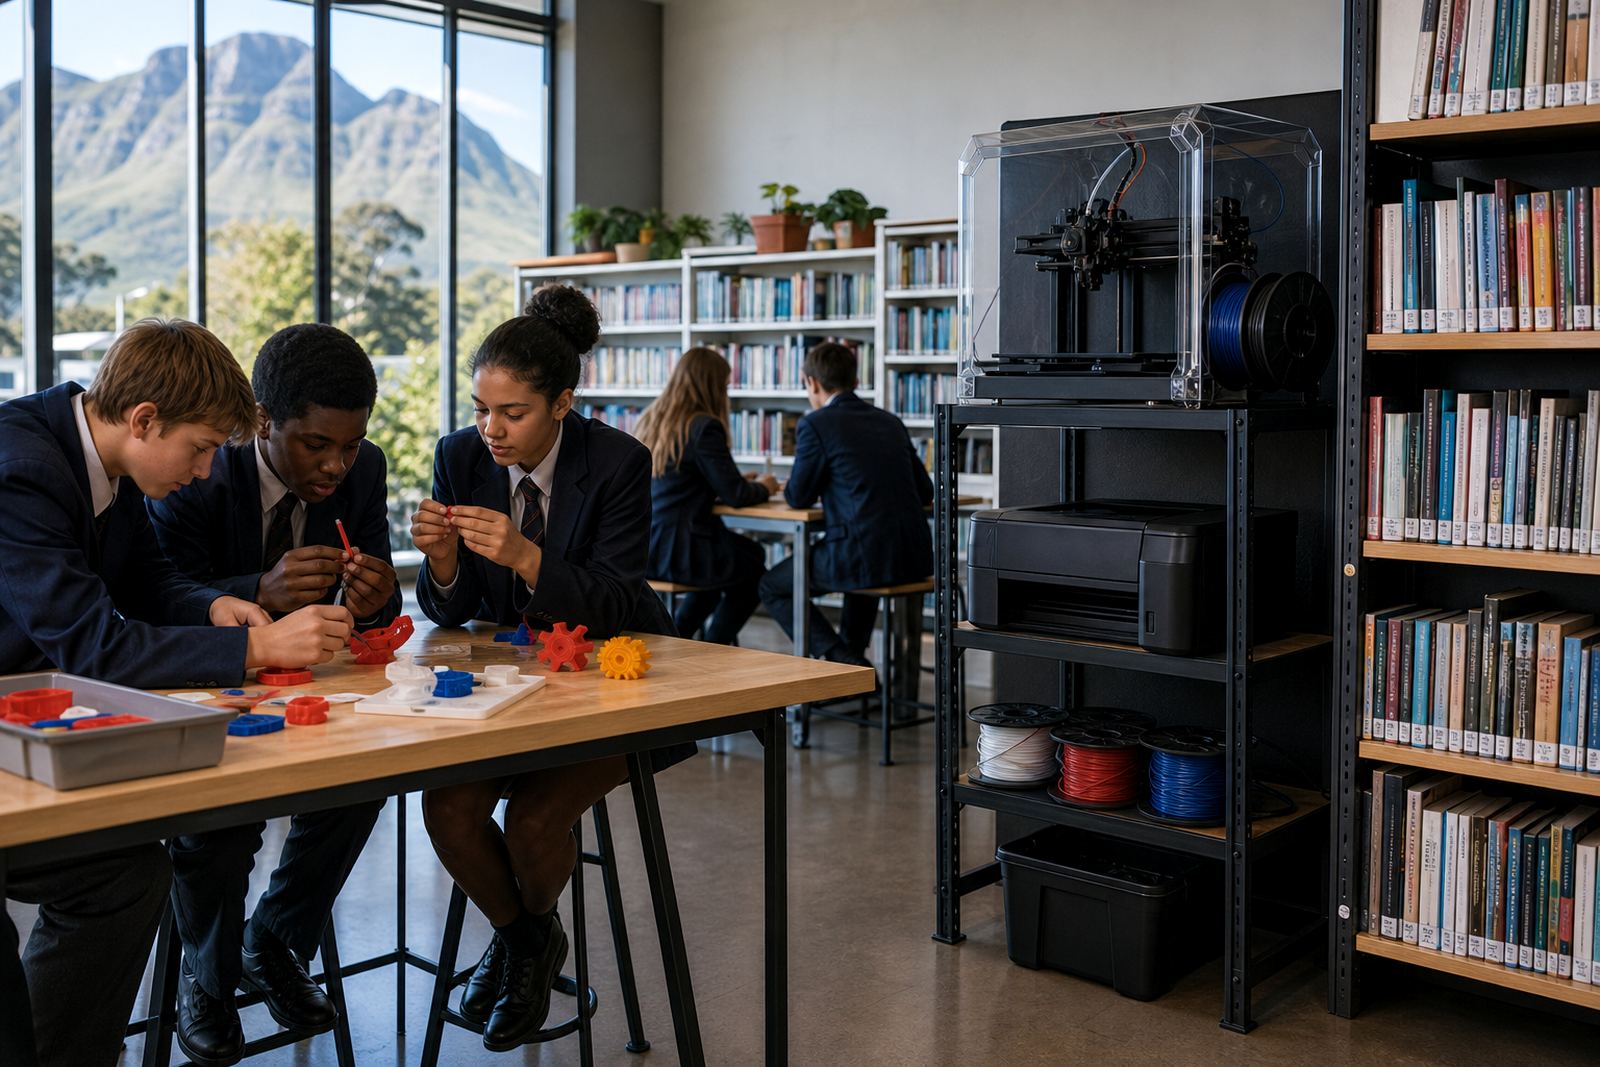
The brief came from a school library team in Cape Town that wanted a practical space for creative project sessions, not a full engineering lab. The corner had to fit into an existing library layout, handle after-school groups and class visits, and still be easy for staff to supervise. The school also wanted something that could be used for introductory CAD work, quick prints and simple finishing tasks without creating noise or clutter in the reading areas.
Because the library serves younger learners and older students, the setup needed to be simple enough for beginners but still useful for teacher-led activities. Space was tight, power points were limited and the site had to stay tidy during the school day. We also had to plan for Cape Town load-shedding and the usual interruptions that come with a busy campus, so the station needed a clear shutdown routine and sensible storage. There was no room for guesswork, and the team wanted a setup that could work from week one.
Constraints we planned around on site
The biggest constraint was floor space. The maker corner had to sit inside a library, so the equipment footprint needed to stay compact and the cable run had to be kept neat and safe. We also had to work around movement between shelves, reading tables and the library counter, which meant no loose boxes or tools lying around. The school asked for a solution that would not overwhelm the room with heat or noise, especially during teaching periods.
Another practical issue was print management. The library team wanted to support project work without exposing learners to unnecessary risk, so we kept the operation model straightforward: supervised use only, clear start and stop steps, and a stored materials routine that staff could follow. We also reminded them that any workshop space in a school should have basic ventilation, no open drinks near the machine, and a strict no-touch rule while the printer is moving. Small thing, but it matters when learners are curious.
- Compact footprint for a library alcove
- Quiet enough for shared indoor use
- Clear storage for filament, tools and finished parts
- Simple routine for power cuts and safe restart
What we supplied and set up
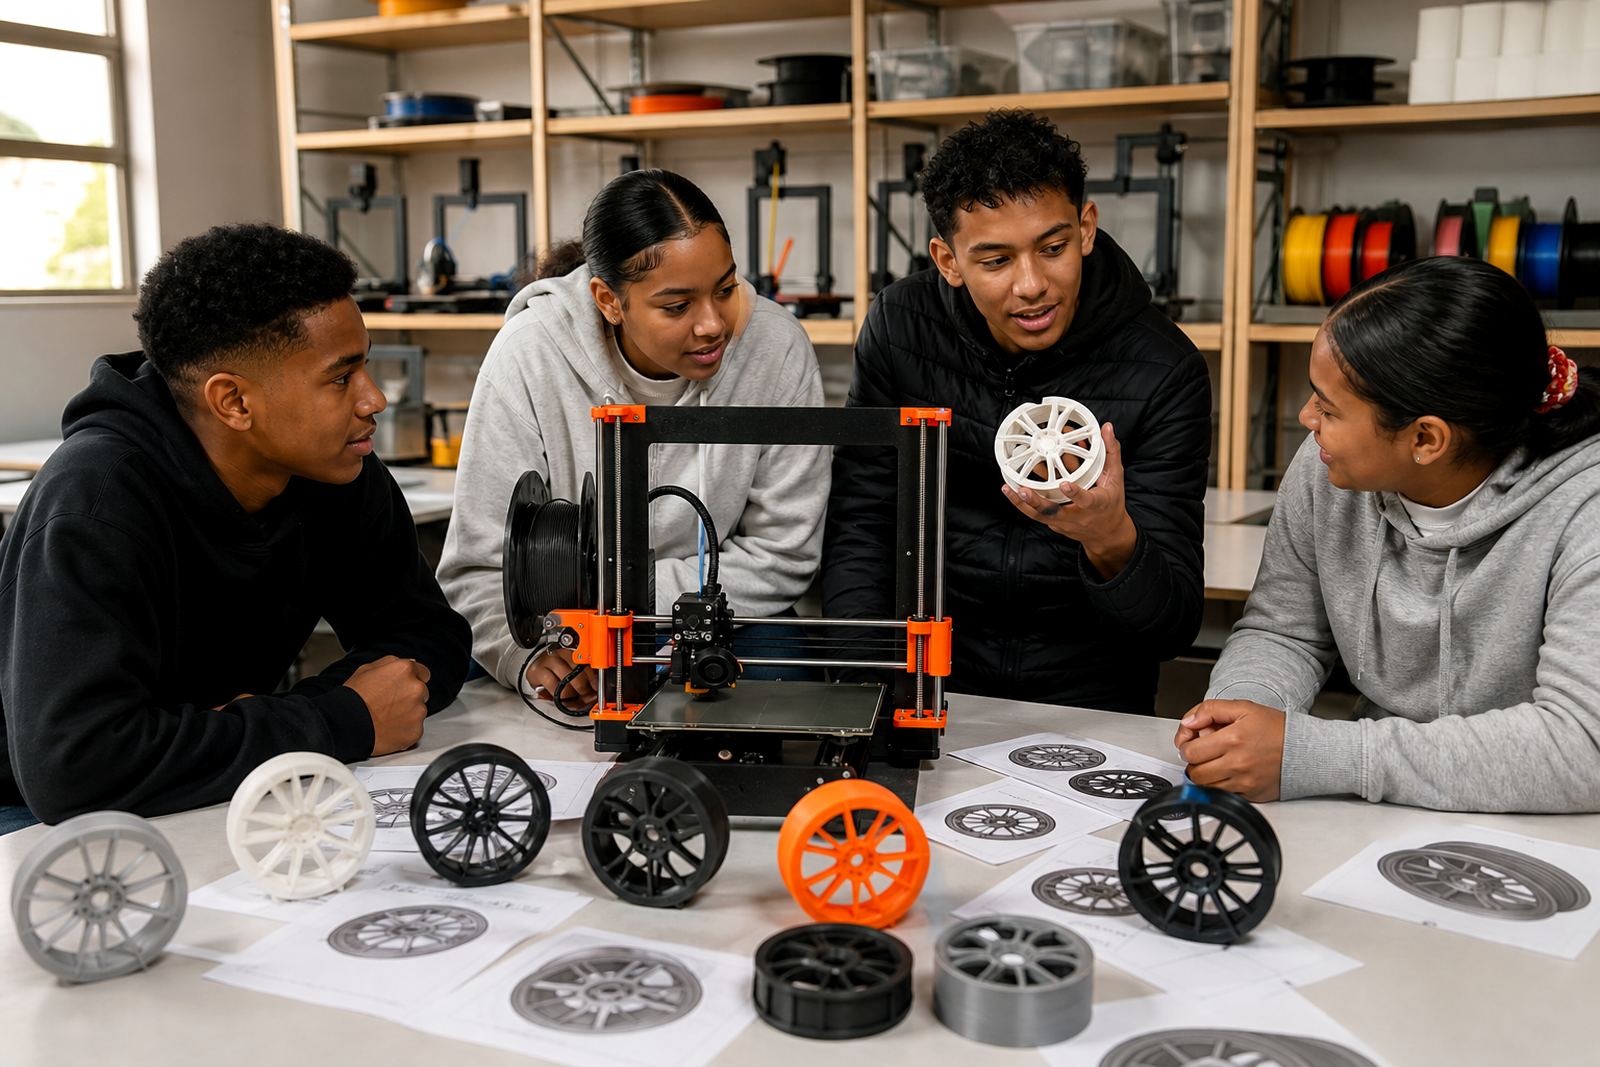
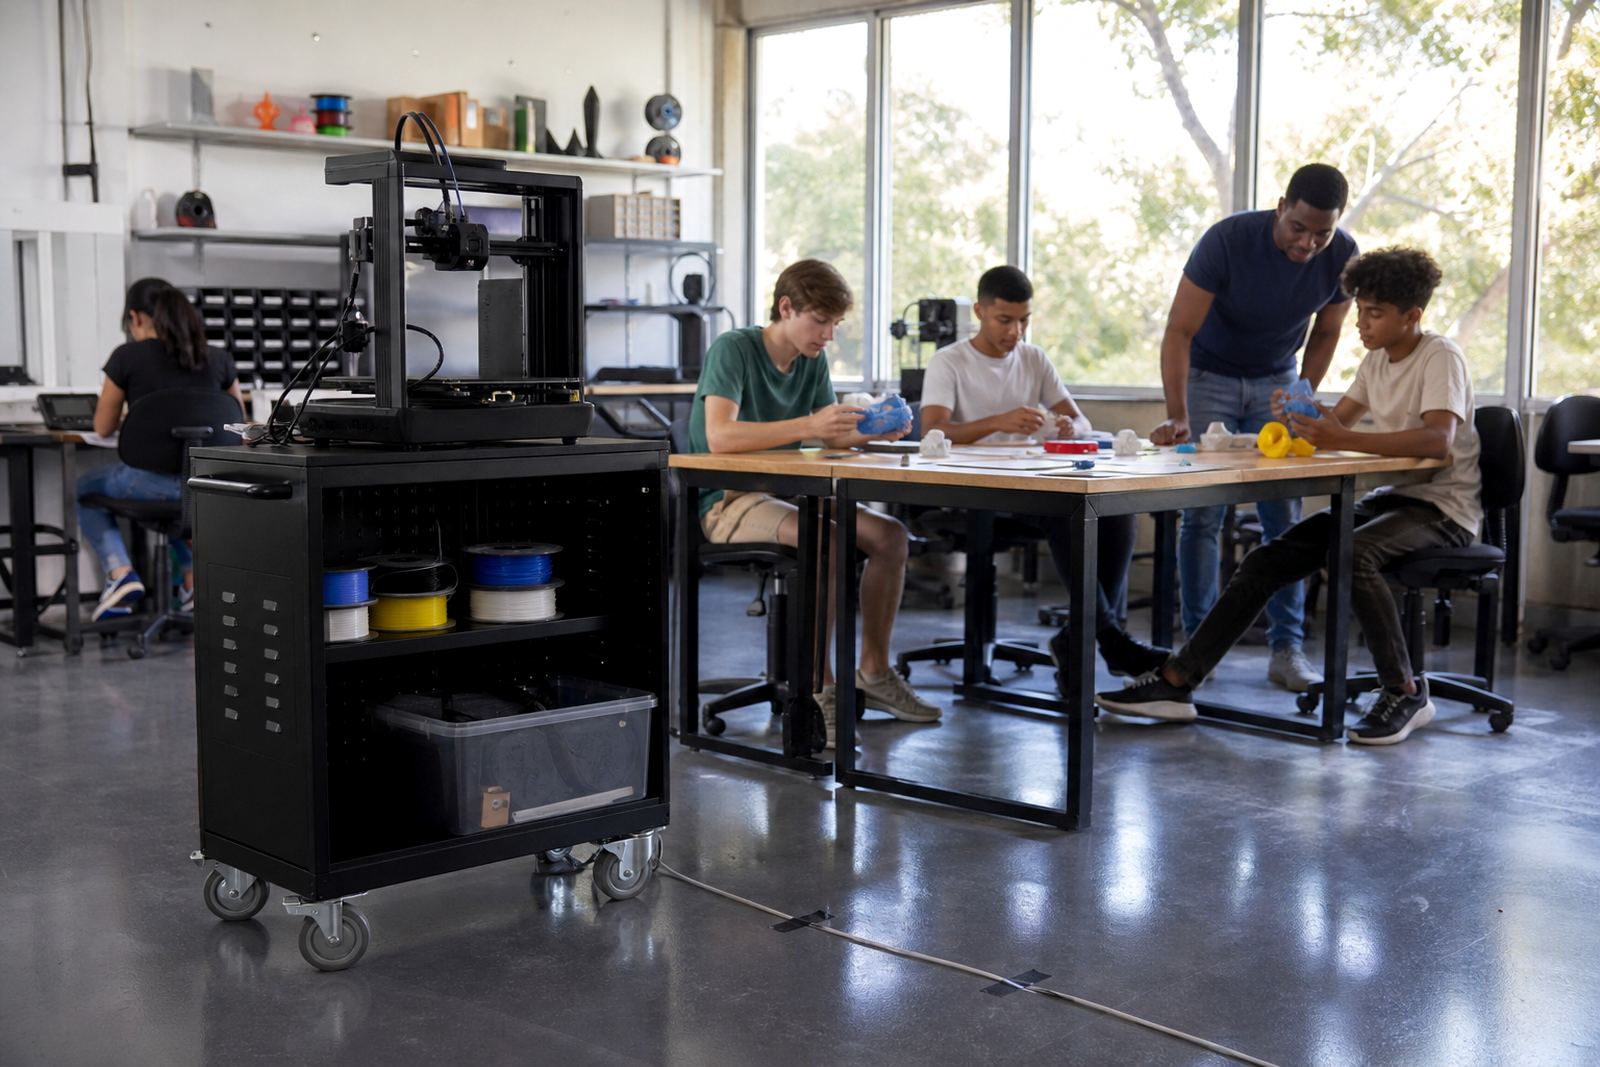
We supplied a compact print station suited to classroom and library use, including a benchtop 3D printer, a power backup approach for short interruptions, a print surface, starter filament, basic hand tools and labelled storage for consumables. We also added a small parts tray, safety reminders, calibration tools and a printed workflow sheet for staff. The aim was to make the space usable by teachers without needing a technical background every time a print was started.
During the setup, we positioned the printer where staff could see the build area easily from the library counter. We checked the airflow around the machine, confirmed the electrical load and set up a predictable filament change routine. We also worked through the first slicing profiles with the team and ran test prints so they could see how much time different objects take. The result was a station that fit the room and did not ask for constant attention.
- 1 compact FDM benchtop printer
- Starter filament in school-friendly colours
- Basic tools for bed prep and part removal
- Labelled storage tubs for accessories and prints
- Printed start-up and shutdown checklist
Training for teachers and library staff
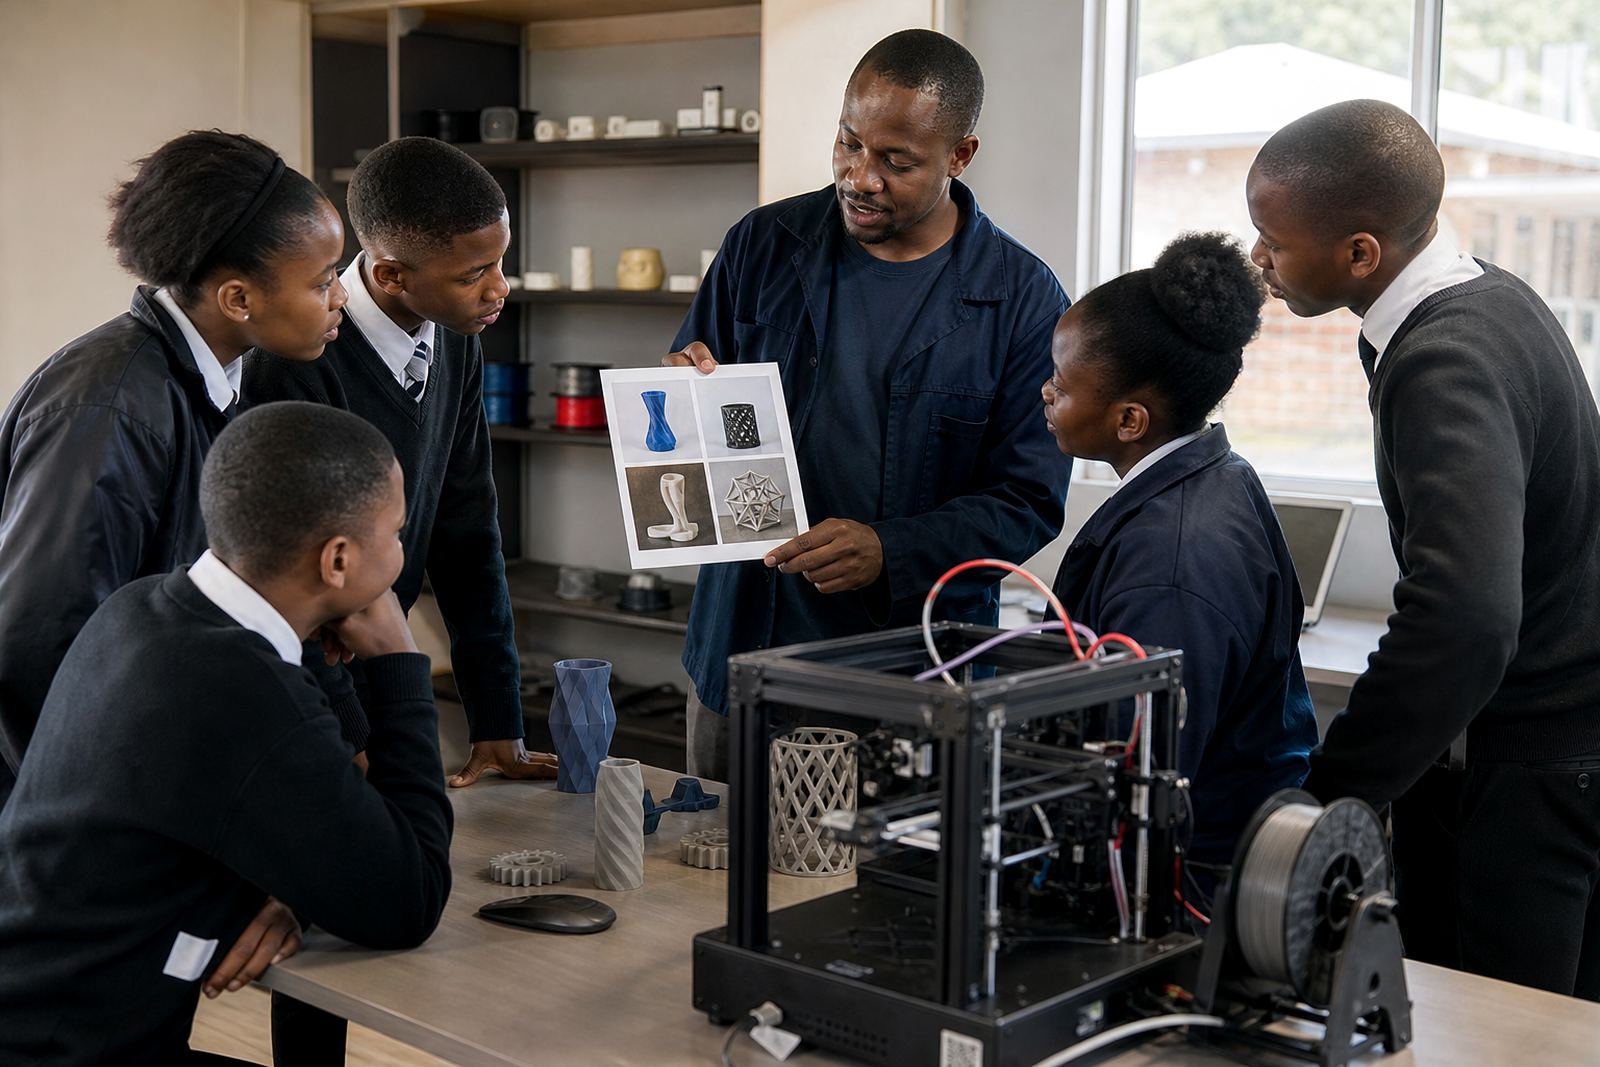
We ran a short training programme for the teachers and library staff who would be supervising the corner. The focus was on the practical side: how to prepare a model, start a print, recognise common faults and stop the machine if something looked off. We also covered how to handle student requests during busy periods, because a library can become crowded quickly when learners see a printer in action.
The team received step-by-step guidance on basic CAD navigation, printer operation, print recovery and routine cleaning. We also covered how to keep the work area orderly between sessions. That included a simple rule set for safe use, such as keeping hands clear of hot parts, storing loose tools after each lesson and not leaving prints unattended once a job had ended. We kept the training practical and short enough for a school timetable, with time for questions and repeat demonstrations.
- Teacher introduction to 3D printing workflow
- Printer operation and basic fault checks
- Beginner CAD demonstration for project planning
- Safe handling of tools, filament and warm parts
- Session reset routine for the next group
Project timeline and handover
The project ran over three weeks from first site discussion to handover. Week one covered the brief, measurements and equipment list. Week two was used for delivery, placement and the first round of setup checks. In week three we completed training, tested a few sample prints and handed the corner over with clear notes for daily use. It was a tight schedule, but manageable because the school knew exactly what it wanted.
By the end of the handover, the library team had a working station and a simple routine for opening, closing and cleaning up after sessions. The first test pieces included project models, name tags and small learning aids used in class work. One note from the staff was that the corner felt much more organised than they expected, mainly because every accessory had a home and the workflow was easy to follow. That little bit of order makes a big difference in a busy school setting.
Results for library-based project learning
The maker corner gave the school a place where learners could see ideas become physical objects without leaving the library. Teachers used it for project planning, model making and short demonstrations, while the library team could still keep the room calm and usable for regular reading periods. The setup also gave the school a simple way to introduce 3D printing without committing to a large lab space.
What changed most was access. Learners could now work on design ideas in smaller groups, test a concept and then make a printed version for presentation or classroom discussion. The school did not need a complex technical process to get there, just a well planned station and staff who knew the basics. We would approach a similar project the same way again: keep the footprint small, train the people who will use it, and build in a clear shutdown routine for load-shedding and daily school use.
- Shorter path from concept to printed sample
- Better supervision for mixed-age learner groups
- Cleaner storage and less clutter in the library
- Simple handover that staff could manage day to day
What we would do again on a similar school site
For another library or school corner, we would again start with the room layout before choosing any equipment. That means checking power access, ventilation, movement flow and where the printer can be seen without getting in the way of library use. We would also keep the first setup compact and build out from there only once the staff are comfortable. There is no point in overloading a small learning space with extra gear that never gets used.
We would also keep the training focused on real school tasks rather than abstract features. Teachers need to know how to start a print, recover from a failed job and keep the corner safe during busy times. If the site is in a coastal area, we would add a few extra checks for moisture and storage, because filament can pick up dampness quicker than people expect. A practical setup usually works best when it is simple, tidy and easy to maintain. That way the maker corner becomes part of the school routine instead of a project that needs constant babysitting.
Key facts
| Project type | School library maker corner |
|---|---|
| Town | Cape Town, Western Cape |
| Timeline | 3 weeks |
| Equipment supplied | Compact benchtop 3D printer, starter filament, tools and storage |
| Focus | Teacher-led project sessions and beginner 3D printing |
| Support included | Site setup, staff training and handover checklist |