The brief for a rotating workshop space in Midrand
The client was a shared workshop space in Midrand used for youth sessions, after-school groups and small adult training blocks. They wanted a 3D-printing area that could be rolled out for a class, packed away after use, and kept tidy in a room that also served other activities. The main ask was simple: set up something practical that did not need a full dedicated lab, but still felt organised and ready for teaching.
They also wanted the space to cope with mixed group sizes, from small teacher groups to larger learner sessions. Because the room changed use during the day, the equipment had to be compact, quiet enough for discussion, and safe for first-time users. In Midrand, space gets used hard and fast, so the layout had to work without fuss.
- Flexible use for rotating groups
- Short teaching sessions of 30 to 90 minutes
- Mobile equipment that could be stored after class
- Clear supervision points for the instructor
What made the room difficult to equip
The room had limited fixed bench space, a standard power supply, and only one area where cable runs could be kept out of the way. The client also needed a setup that would not be affected by the usual load-shedding interruptions that affect planning in Gauteng. We therefore had to think about restart procedures, safe cooling time, and the best way to keep prints and tools together between sessions.
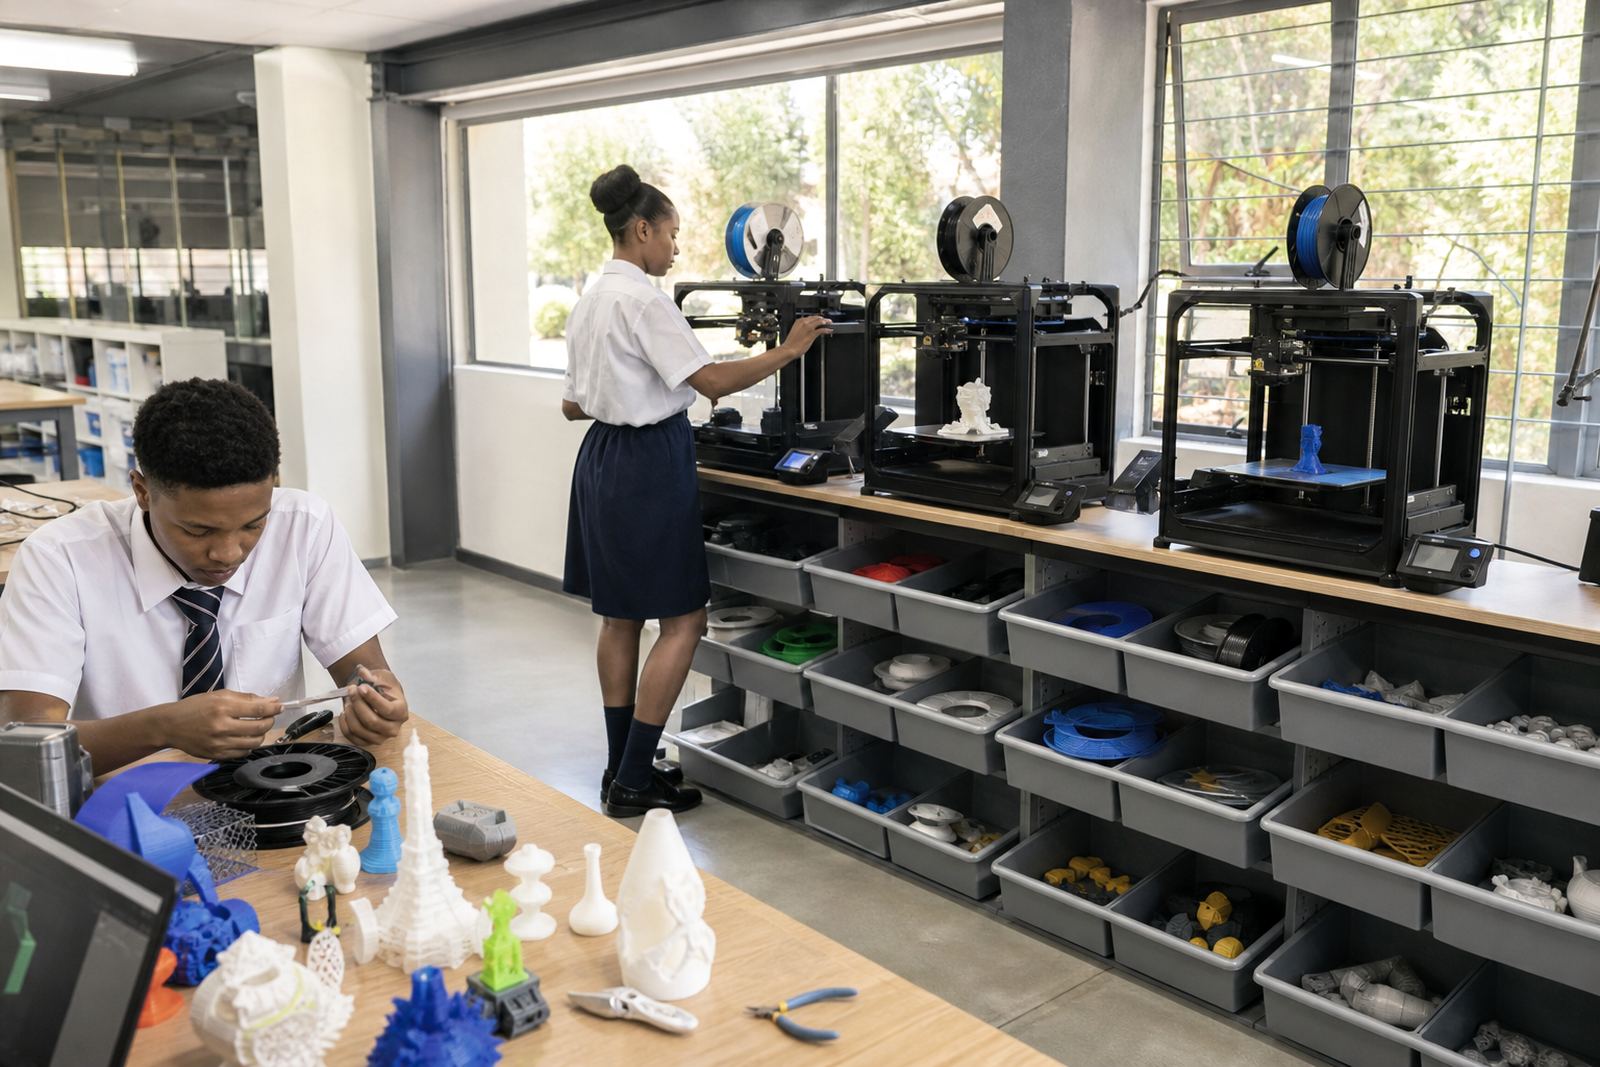
Another constraint was noise and dust control. The workshop was used for group work, so loose filament, tools and paper notes could easily get mixed up. We planned a layout that kept materials in labelled storage, with the printer area separated from the learner table. That small change made the room much easier to manage, and it reduced the chances of accidental handling while a print was still hot.
- Limited bench space and shared room use
- Need for safe handling during power interruptions
- Storage needed to be compact and clearly labelled
- Setup had to suit quick reset between groups
Mobile lab kit supplied and how it was arranged
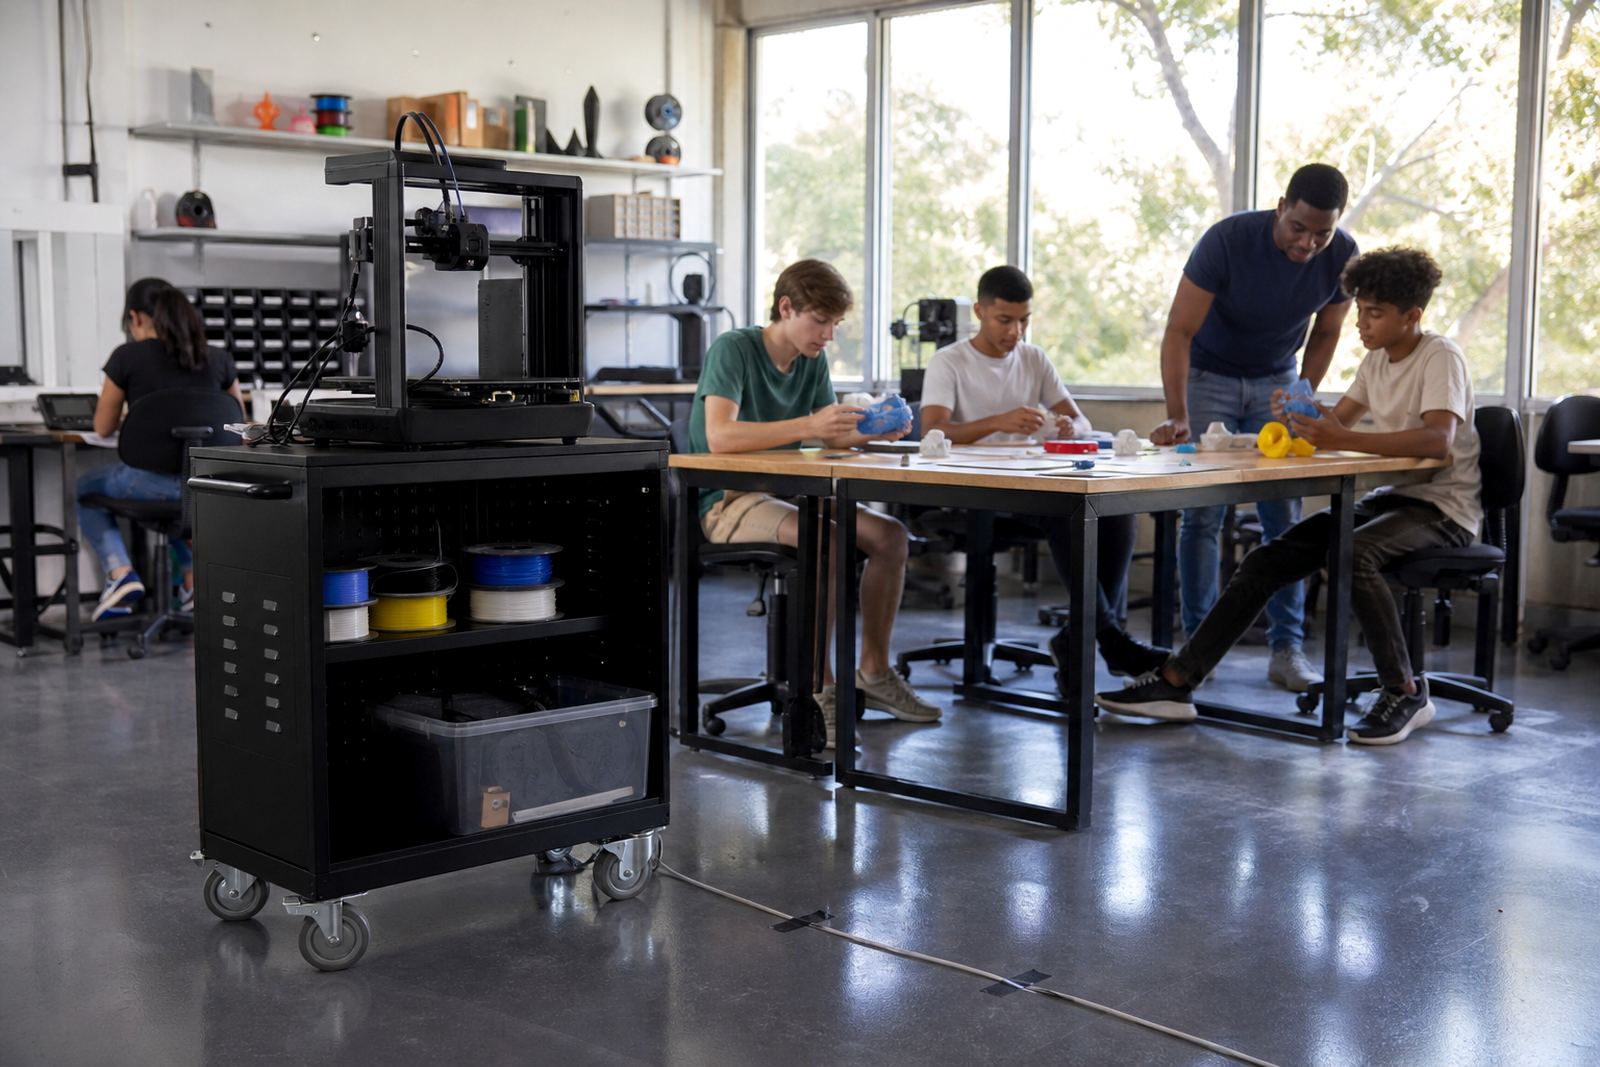
We supplied a mobile classroom-style 3D-printing kit with a focus on movement, visibility and basic supervision. The core setup included compact benchtop printers, lockable storage for tools and filament, a prepped work surface, and simple job cards for teaching each stage. We also added safe handling items for hot parts, spare nozzles, bed-cleaning materials and a small maintenance pack for day-to-day checks.
The kit was arranged so that one person could wheel it in, power up, and start a session without moving too many parts around. The printers were positioned for clear viewing from the front and side, and we set out a workflow that moved from design, to slicing, to printing, then cooling and removal. That sequence helped the facilitators keep each group on the same page, even when sessions changed during the week.
- Compact benchtop printers for classroom use
- Lockable storage for filament and tools
- Teaching aids for design, slicing and print removal
- Basic maintenance pack for nozzles, beds and clean-up
Training the team to run short sessions well
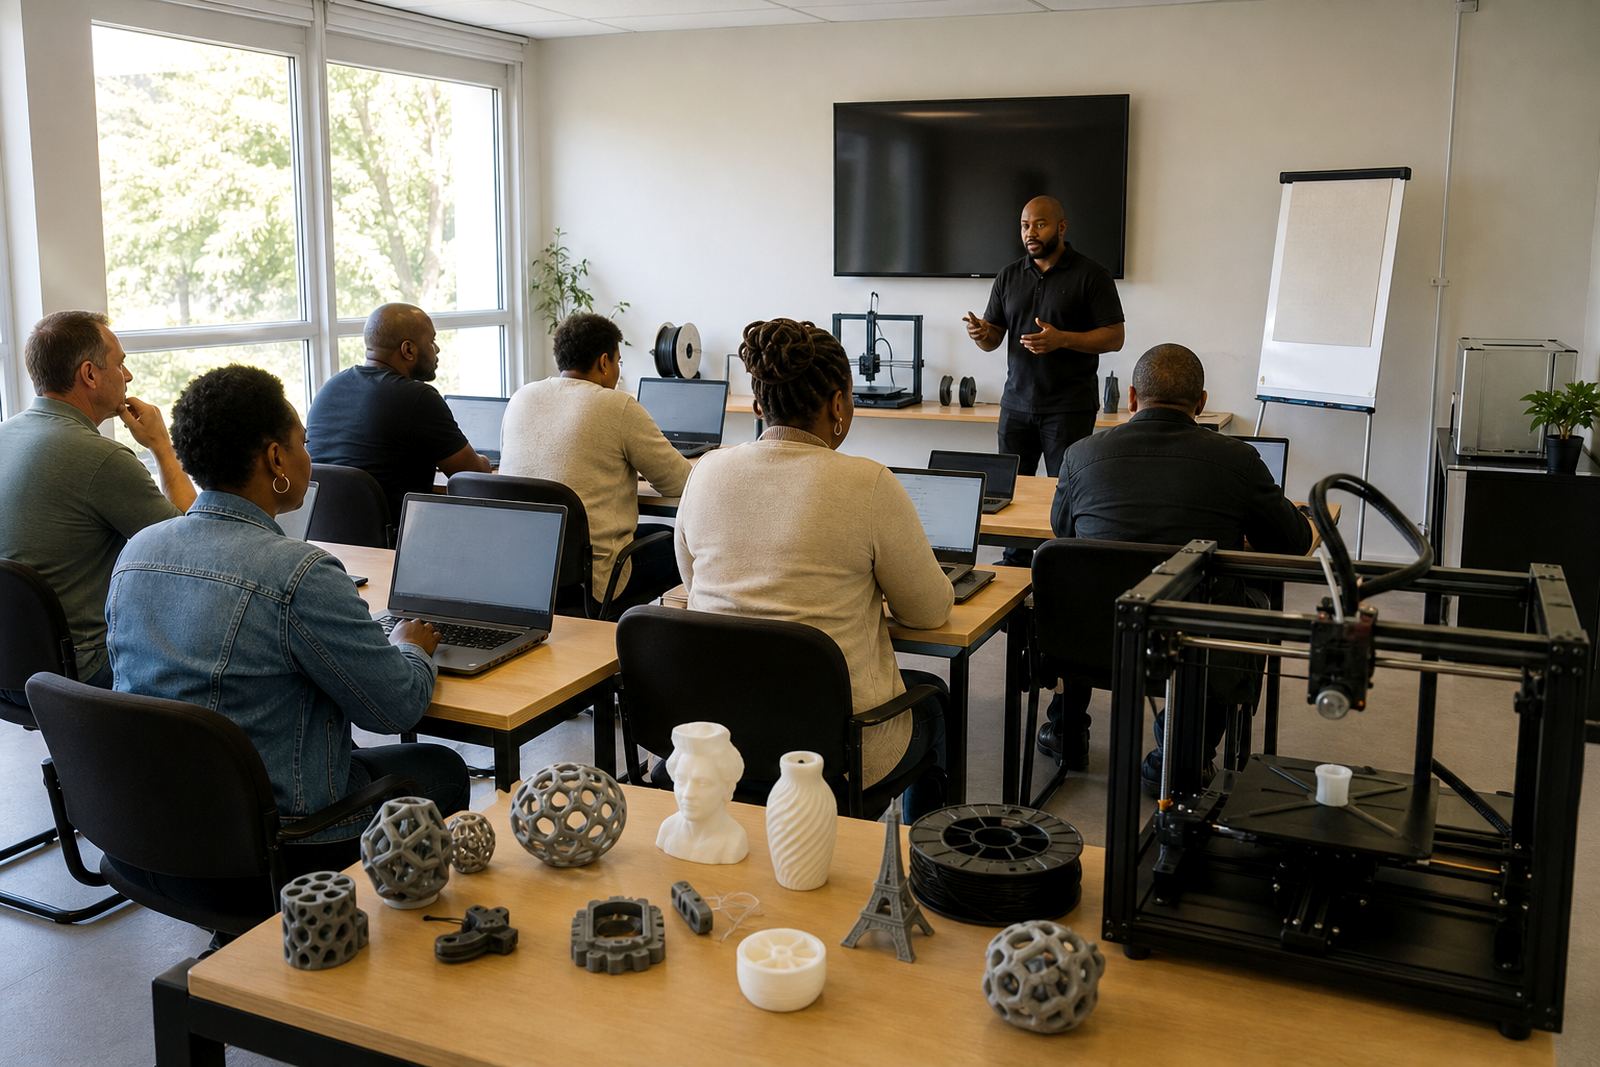
We spent time with the facilitators on printer operation, classroom flow and basic troubleshooting. The aim was not to turn everyone into a technician, but to give them the confidence to run repeatable sessions with fewer stoppages. We covered first-layer checks, bed levelling, filament loading, safe tool use and what to do when a print fails halfway through. The team also learnt how to keep the group busy while one machine finished a job.
For the teaching side, we shaped the content around short modules that could fit the workshop schedule. This included an introduction to CAD basics, simple object creation, printer start-up, and a small planning task where learners mapped an item from idea to finished print. The facilitators liked that the content could be split across a few visits, because not every group had the same skill level or time available. There was a bit of learning curve at the start, but it settled quickly.
- Printer start-up and shutdown routines
- Bed levelling and first-layer checks
- Filament loading and basic fault spotting
- Short lesson flow for mixed-age groups
Timeline from first visit to first class
The project ran over three weeks from the first site discussion to the first full workshop session. Week one was the needs review and room check, including power points, storage space and the safest position for the printers. Week two covered supply, layout, and the initial setup of the mobile kit. Week three was training, test prints and a live run-through with the team so they could see how the room would work in practice.
We also used the final week to confirm the reset process after each class. That included unplugging and cooling the machines, returning tools to storage, and keeping printed parts separate from fresh stock. The client wanted a system that staff could repeat without needing a long checklist every time, so we kept the steps short and practical.
- Week 1: site review and room planning
- Week 2: supply and setup of mobile kit
- Week 3: training, test prints and handover
- Simple reset process for daily use
What changed after the setup went live
Once the mobile print setup was in use, the workshop space could move between groups with far less disruption. The facilitators had a clear routine, learners had a better view of the process, and the room stayed usable for other activities after each session. Print jobs were easier to track, and the storage system meant fewer missing tools and less time spent looking for items between classes.
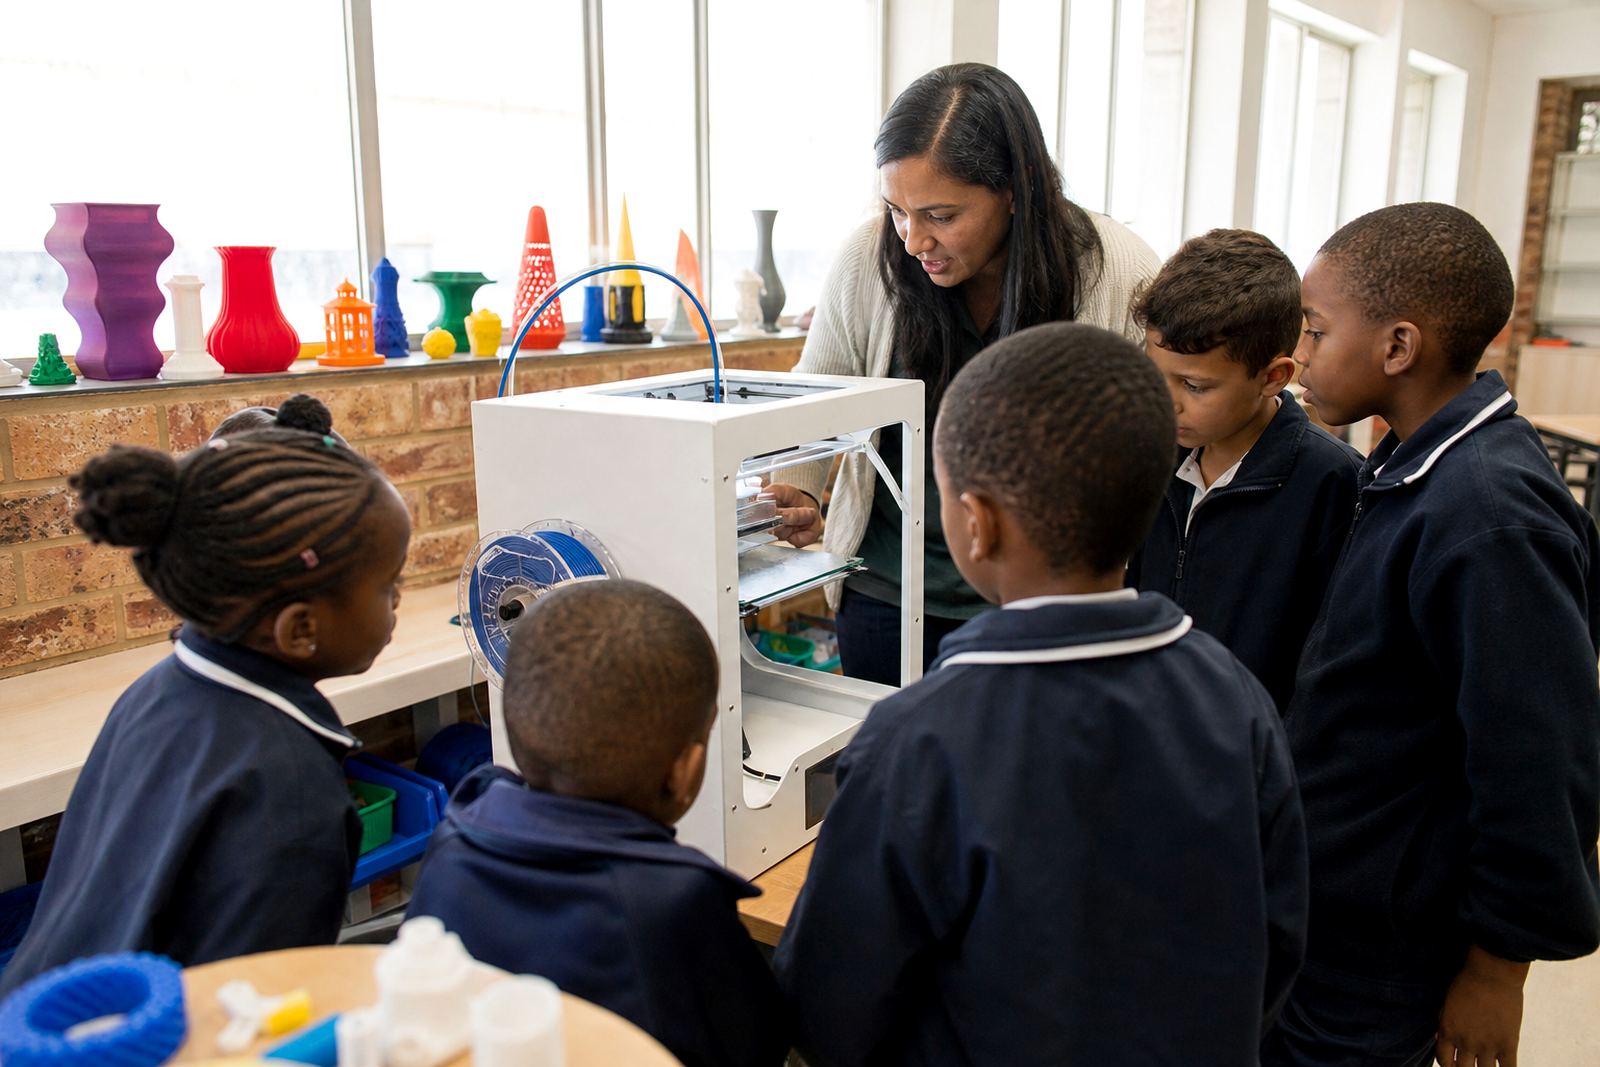
One of the strongest outcomes was confidence. Staff no longer had to guess what to do if a print stopped or if the room needed a quick reset after load-shedding. They had a method that made sense. Learners also responded well to the hands-on setup because they could see each step, from model preparation to the finished object. For a busy site in Midrand, that clarity matters more than fancy equipment.
- Faster room reset between groups
- Better supervision and clearer learner flow
- Fewer tool mix-ups and lost items
- More consistent print handling during weekly use
What mattered most on this workshop site
For a workshop space like this, we would use the same approach again: keep the kit mobile, make the teaching steps short, and plan the room around safe handling and quick storage. That combination works well where one room has to do several jobs. It is especially useful in places where power interruptions, limited storage and mixed user groups are part of the normal week.
We would also keep the same focus on staff handover. A good setup is only useful if the team can run it without stress, and that means clear routines from the start. For this kind of site, practical always beats complicated, and the best results come from a system people can actually keep using. It is a simple idea, but it saves time every single week.
- Keep the print area mobile and compact
- Use short lesson blocks with simple handover steps
- Plan for safe cooling and storage after each session
- Build the setup around the room, not the other way around
Key facts
| Project location | Midrand, Gauteng |
|---|---|
| Client type | Shared workshop space for rotating groups |
| Timeline | 3 weeks from site review to handover |
| Setup type | Mobile 3D-print classroom kit |
| Key equipment | Benchtop printers, lockable storage, work surface, maintenance pack |
| Training focus | Printer operation, CAD basics, classroom flow and safety |