What the school wanted in Paarl
The main constraints were space, learner age and supervision. Younger learners need clear boundaries, so the setup had to keep moving parts, hot surfaces and tools under control. The school also needed a layout that would not crowd the room or create confusion during handover between classes.
We planned the room around a small number of work points, visible demonstration time and a separate area for finished prints to cool. Because schools in coastal and inland parts of the Western Cape can face different humidity levels and dust issues, we kept the equipment placement practical and easy to clean. The school also wanted a plan that would still make sense if power was interrupted mid-session.
- Limited floor space in a primary classroom setting
- Supervision requirements for younger learners
- Practical use during electricity interruptions
- Simple cleaning and safe storage between lessons
What we supplied and set up
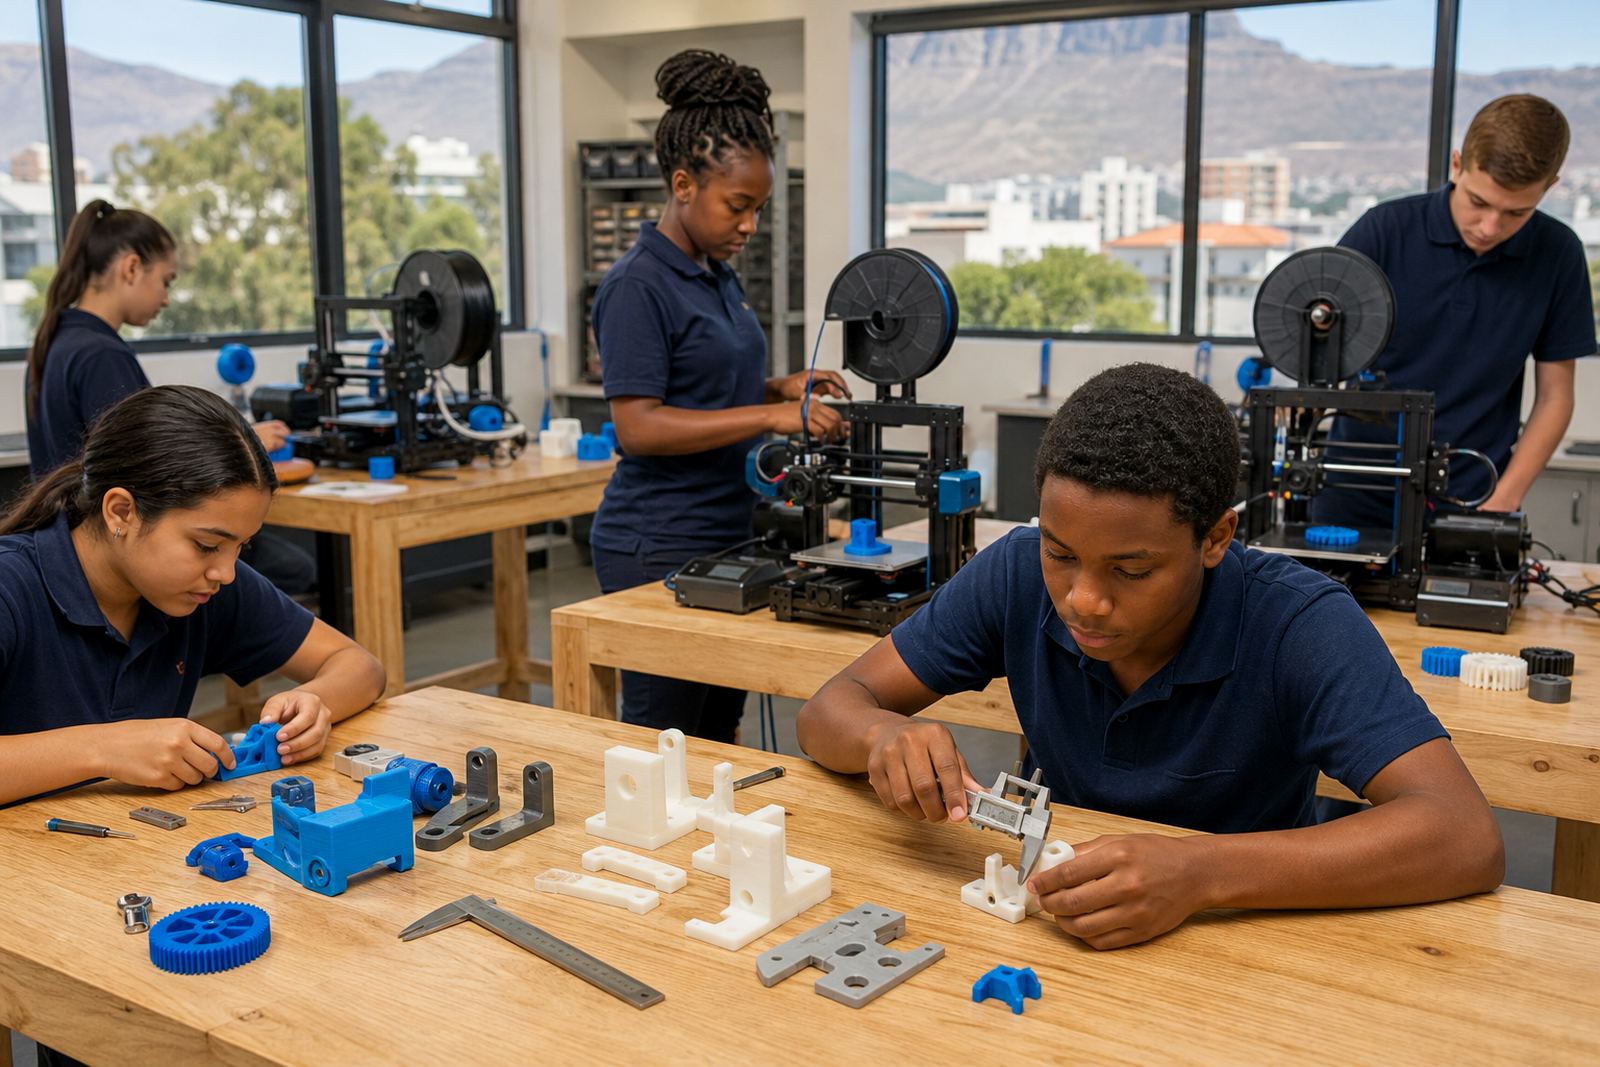
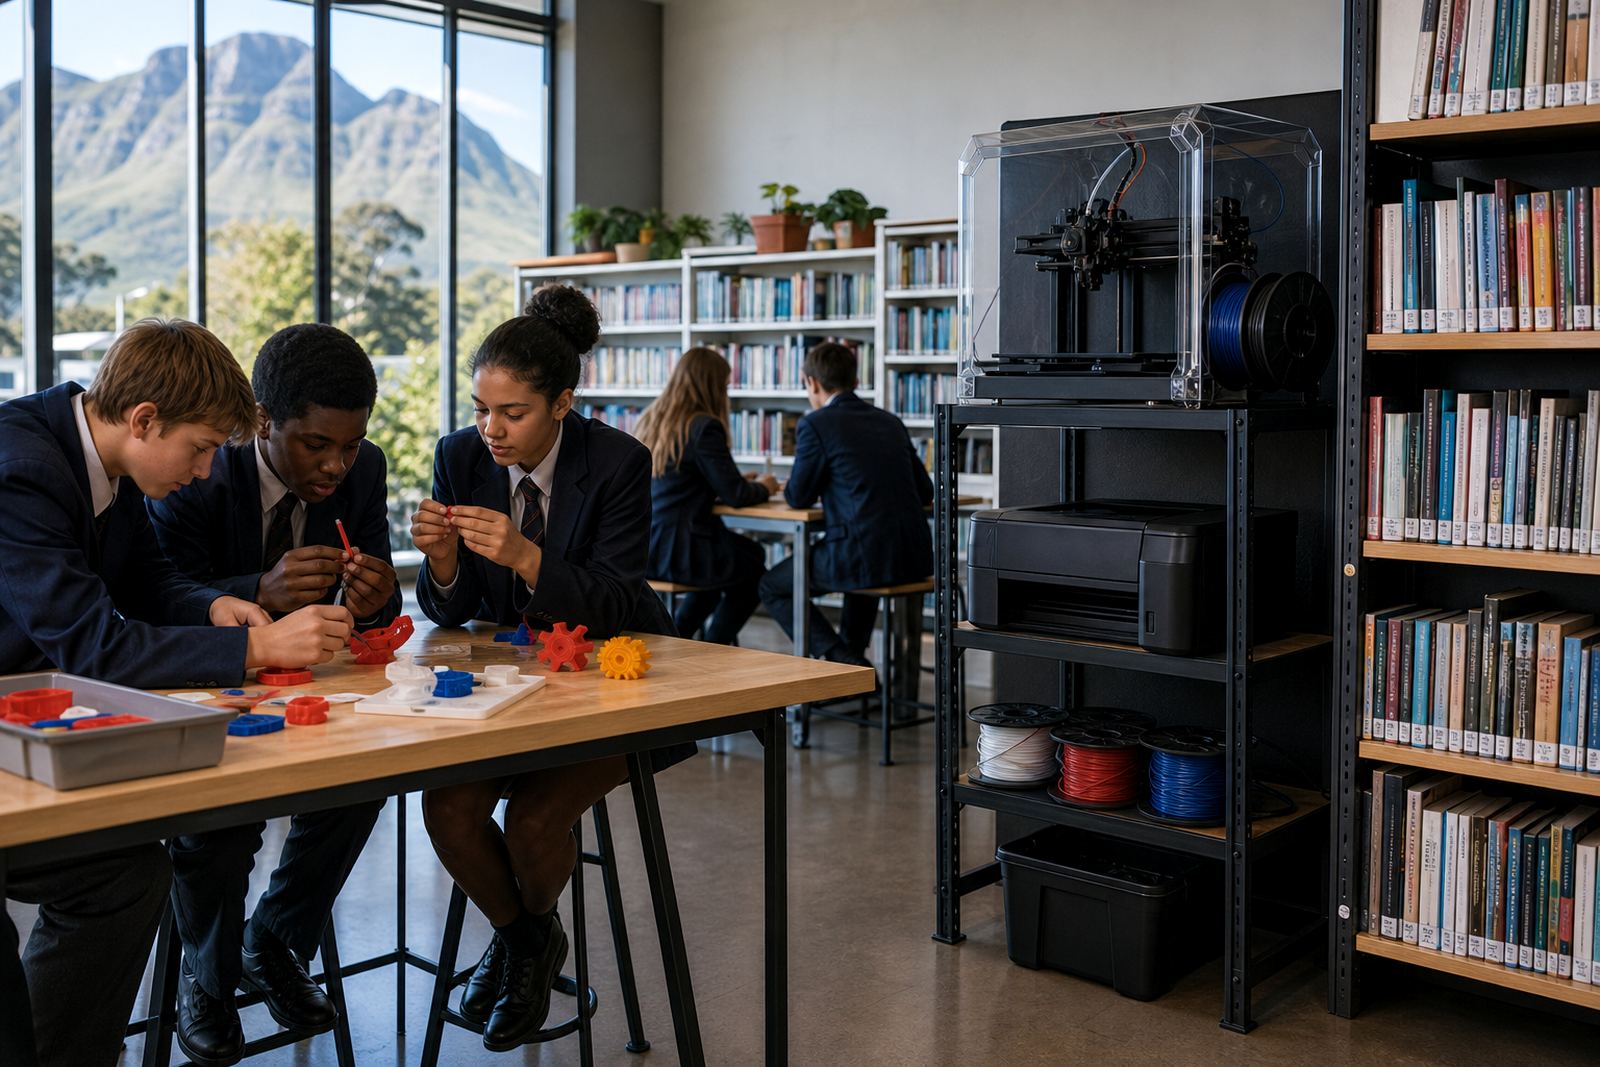
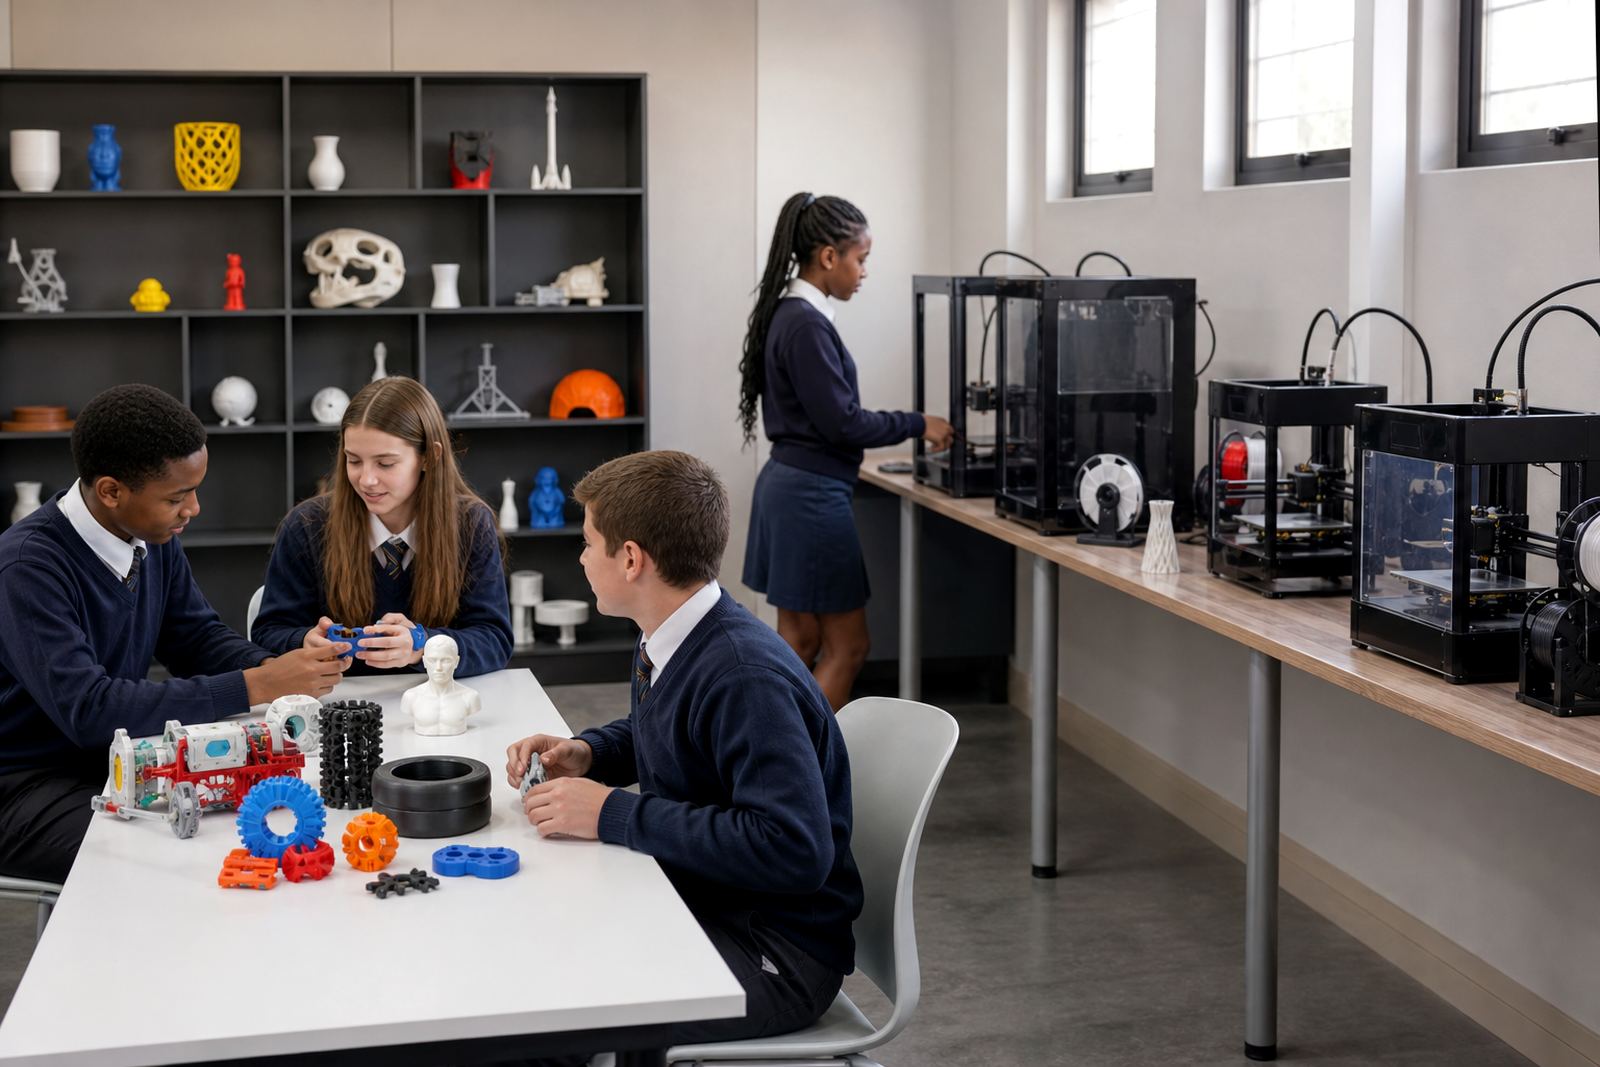
We supplied a school 3D-printing lab kit built around classroom use rather than industrial output. The kit included benchtop printers, sample filament, basic tools for safe model removal, spare nozzles, cleaning items and a storage plan for consumables. We also provided printed lesson support materials that teachers could use straight away.
Our team handled the room layout, first-run testing and teacher orientation. Lwazi Molapo led the training plan, while Lizanne Rossouw handled the school lab side of the project. Lwandle Msiza supported the technical setup and Rivaaz Nair ran the practical workshop sessions with staff. The aim was to keep the learning process steady and easy to repeat.
- Benchtop printers sized for classroom use
- PLA filament for basic school projects
- Starter tools for safe print removal and cleanup
- Sample files for low-complexity learner models
- Teacher notes for supervision and class flow
How the rollout ran over three weeks
The project was completed over three weeks. In week one, we confirmed the room plan, checked power points and defined where printing, cooling and storage would sit. In week two, the equipment was installed, tested and adjusted so the school could handle everyday use without unnecessary steps. In week three, we trained staff on printer operation, basic slicing ideas, classroom supervision and routine maintenance.
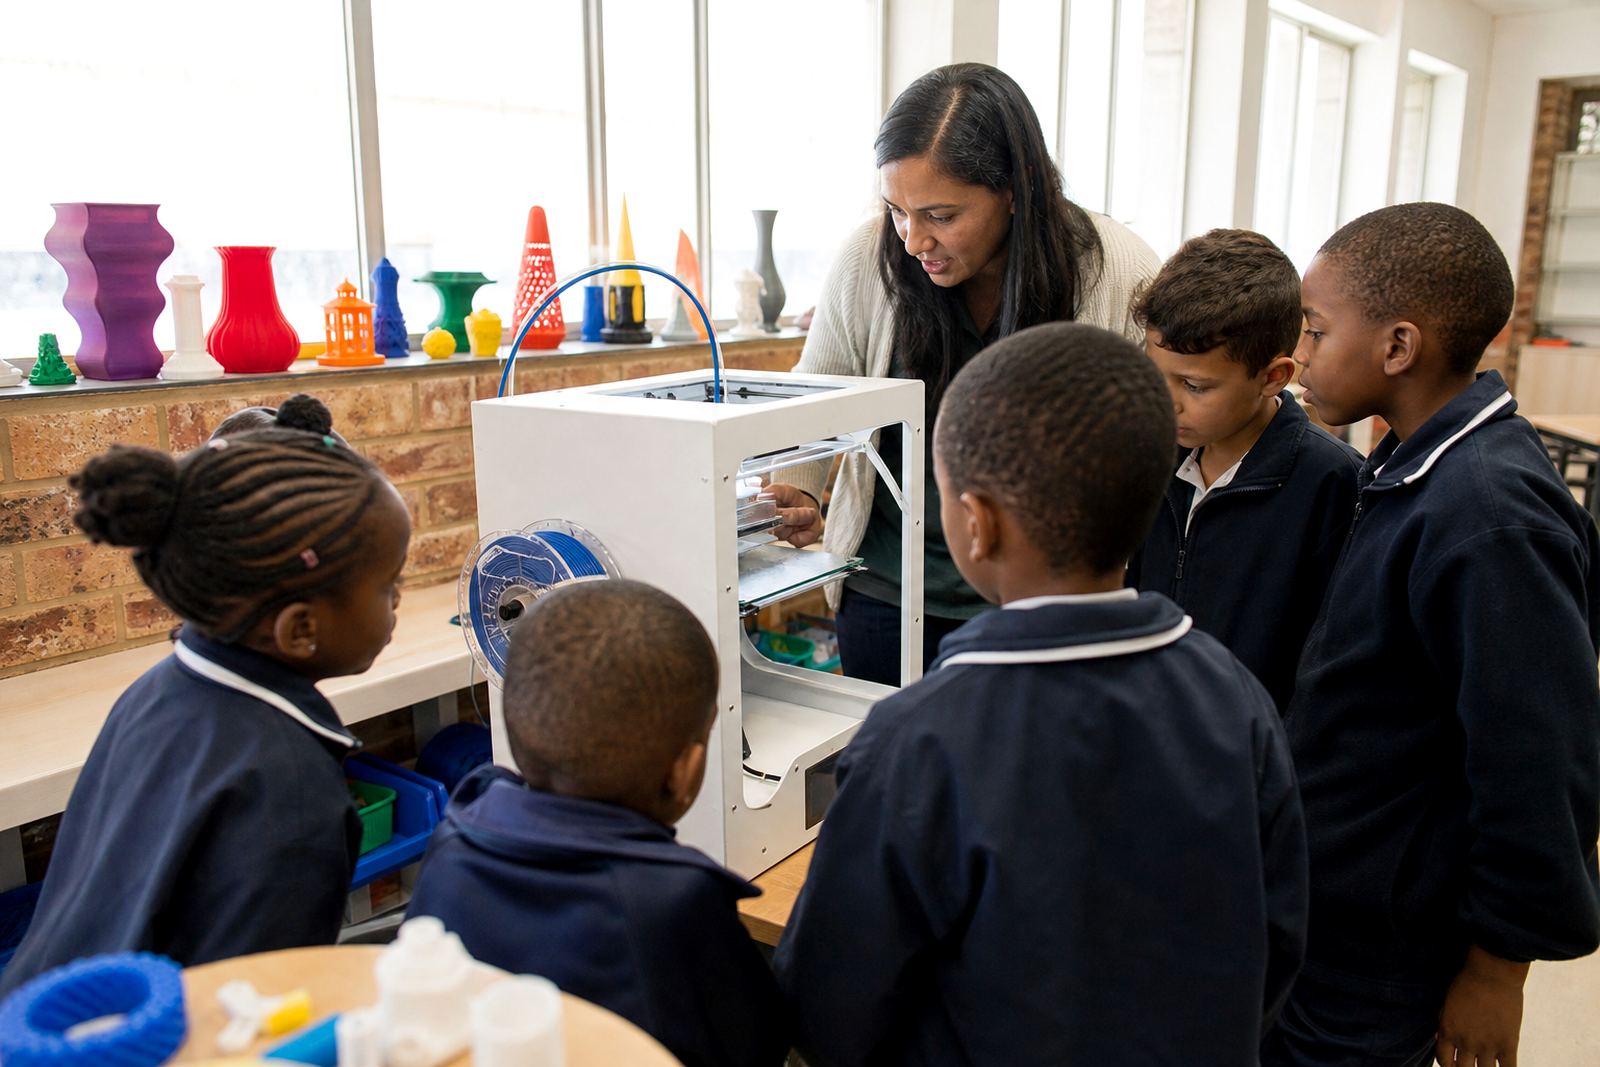
The training was kept practical. Teachers worked through a basic print from start to finish, watched common faults, and learned what to do when a print needed pausing, removing or restarting. We also covered class scheduling so that no one had to rush a print between lessons. The school appreciated having a structure that fit into normal teaching rather than sitting outside it.
- Week 1: room plan and requirements check
- Week 2: setup, testing and adjustment
- Week 3: staff training and first classroom use
- Follow-up: support for early print sessions
The results for teachers and learners
Once the room was in use, the school had a clear, supervised way to introduce 3D printing to primary learners. The children could see how a digital shape becomes a real object, which made the lessons more concrete and memorable. Smaller models worked well because they kept print times reasonable and helped maintain attention in the classroom.
Teachers reported that the process felt manageable, even with a mixed group of confident and hesitant learners. The setup also gave them a practical way to link design, problem-solving and patience. Finished models were simple enough for younger children to understand, but detailed enough to show what a good print looks like. It was a useful change from theory-only lessons.
- Clear classroom routine for supervised printing
- Simple models suited to younger learners
- Better teacher confidence with everyday operation
- Practical link between design and making
What fit this primary school project well
For another school lab like this, we would again start with the teaching goal and build the equipment plan around it: small-group use, straightforward models and a teacher-first handover. That combination works well in primary schools because it keeps the room organised and helps staff feel comfortable from the start. We would also keep the safety reminders simple and visible, especially around hot parts, moving components and print cooling time.
For a school in Paarl or anywhere else in South Africa, the best results come from matching the kit to the learners rather than trying to make it too technical. A good classroom setup does not need to be complicated. It needs to be practical, easy to supervise and ready for ordinary school conditions, including power interruptions and busy timetables.
- Keep lessons short and hands-on
- Use simple models for younger learners
- Train teachers before regular class use
- Plan for safe cooling, storage and cleanup
Key facts
| Project | Paarl Primary Centre |
|---|---|
| Town | Paarl, Western Cape |
| Project type | Primary-level 3D printing learning space |
| Timeline | 3 weeks |
| Kit focus | Classroom-safe starter lab setup |
| Training included | Teacher orientation and basic printer operation |