A Somerset West brief built around more project time
The campus team in Somerset West came to us with a practical brief: their technology room was being used for coding, design work and small making activities, but 3D printing had become too ad hoc. Learners were waiting their turn, tools were shared without a fixed place, and teachers needed a better way to manage the print cycle from lesson prep to collection. The goal was not a flashy space, but a classroom area that could handle regular use during the school term.
They wanted a setup that would suit Grades with different experience levels, from first-time users to learners already working with CAD basics. The room also needed to remain usable during load-shedding and after-hours prep, with clear storage and safe movement around the equipment. In a busy campus environment, that meant every item had to earn its place.
- Town: Somerset West, Western Cape
- Client type: campus technology room
- Use case: learner projects, teacher-led demonstrations and print production
- Timing: 3 weeks from brief to handover
What limited the room before the upgrade
The original layout had a good amount of floor space, but it was not organised for a printing workflow. Printers were placed where power points happened to be available, filament was stored separately, and finished parts had no proper cooling or collection area. This caused small delays, crossed cables and a fair bit of unnecessary handling. In a school setting, that quickly becomes a discipline issue as much as a technical one.
We also had to work within the realities of a teaching room. The staff needed a setup that would not block walkways, would be easy to supervise from the front of the class, and would keep hot surfaces out of reach when learners were moving around. Coastal humidity was another consideration, so filament storage needed to stay dry and organised. Nothing complicated, just proper planning.
- Room constraints: shared teaching space with fixed wall points
- Safety needs: clear walkways, visible printer area, controlled access to hot components
- Environmental factor: humidity control for filament storage
- Power planning: support for interruption recovery during power cuts
The classroom kit and room layout we supplied
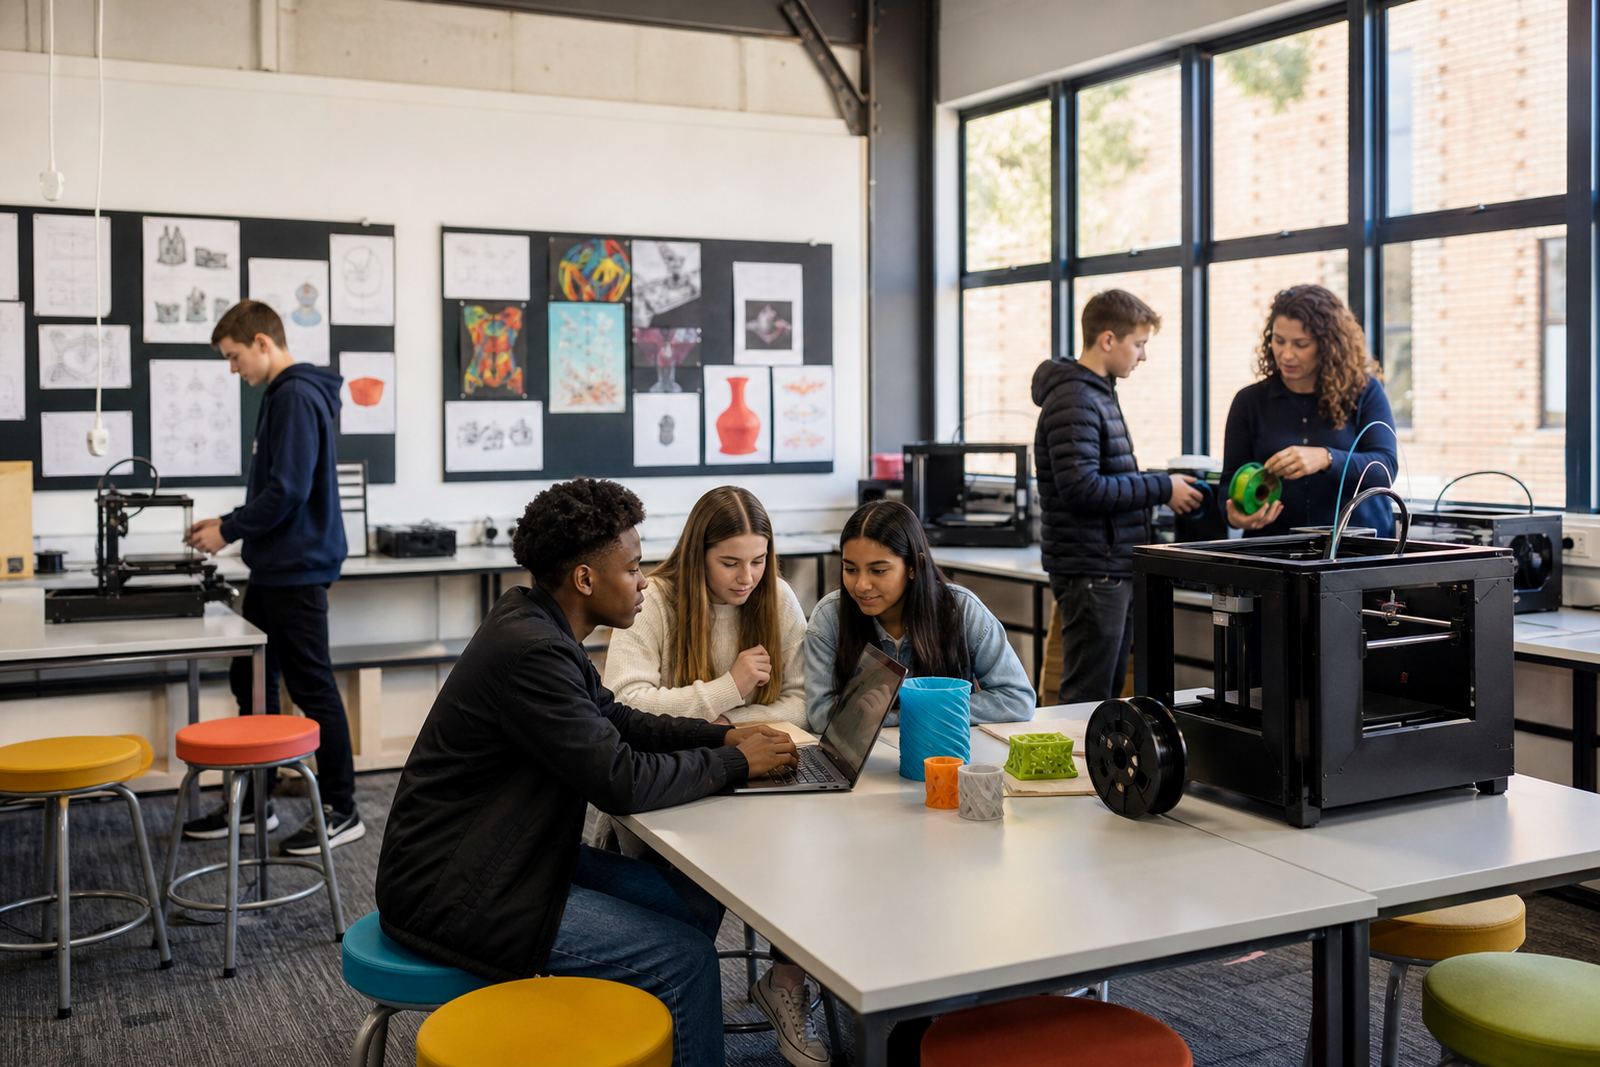
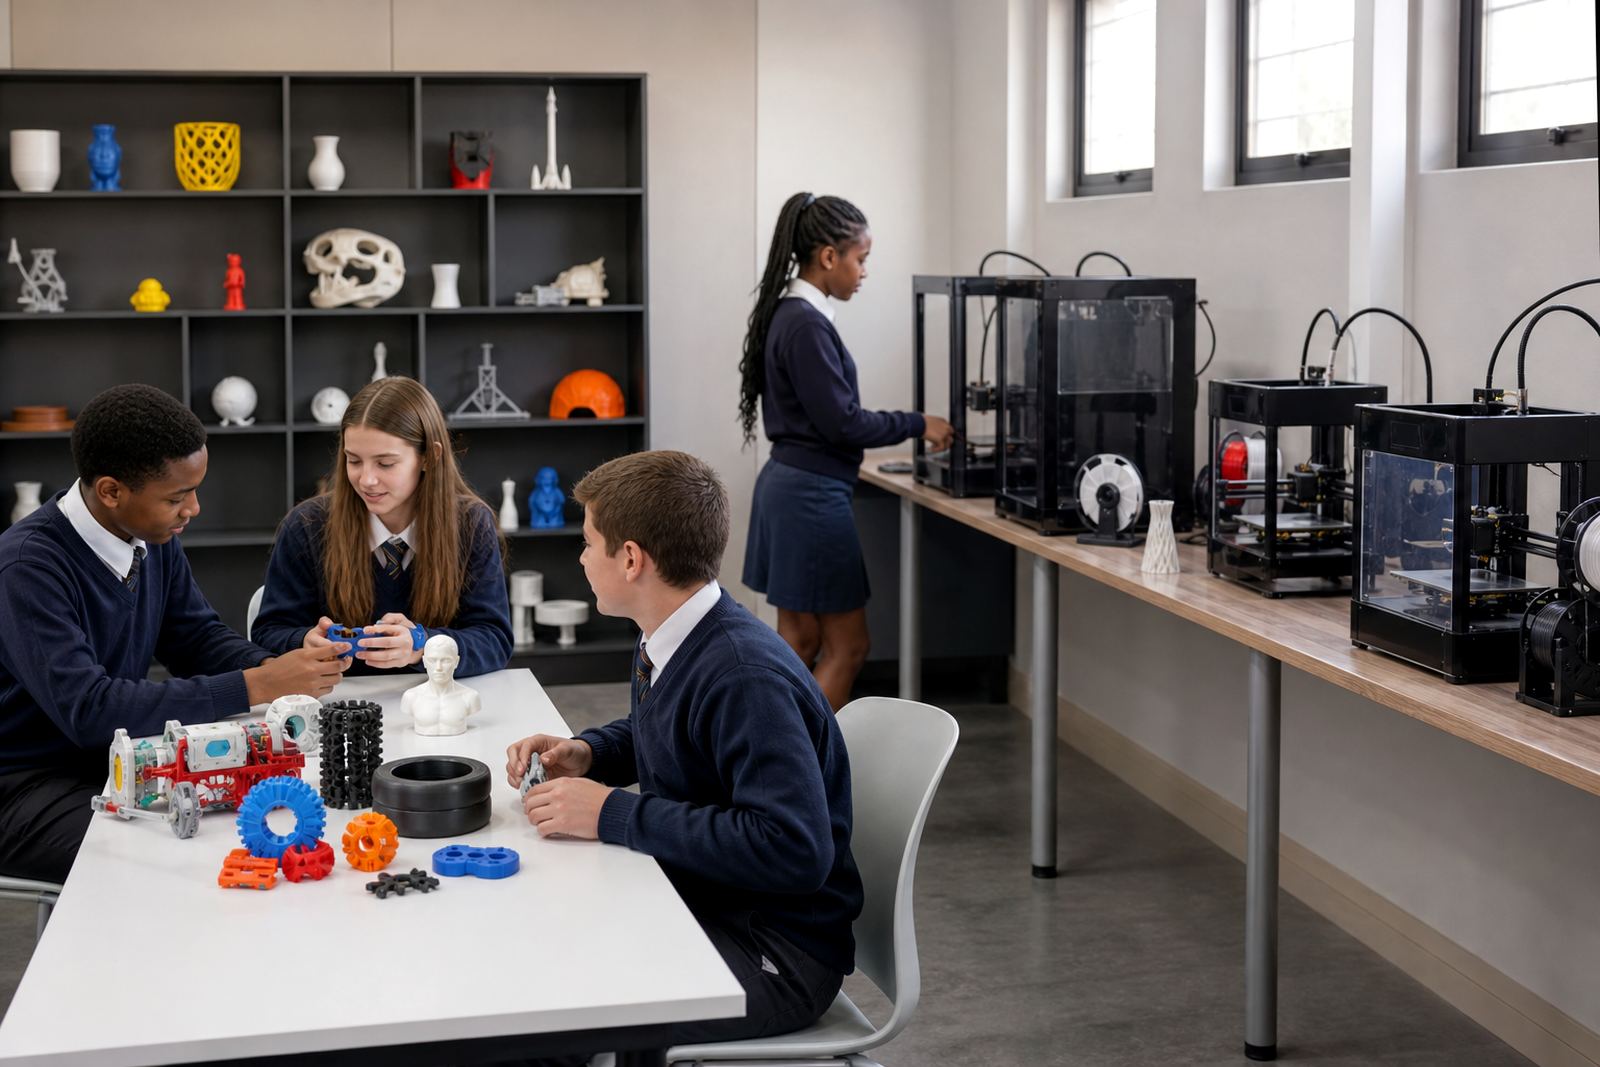
We supplied a school lab kit built for a structured 3D printing area, with equipment and support items grouped for teaching rather than hobby use. The setup included benchtop FDM printers, filament storage, basic tool packs, print removal tools, build surface care items, spare nozzles, project trays and labelled storage for work in progress. A dedicated prep zone was set up for slicing, file checks and print logging, so teachers could manage jobs without having to move around the room constantly.
The room was arranged in separate zones: one for printer operation, one for learner prep and one for storage. That gave the staff a simple routine for issuing materials, starting prints and collecting finished work. We also set out a maintenance corner for cleaning, bed checks and basic troubleshooting. In a school room, the difference between a good day and a stressful one is often just having the right thing within arm's reach.
- Benchtop FDM printers for classroom use
- Dry storage for filament and consumables
- Tool kits for safe model removal and surface care
- Maintenance items for cleaning and routine checks
- Labelled trays for projects at different stages
Training that matched the room, not the other way round
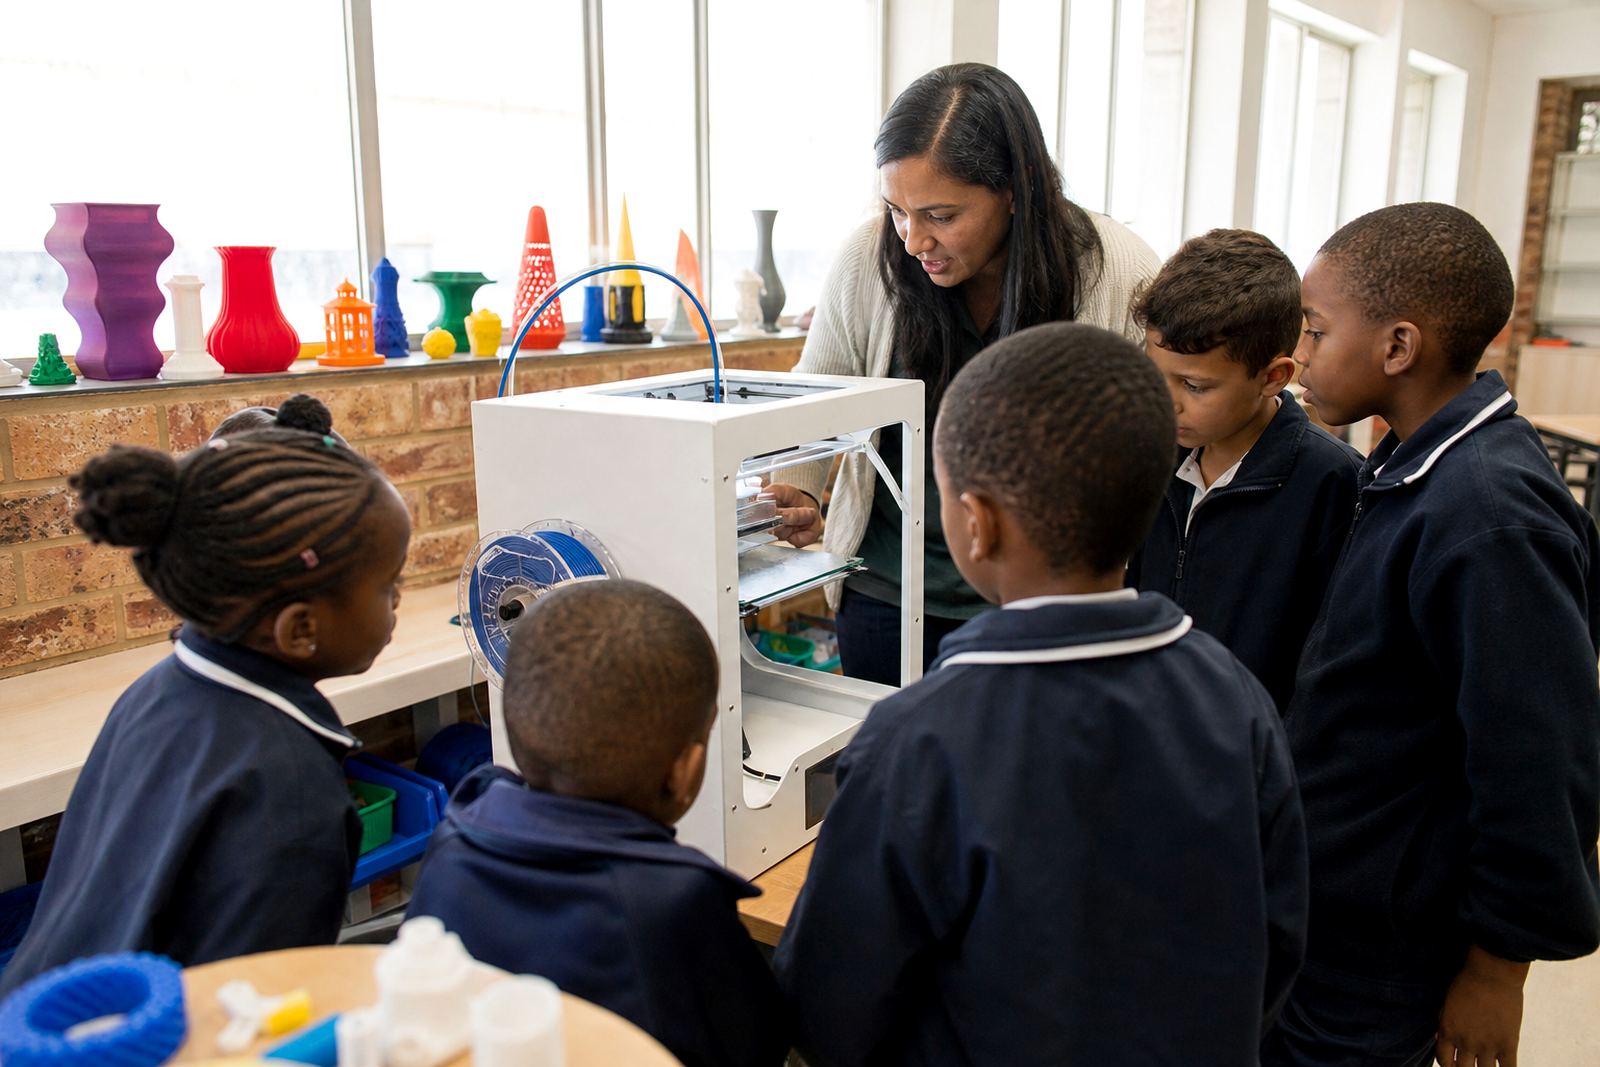
Along with the physical setup, we ran a practical handover for the teachers so the room could be used confidently from the first week. That covered printer operations, file preparation, job start-up, basic maintenance and classroom routines for managing learners around active machines. We kept the focus on what staff actually need on a Tuesday afternoon, not theory that disappears by next term.
The training also covered a simple lesson flow: introduce the design brief, prepare the model, check the file, print in batches and use the finished part for reflection or testing. We included classroom safety reminders such as keeping fingers away from heated components, waiting for cooling before removal, and storing tools out of reach when not in use. The staff were also shown how to plan around print times so the room could keep moving even when one job takes longer than expected.
- Teacher-friendly workflow from design to print
- Basic troubleshooting for common print issues
- Simple classroom rules for safe use
- Print planning for lesson periods and after-school prep
Delivery timeline and installation on site
The project ran over 3 weeks. The first week was spent finalising the room plan and confirming what the campus wanted to prioritise. In week two, the kit was prepared and the room sequence was mapped so the installation could happen quickly once on site. The final week covered delivery, positioning, setup, test prints and a practical handover with the staff team.
The campus needed the room back in service without a long interruption, so we worked in a way that kept disruption low. We checked the power points, set the printers where supervision would be easiest and confirmed where each tool and consumable should live. A clean start matters in a school room because if the layout is unclear on day one, it becomes messy by week two. We made sure it was easy to follow from the start.
- Week 1: brief, room planning and equipment confirmation
- Week 2: kit preparation and workflow planning
- Week 3: delivery, setup, testing and handover
- Outcome: room ready for regular class use
What changed for the campus after handover
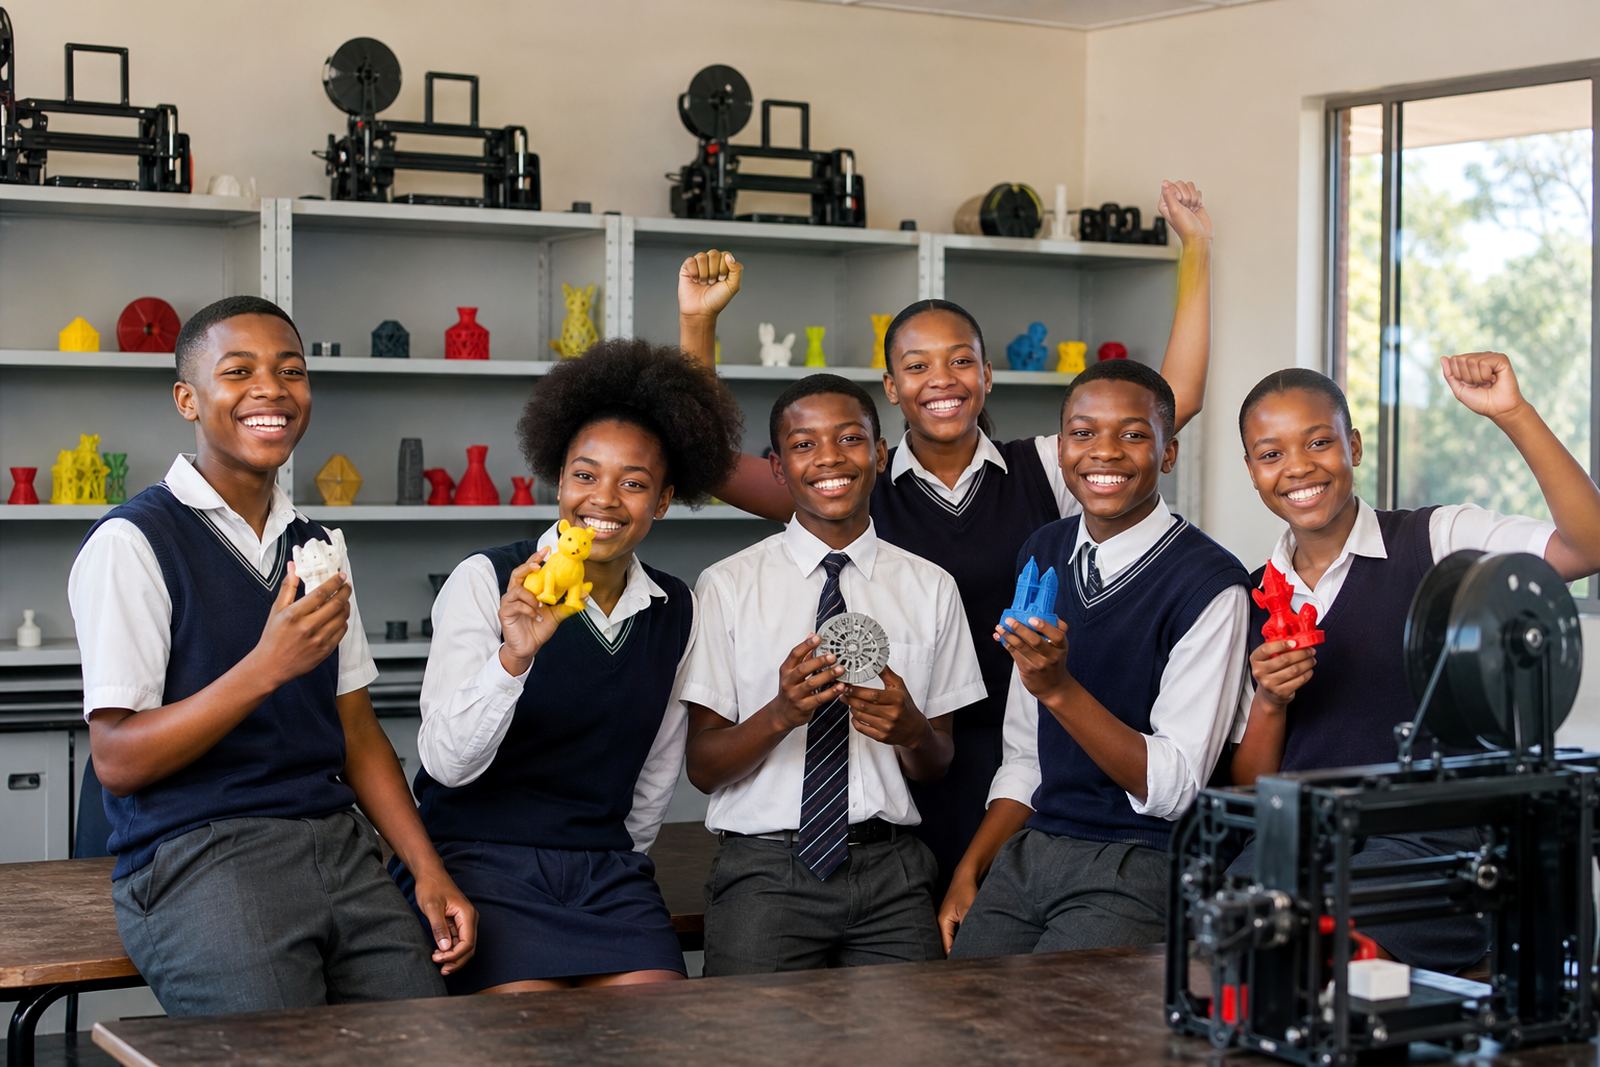
Once the room was organised, the campus could run 3D printing as part of normal teaching instead of treating it as a special event. Learners had a clearer path from idea to finished part, and teachers could manage the process with less moving around and fewer interruptions. The room now supports project work for classroom lessons, small group activities and extra sessions when the term gets busy.
The biggest shift was consistency. Prints were no longer waiting for someone to find a spare cable, a tool or a place to put them. There was a proper location for each step, which made it easier to teach planning, patience and problem-solving alongside the technology itself. That kind of structure helps a campus get more value from every lesson and, just as important, keeps staff from having to improvise all the time.
- Better learner flow during project periods
- Cleaner supervision for teachers
- More reliable print handling and storage
- Reduced clutter and less wasted time
What we would repeat for another school room
If we were doing a similar campus project again, we would use the same approach: start with the room routine, not the equipment list. The best school setup is the one that fits the timetable, the number of learners and the available supervision. We would again separate the space into prep, print and storage zones, and we would again plan for humidity, power interruptions and safe learner movement.
For schools in Somerset West, Stellenbosch, Paarl, Cape Town and beyond, that practical approach makes a real difference. A 3D printing area does not need to be overcomplicated. It needs to be well thought through, properly maintained and easy for teachers to use day after day. That is the kind of room we like to hand over.
- Keep the workflow simple and visible
- Separate hot, clean and storage areas
- Plan for power cuts and humid conditions
- Train staff on the exact room they will use
Key facts
| Project type | Campus technology room 3D printing area |
|---|---|
| Town | Somerset West, Western Cape |
| Delivery time | 3 weeks |
| Setup zones | Prep, print and storage areas |
| Included items | Benchtop FDM printers, tools, storage and maintenance items |
| Support covered | Printer operations, file prep, basic maintenance and classroom routines |