The brief from a busy Johannesburg school
The client was an urban independent school in Johannesburg looking for a dedicated innovation room for Grade 7 to Grade 11 learners. The school wanted a space that could support design thinking, simple engineering tasks and 3D printing without creating a maintenance burden for teachers. The brief was clear: keep the room tidy, keep the workflow simple and make sure the equipment could be managed by staff with different levels of technical confidence.
They also needed the room to work in a city school setting where lessons move quickly, timetables are tight and access control matters. The room had to support group work, short practical sessions and after-school clubs, while staying safe for younger learners and easy to supervise during busy periods.
- School type: urban private school
- Town: Johannesburg
- Use case: learner prototyping, teacher-led lessons and club activities
- Priority: simple setup, safe operation and organised storage
Room constraints and practical planning
The room was not large, so every metre had to count. We worked around fixed plug points, existing furniture and a layout that needed clear walkways for supervision. The school also asked for a setup that could cope with load-shedding and the usual interruptions that come with a full teaching day. We planned the room so the equipment could be paused safely and restarted without confusion.
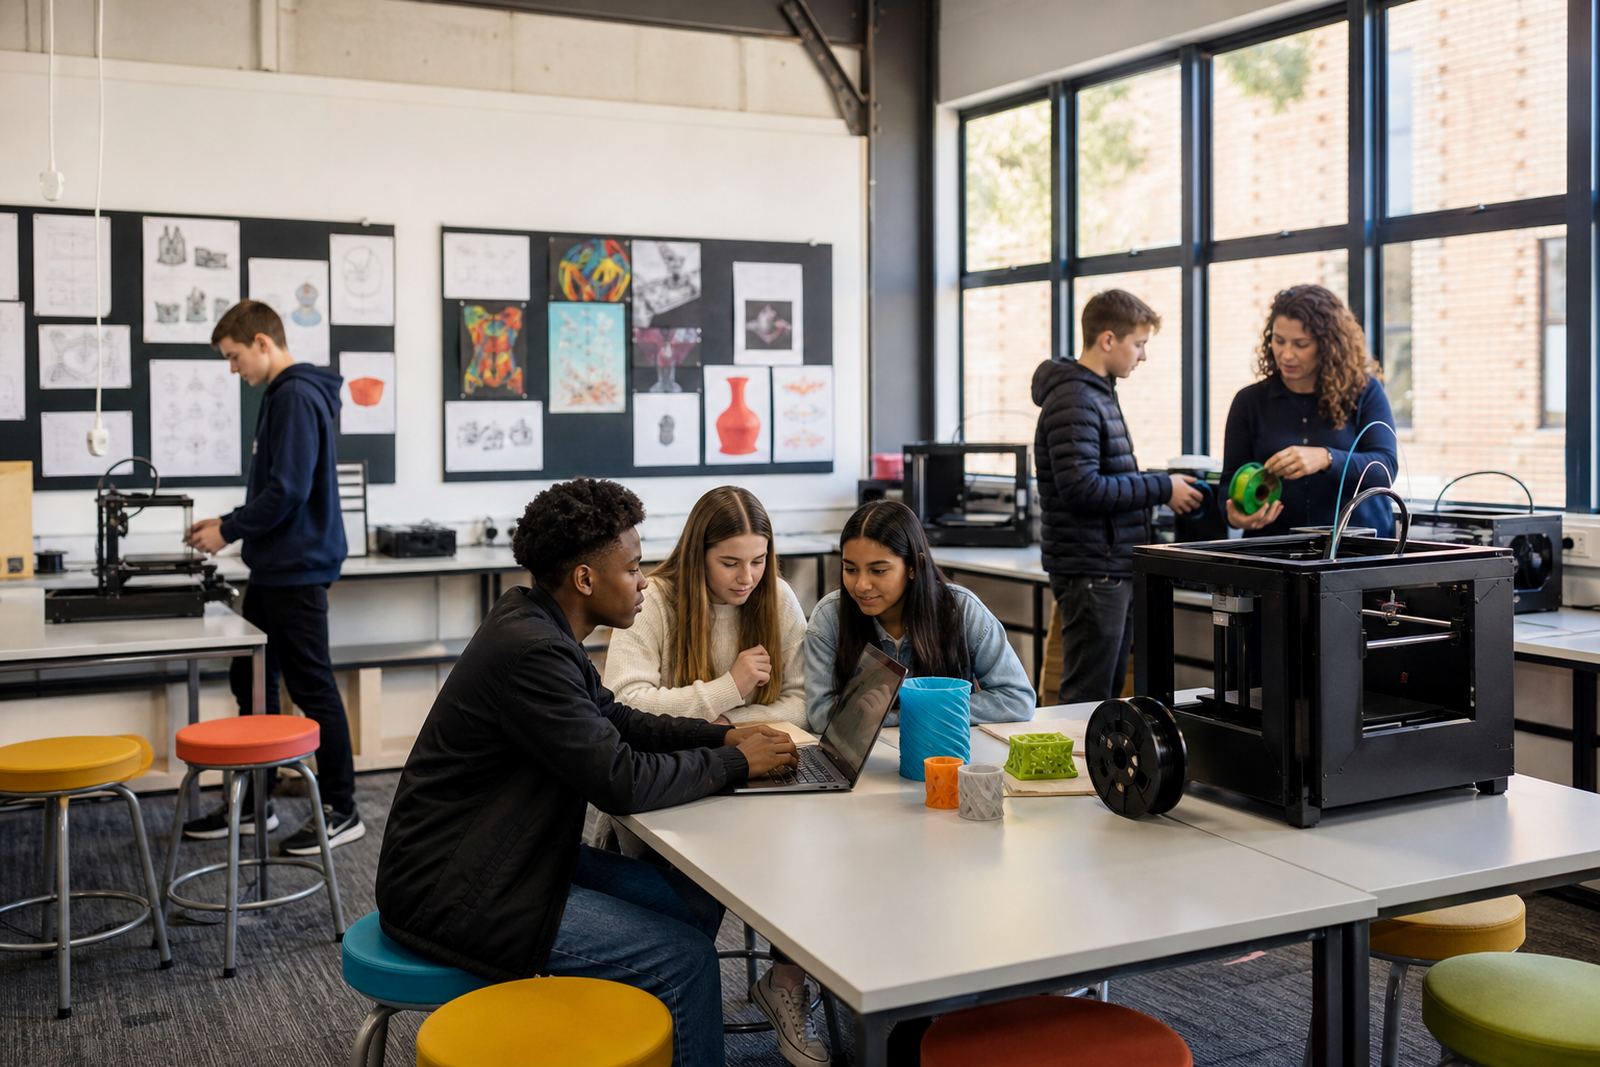
Because the room would be used by different classes, we also kept the setup modular. That meant the school could run one lesson with a full group or split the room into smaller working zones. The ventilation and heat management also needed attention, especially for long print jobs and warm summer days in Johannesburg.
- Limited floor space and fixed furniture positions
- Need for clean cable routing and supervised access
- Backup planning for power interruptions
- Storage for filament, tools and learner projects
What we supplied and set up
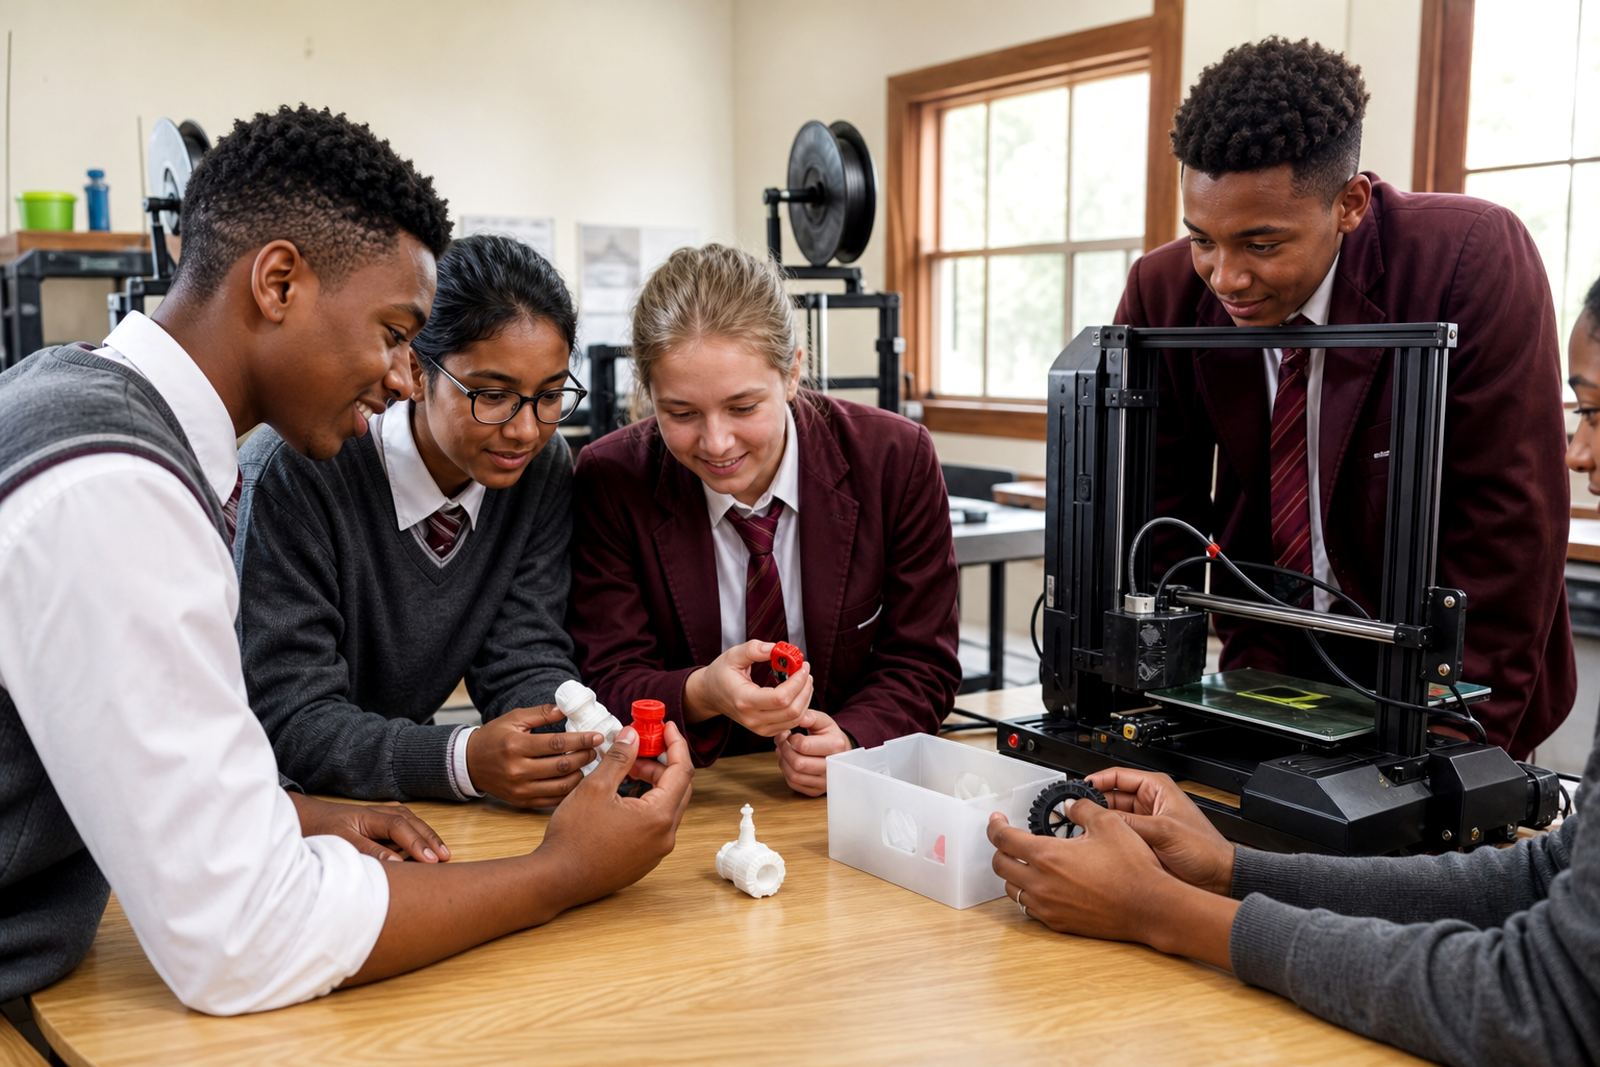
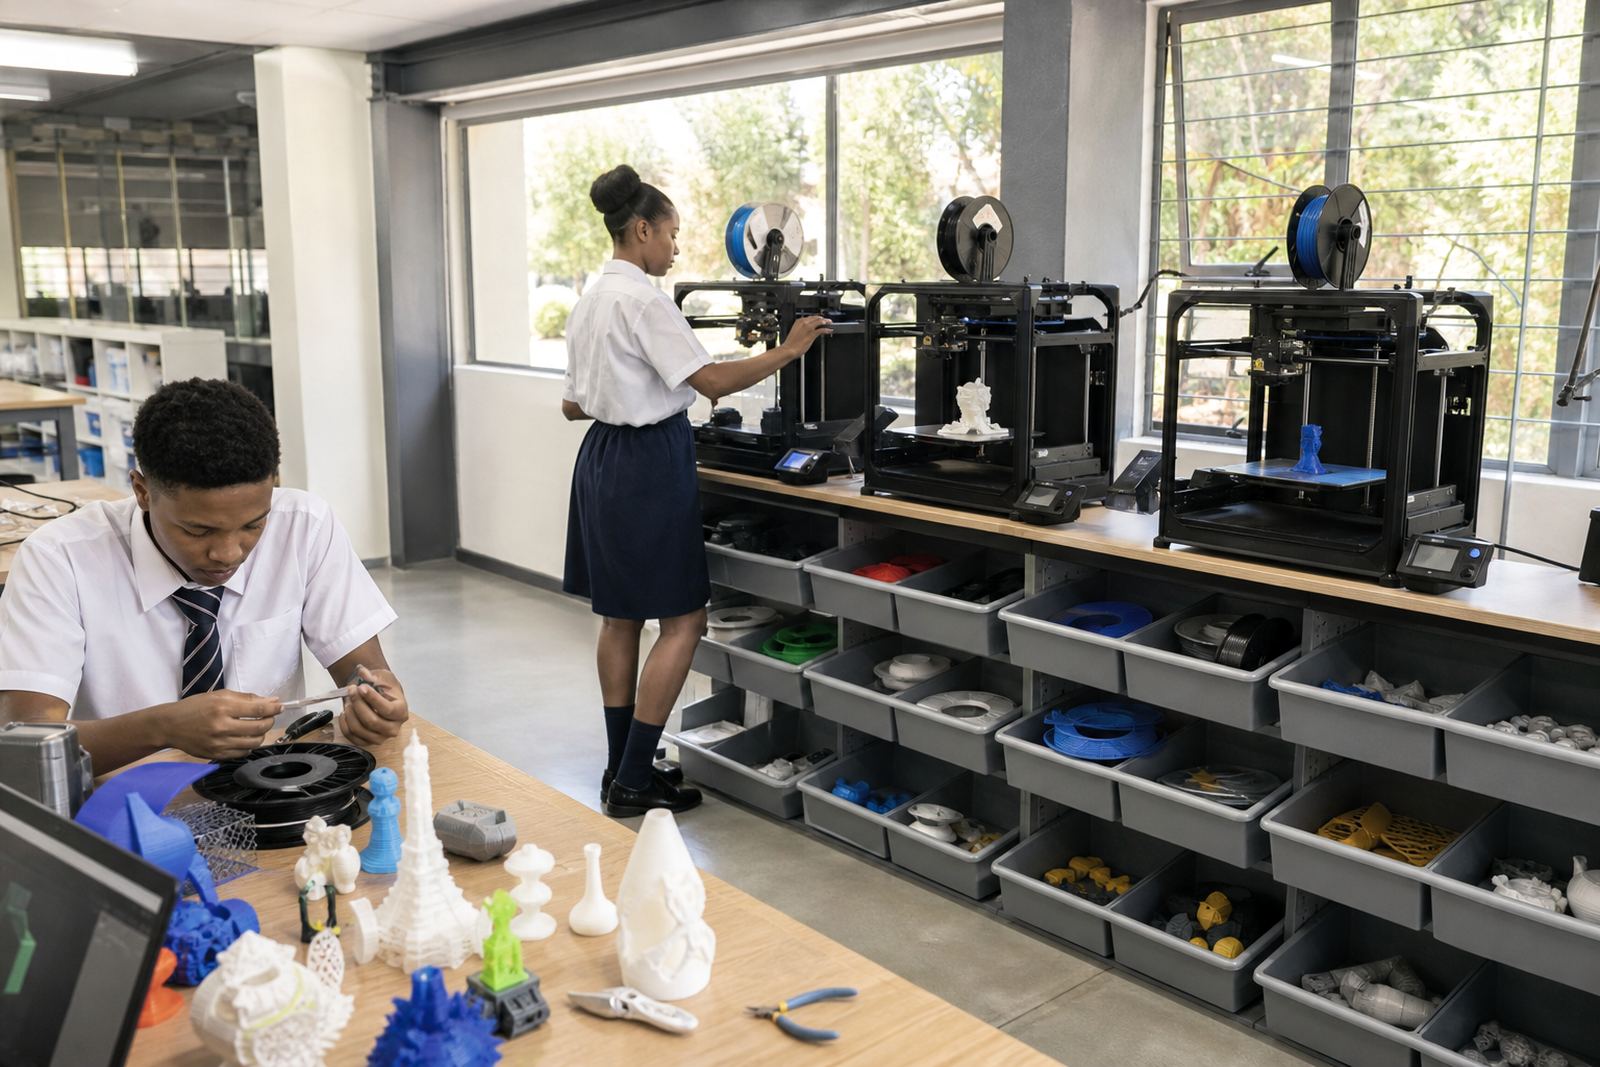
We supplied a classroom lab kit built around entry-level benchtop 3D printers, learner workstations and practical accessories for modelling, printing and finishing. The equipment list was chosen for classroom use rather than hobby use, with simple controls and repeatable print settings. We also set up a basic print area, a safe storage area for materials and a teaching station for demonstrations.
The kit included the items needed to get the room working from day one, plus support materials for teacher handover. We set out the room so learners could move from planning to printing to clean-up without crowding one another. The school received a printed operating flow and a maintenance routine that staff could keep on a shelf in the room.
- Benchtop 3D printers for classroom use
- Filament storage and labelled consumables
- Basic hand tools for cleanup and finishing
- Learner work surfaces and a teacher demo point
- Clear room labels and operating steps
Training for teachers and learner groups
Once the room was in place, we ran teacher introduction sessions and a practical handover for the staff who would use the space first. The focus was on safe operation, daily checks, basic slicing workflow and what to do when a print fails halfway through. We kept the training practical and plain speaking, because the teachers needed methods they could repeat with confidence the next morning.
We also supported the school with learner-facing guidance for the first rounds of activity. That included basic CAD concepts, printer operation, project planning and simple classroom routines for tool handling and clean-up. In a school setting, the small things matter: where to place a spool, how to name files and how to stop students from touching hot parts.
- Teacher introduction and printer basics
- CAD Basics for staff and selected learners
- Printer Operations for safe classroom use
- Project Planning for design tasks and group work
Timeline from first visit to working room
The project ran over four weeks from the first site discussion to final handover. Week one covered the brief, room assessment and equipment list. Week two focused on supply preparation and layout planning. Week three was used for installation, testing and labelling. Week four covered staff training, classroom routines and the first round of guided printing.
That pace suited the school because it kept disruption low and gave the staff time to prepare timetabling and supervision plans. It also allowed us to resolve small issues before the room went live, such as cable positions, storage access and the best placement for the teacher station. The result was a room ready for normal school use without a drawn-out setup period.
- Week 1: site visit and planning
- Week 2: equipment allocation and room layout
- Week 3: installation, labelling and testing
- Week 4: training and first lesson support
Results in the classroom
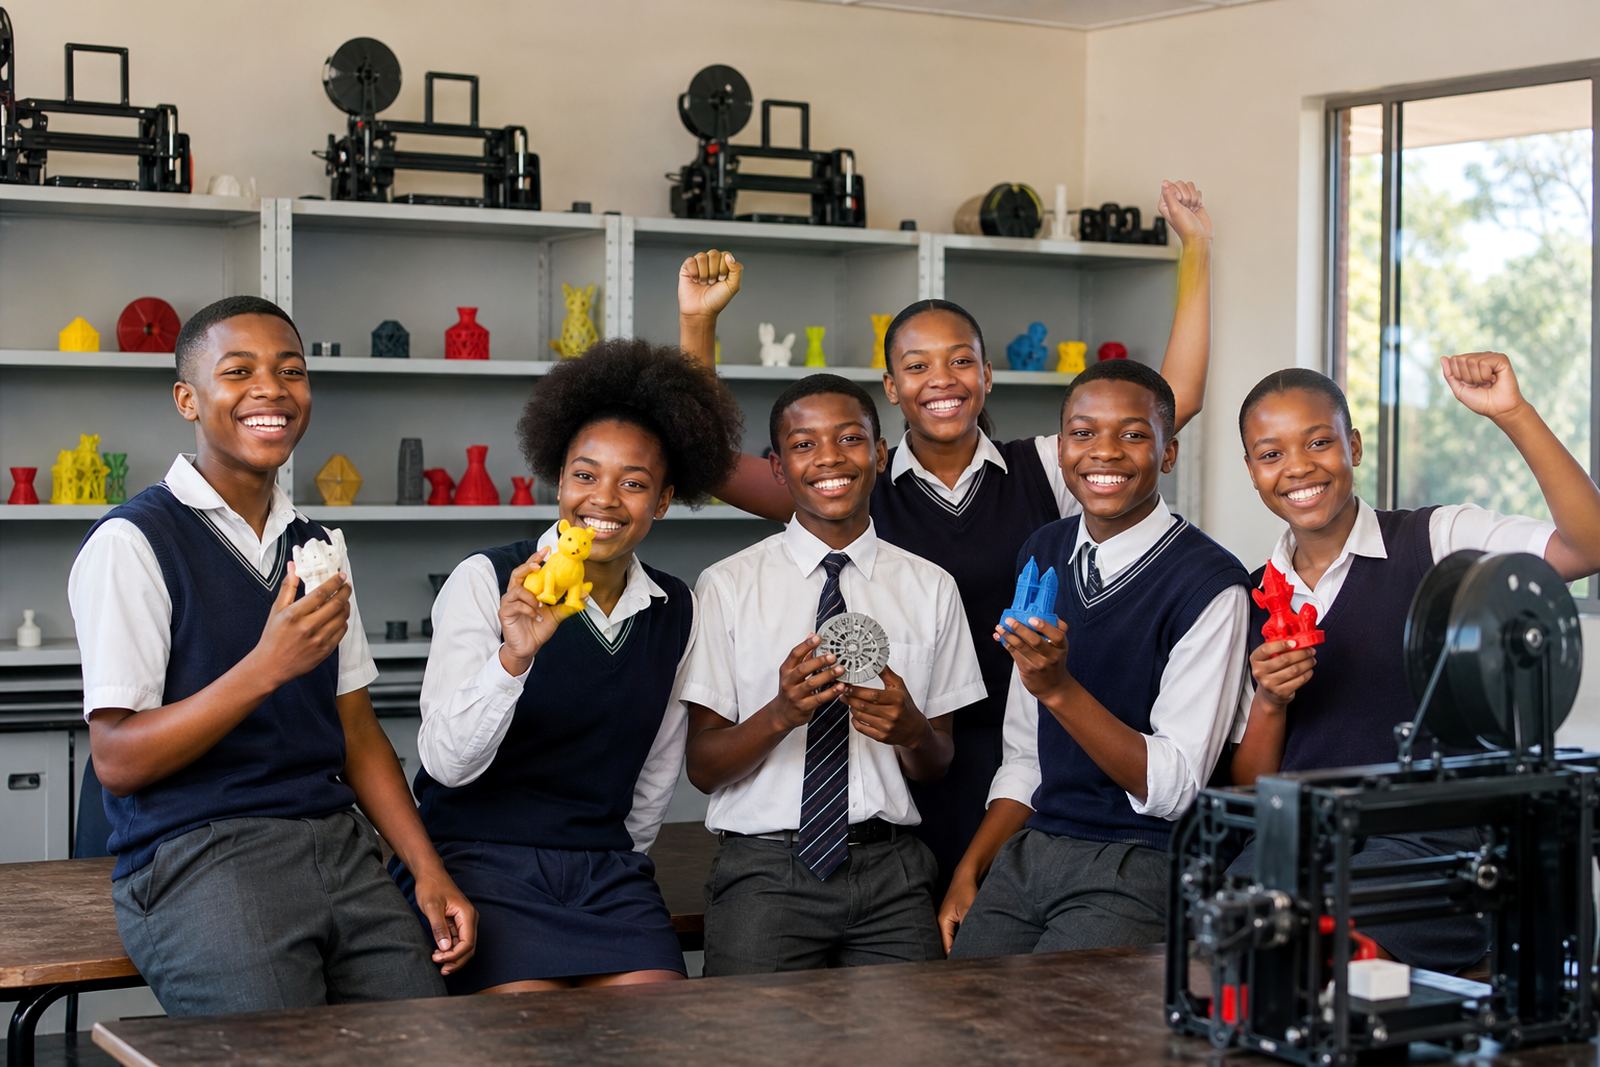
The innovation room gave the school a clear space for prototyping, teamwork and practical problem solving. Learners could work on small design challenges, print parts for class projects and present ideas in a more hands-on way. Teachers had a room structure they could manage, with predictable routines and better control over materials and equipment.
One of the strongest outcomes was consistency. Instead of the room being used differently every time, it now had a defined purpose and a straightforward workflow. That made it easier for staff to schedule lessons and for learners to understand how to use the space properly. The school also found that the room encouraged quieter learners to take part, especially during design and modelling tasks.
- Clearer lesson structure and better room control
- More learner participation in practical tasks
- Less confusion around equipment handling
- A dedicated space for ongoing innovation activities
What worked well in this innovation lab
If we were setting up a similar room again, we would keep the same approach: start with the timetable and room flow, then match the equipment to the number of learners and the level of staff support available. In Johannesburg schools, practical planning matters more than adding extra devices. A smaller, well managed setup usually works better than a room packed with gear that nobody has time to maintain.
We would also keep the training short, specific and repeated. Teachers need a setup they can run even during load-shedding weeks, exam cycles and busy term schedules. The best classroom lab is the one that stays useful all year, not just during the first few weeks after installation. That means clear labels, simple storage and enough room for learners to work without bumping into each other.
- Plan the room around supervision and learner movement
- Keep equipment choices practical and classroom-friendly
- Build in backup routines for power interruptions
- Train staff on everyday use, not just the first setup
Key facts
| Project location | Johannesburg, Gauteng |
|---|---|
| Client type | Urban independent school |
| Project duration | 4 weeks |
| Room type | Innovation room for prototyping and teamwork |
| Core equipment | Benchtop 3D printers, storage, tools and teacher station |
| Key services | Lab setup, teacher training and classroom workflow planning |