Project brief for a busy secondary school
This project was for a secondary school in Stellenbosch that needed a dedicated technology space for hands-on making, short demonstrations, and guided lessons. The school wanted a setup that would support both teachers and learners, without turning every lesson into a technical exercise. The focus was on practical use, simple day-to-day operation, and a layout that could fit into normal school routines.
The brief covered more than just machines. The school needed a room plan, learner-friendly operating steps, basic maintenance routines, and enough structure for staff to run sessions with confidence. We also needed to keep the lab manageable during load-shedding, and suitable for a school environment where safety, storage, and supervision matter.
- Secondary school technology space in Stellenbosch
- Teacher-led demonstrations and learner projects
- Simple daily operation for classroom use
- Basic safety controls and tidy storage
- Practical setup for regular teaching, not occasional display only
Constraints we worked around in the school lab
The room had to work as a teaching lab first, so we kept the layout compact and practical. The school wanted enough capacity for small groups, but not a crowded setup where cables, tools, and print jobs would get in the way. Because this is in the Western Cape, we also looked at heat, dust, and coastal moisture in the wider region, all of which can affect filament storage and printer reliability over time.
Power interruptions were another factor. The lab needed a plan for starting and stopping print jobs safely, plus storage for jobs that were paused during outages. We also kept the training approach simple for staff, because if a lab is too complicated to manage, it gets underused very quickly. The solution had to suit a school timetable, not fight against it.
- Limited floor space with a need for clear movement around the room
- Load-shedding planning for interrupted print jobs
- Humidity aware storage for filament and finished parts
- Simple controls for teachers who are not technical specialists
- Safe access for learners during demonstrations and supervised work
What we supplied and how the lab was arranged
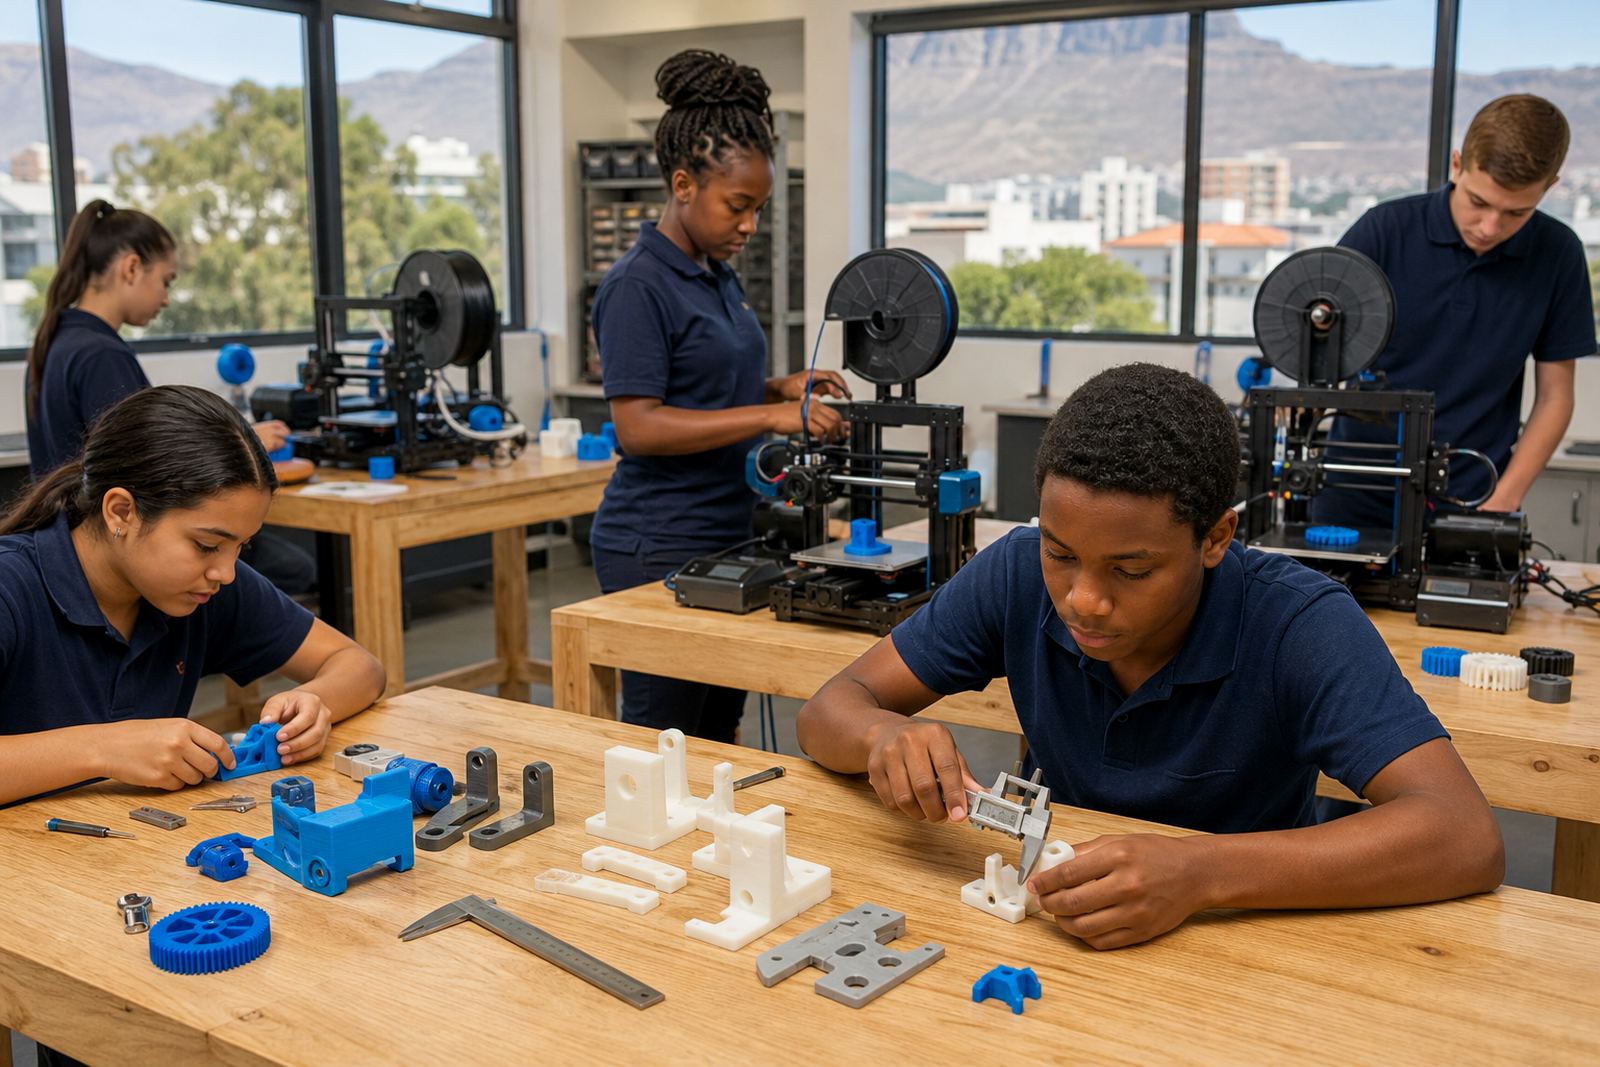
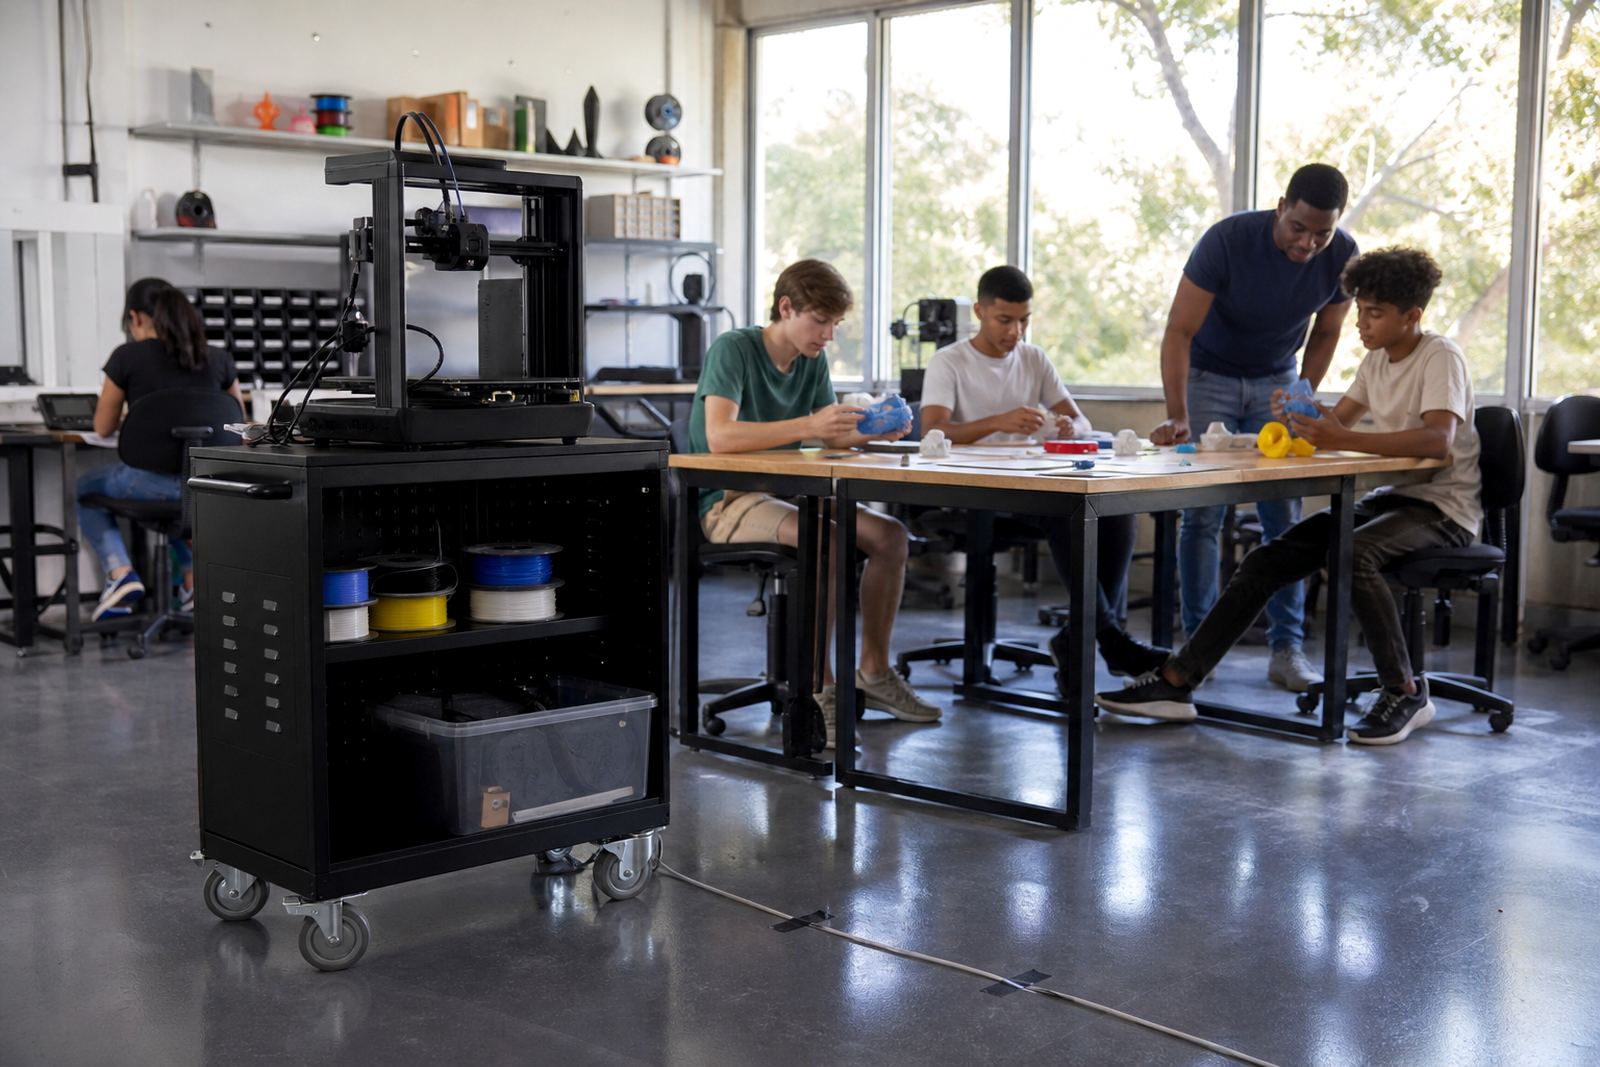
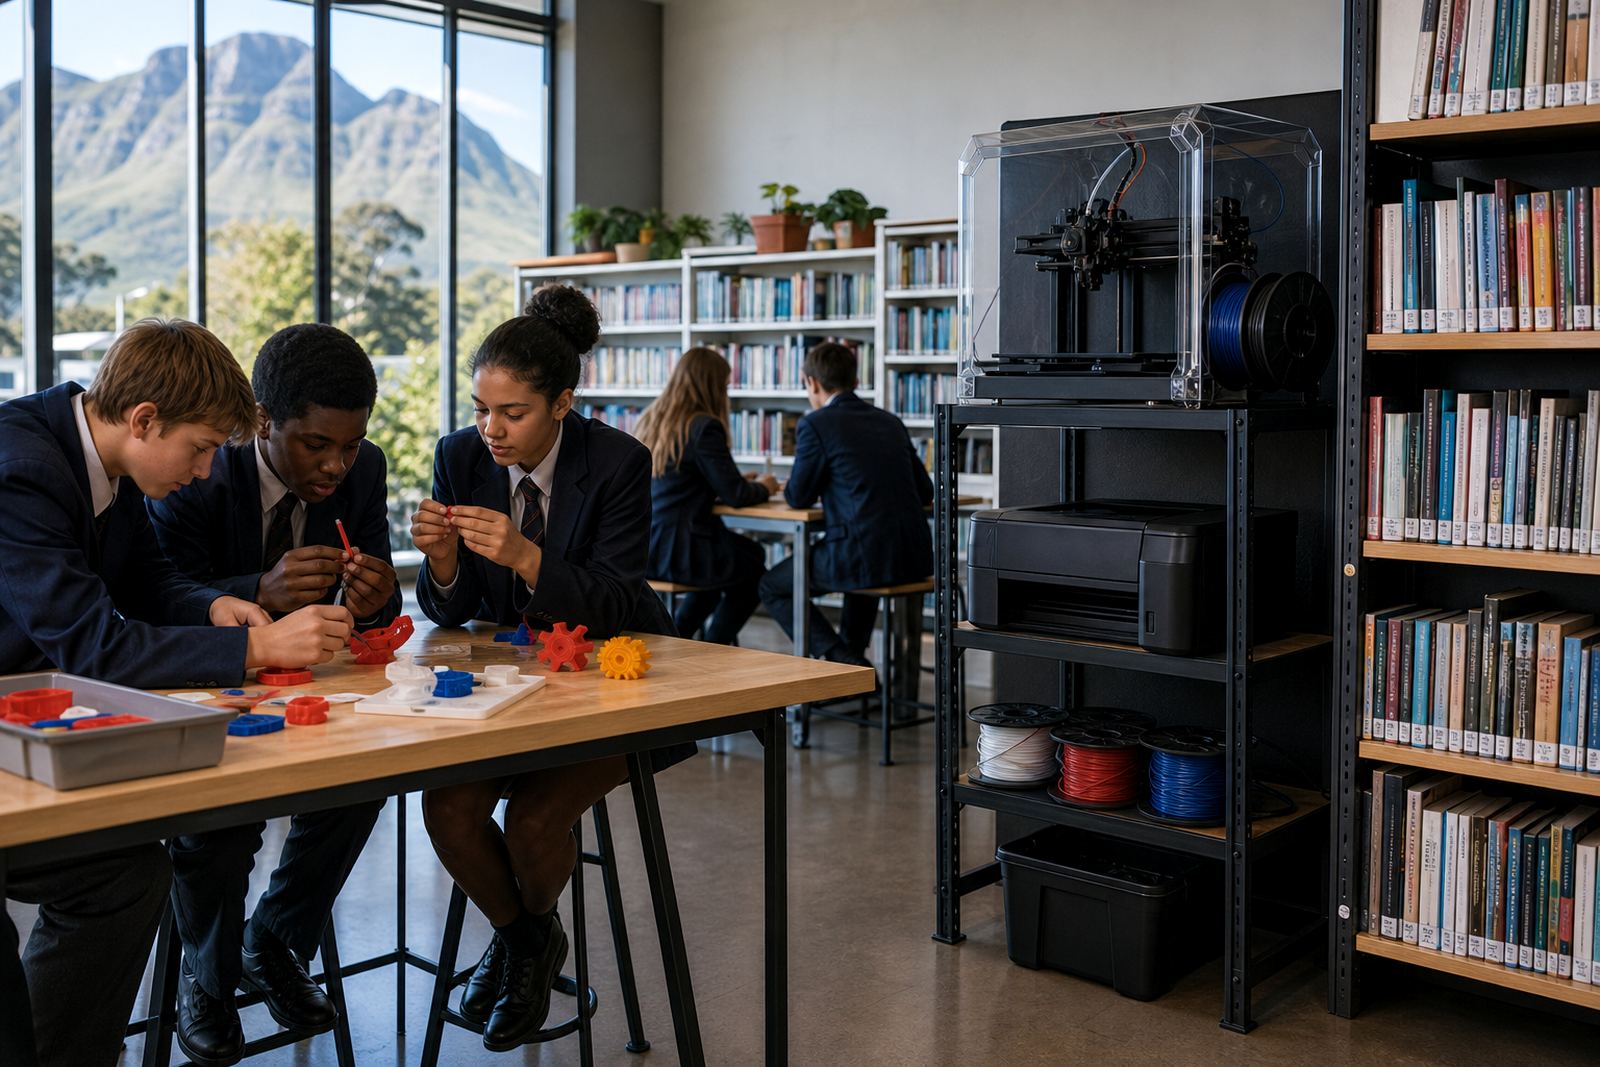
We supplied a school 3D-printing lab kit and set out the room for demonstration work, small-group activity, and supervised printing. The kit included benchtop 3D printers, filament storage, essential tools, cooling and cleaning items, sample materials, and support equipment for classroom use. We also provided guidance on where each item should be placed so the room stays orderly and easy to manage.
The layout was arranged so that the teacher can demonstrate at the front while learners work in smaller groups nearby. We kept clear zones for printing, inspection, and post-processing. Where needed, we recommended practical add-ons such as surge protection, labelled storage, a basic toolkit, and a print record log. That makes it easier to track jobs and keep the lab running without confusion.
- Benchtop 3D printers for classroom and lab use
- Filament storage with moisture control considerations
- Starter tools for removing prints and basic finishing
- Labelled storage for consumables and job sheets
- Safety signage, cable management, and supervised work areas
Teacher support and classroom use
A school lab only works well when staff can use it without needing constant outside help. We therefore included teacher-focused setup guidance, printer operating steps, maintenance basics, and a practical routine for starting lessons, checking print jobs, and closing down at the end of the day. The aim was to make the lab feel familiar after a short settling-in period, not complicated.
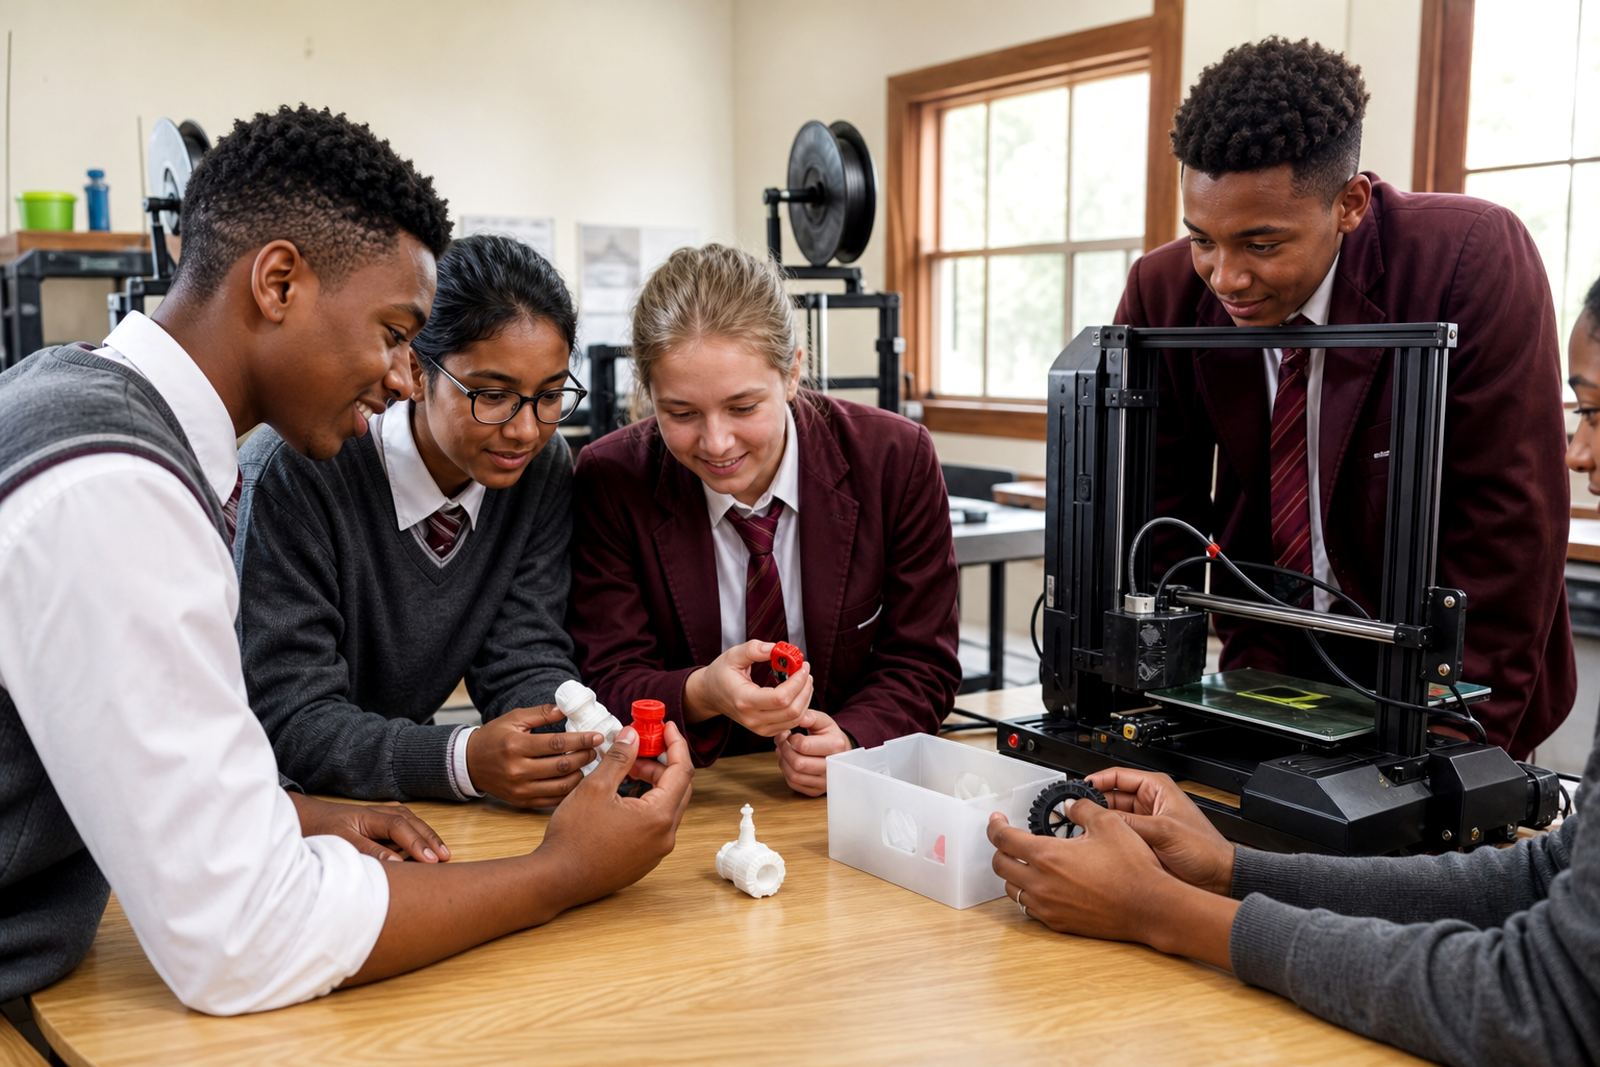
We also covered how the lab could support different class activities, from simple object design to printing small prototypes and demonstration pieces. This helps teachers connect the technology to design, engineering, and problem-solving work. The school can use the space for short sessions or longer project blocks, depending on the timetable.
- Teacher introduction to the lab workflow
- Printer operation and basic troubleshooting
- Simple maintenance routines for school staff
- Learner-friendly session flow for supervised classes
- Project planning support for classroom activities
Timeline and delivery in weeks
The project ran over a short, planned timeline so the school could move from brief to working lab without unnecessary delays. We started with the requirements review and room planning, then moved into supply, setup, and handover. The process was kept steady and practical, with clear checks along the way so the school knew what to expect at each stage.
By the end of the setup period, the room was ready for teacher-led demonstrations and learner tasks. The handover included simple operating notes, storage recommendations, and basic care instructions so the school could start using the lab straight away.
- Week 1: brief, room review, and planning
- Week 2: supply of lab kit and supporting items
- Week 3: layout, setup, and teacher orientation
- Week 4: handover, checks, and first-use support
Results, practical wins, and what we would repeat
The result was a school lab that supports practical technology teaching without needing complicated procedures. Teachers now have a space that suits demonstrations, learner activity, and short project cycles. The room is easier to manage because the storage is organised, the workflow is clear, and the equipment is set up for regular school use.
What worked especially well was keeping the system simple enough for everyday teaching while still allowing proper 3D-printing activity. If we were repeating the project, we would again prioritise teacher workflow, labelled storage, and a layout that protects both the equipment and the learners. For schools in Stellenbosch, Cape Town, Johannesburg, Pretoria, Durban, and Gqeberha, that practical balance is what keeps a lab useful long after the initial setup.
- Clearer access for teacher-led demonstrations
- Better structure for learner projects and small group work
- Improved storage for consumables and printed parts
- Simple routines for start-up, shutdown, and maintenance
- Lab space that can grow with the school’s needs
Key facts
| Project type | Secondary school 3D-printing lab setup |
|---|---|
| Location | Stellenbosch, Western Cape |
| Use case | Teacher-led demonstrations and practical technology projects |
| Core equipment | Benchtop 3D printers, tools, storage, and support items |
| Setup focus | Safe classroom workflow and simple staff operation |
| Timeline | 4 weeks from brief to handover |