The classroom brief from Kimberley
The school team in Kimberley wanted a practical way to strengthen technology lessons without adding complicated equipment or heavy maintenance demands. Their main need was simple: printed project parts that learners could assemble, test and improve during class time. The teacher wanted a setup that supported problem-solving, basic design thinking and short build cycles that fit into a normal timetable.
The brief also had to work for a school environment where equipment is shared, storage space is limited and lesson time is tight. Kimberley can also be hard on equipment because of dust, dry conditions and regular power interruptions, so the class needed a practical plan for keeping printers protected and materials stored properly. We worked around those limits rather than trying to force a lab style that would not last.
- Client type: school technology class
- Town: Kimberley, Northern Cape
- Use case: printed parts for hands-on problem-solving activities
- Delivery focus: classroom-friendly, teacher-led use
What had to work in the room
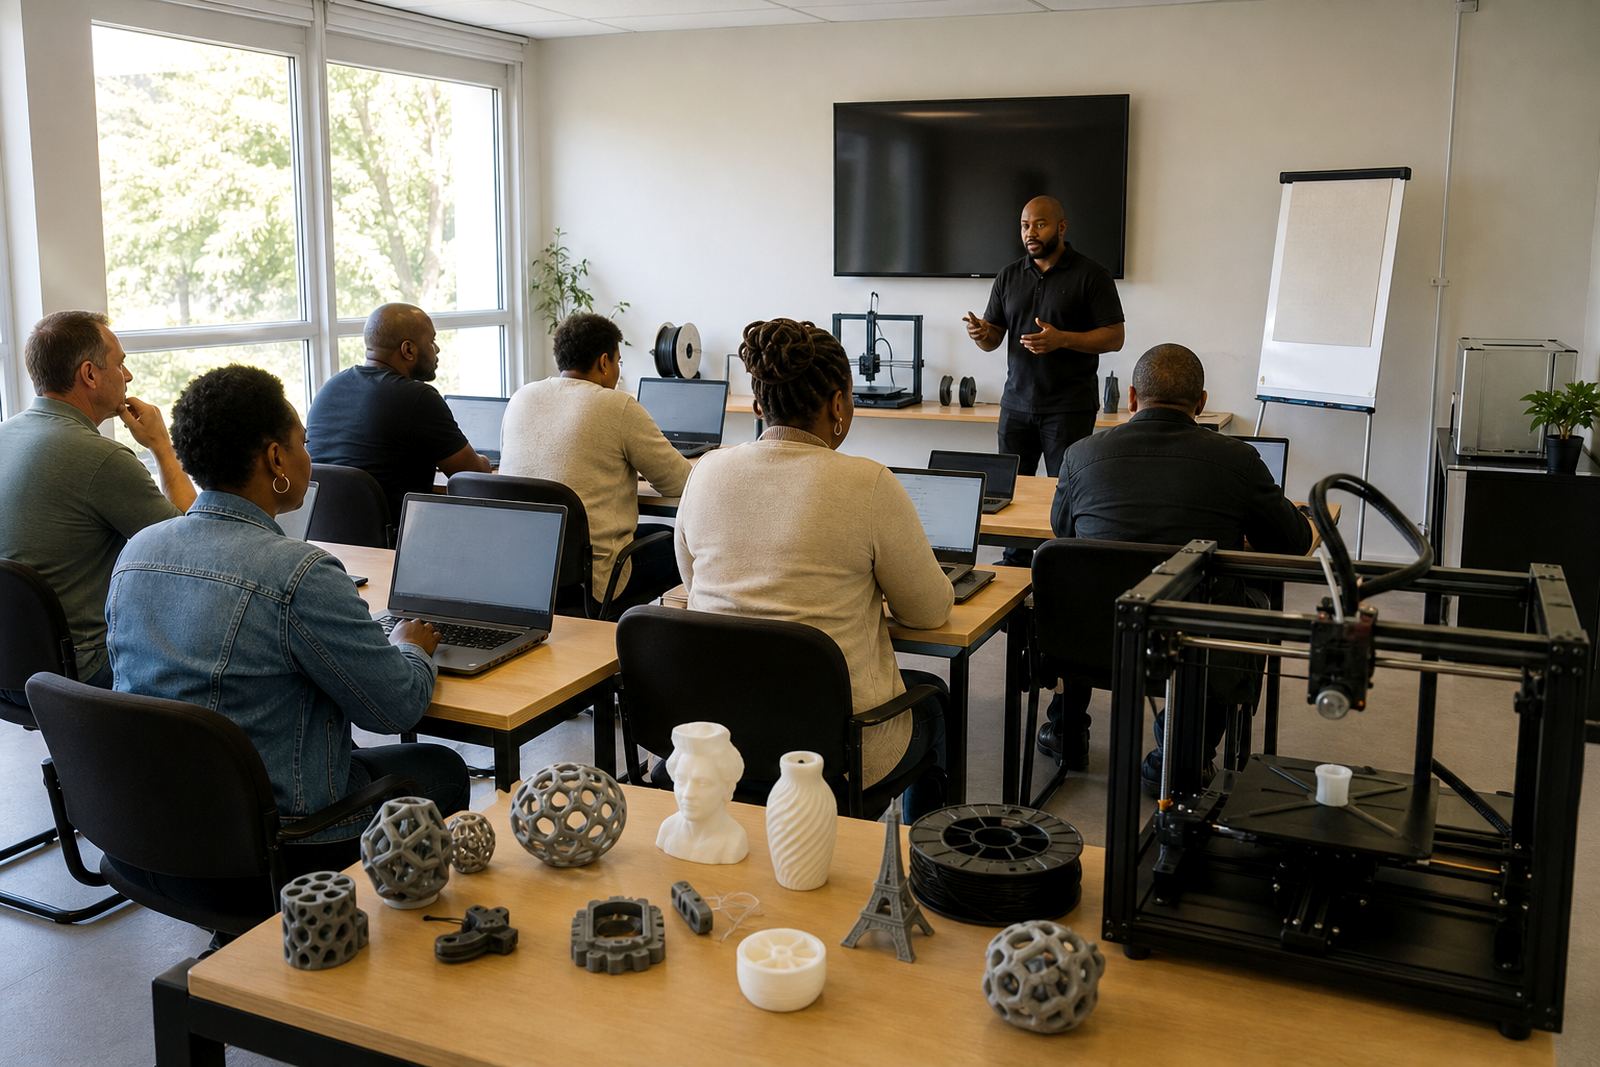
The class needed equipment that would be easy to explain, easy to supervise and tough enough for regular school use. The teachers did not want a setup that would depend on specialist daily attention. They needed a lab flow that allowed learners to see a design, print a part and then use it in a lesson without long delays. That meant choosing components and procedures that suit shared teaching spaces.
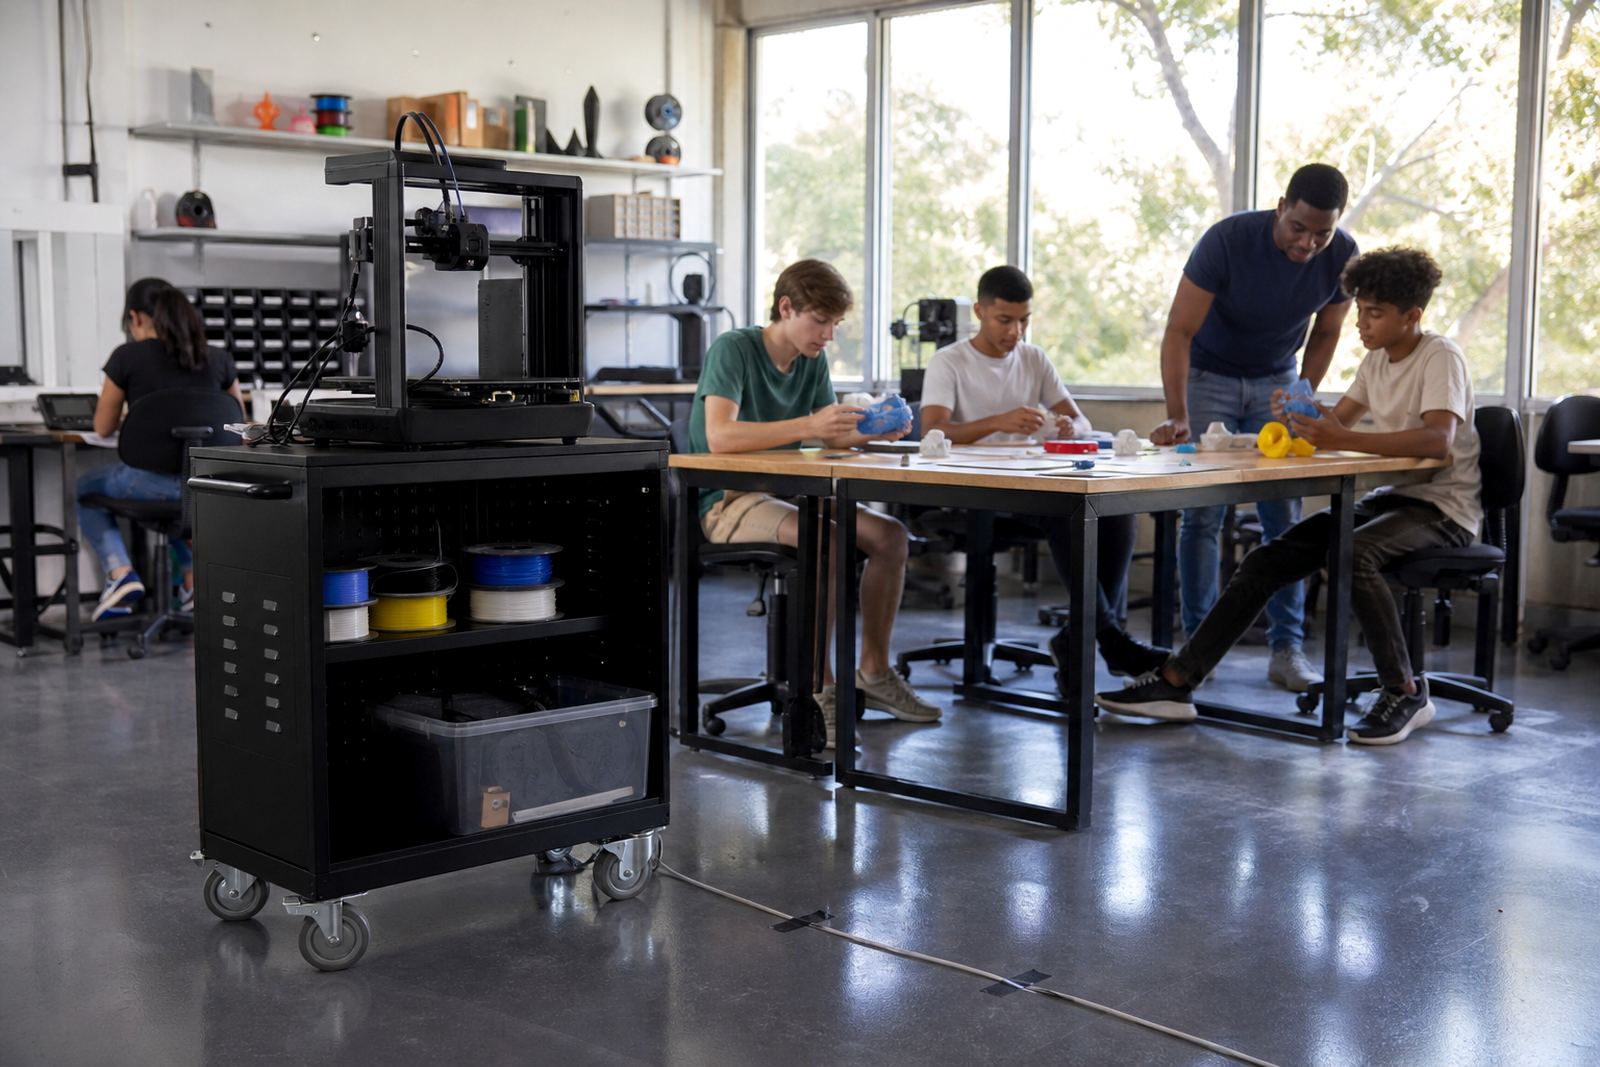
We also had to keep safety and control front and centre. Learners were going to be near heated parts, moving gantries and tools for removing prints, so the room needed clear rules and a simple process. We recommended a practical layout with marked work zones, secure storage for filament, a ventilated area for printing and a supervised cleanup routine after each session. Nothing fancy, just sensible classroom control.
- Shared-school use with teacher supervision
- Printed parts sized for classroom handling
- Simple storage for tools and consumables
- Basic safety steps for heat, motion and sharp tools
The kit and support we supplied
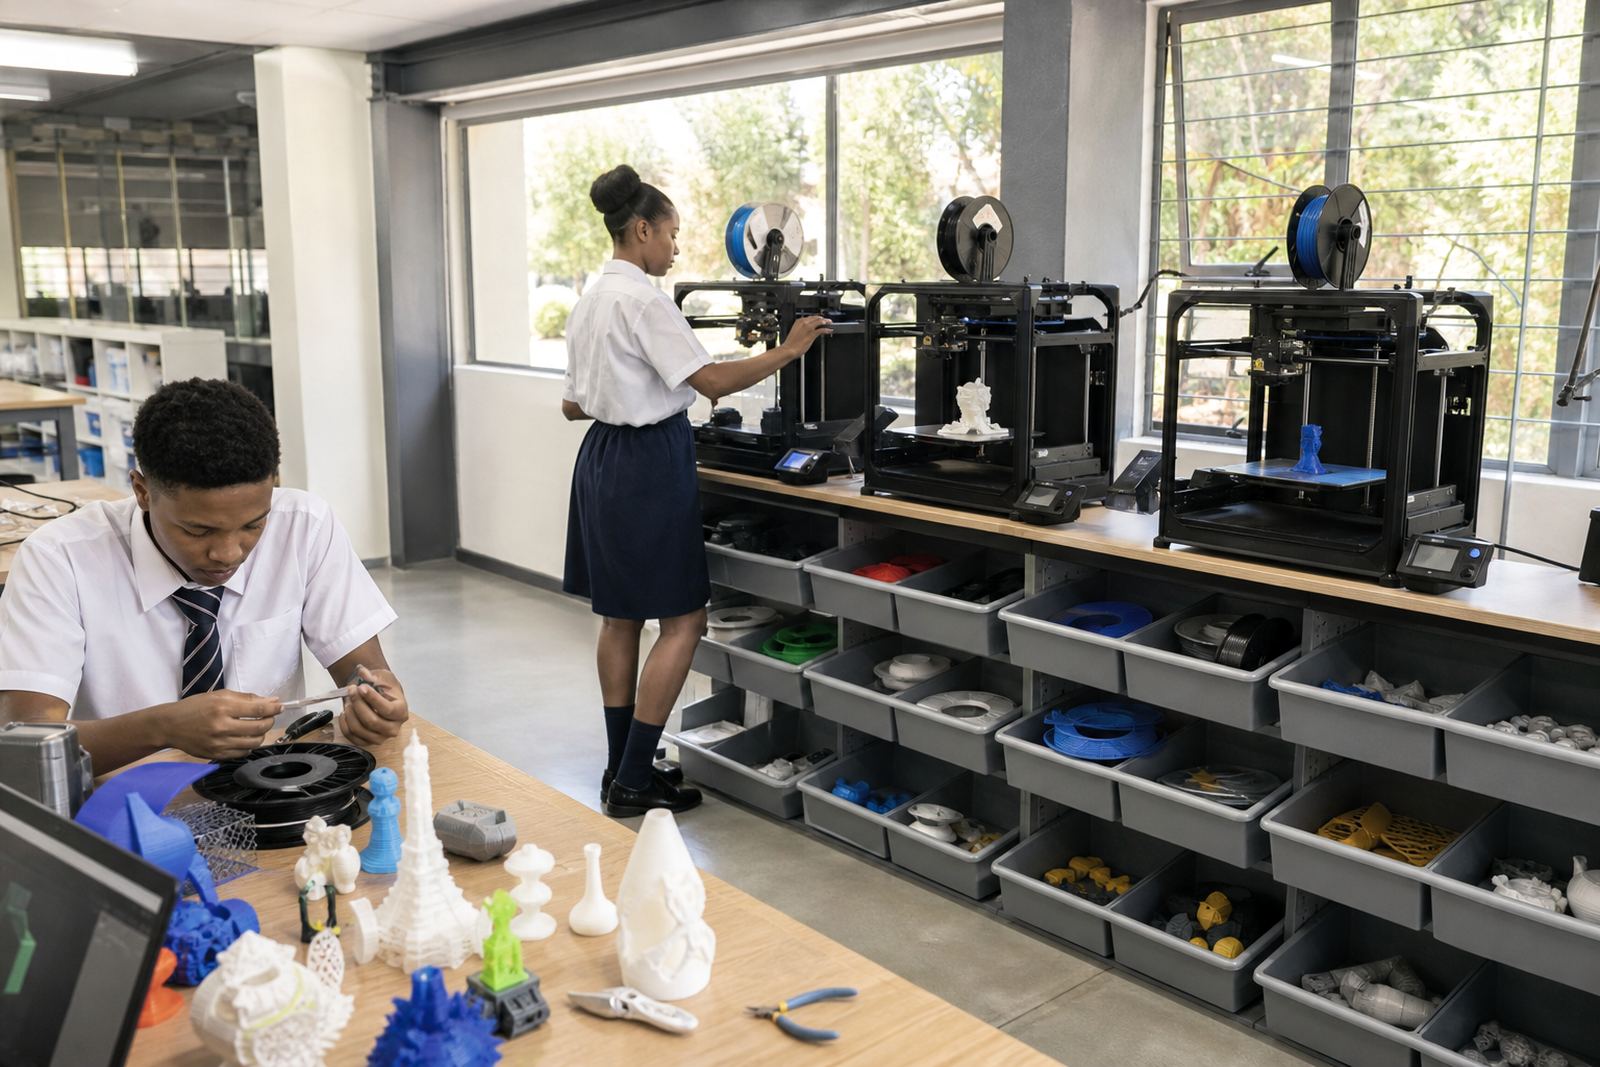
For this project we supplied a classroom lab kit built around the daily needs of a tech class. The kit included benchtop 3D printers, starter filament, build surfaces, basic hand tools, sample teaching parts and storage items for keeping materials together. We also provided practical setup guidance so the teachers could start using the equipment with confidence.
The printed parts for the project were designed for repeat use in lessons, with enough strength for handling by learners and enough precision to support simple fitting, movement and comparison tasks. The parts were prepared for a school schedule, which means short print times where possible and reliable shapes that can be replaced later if a lesson evolves. We also made sure the class could keep working during load-shedding with a sensible power plan and print scheduling advice.
- Benchtop printers for classroom use
- PLA starter material in standard classroom colours
- Removal tools, cutters and basic maintenance items
- Sample printed parts for demonstration and learner assembly
- Storage guidance for filament, tools and finished prints
Timeline from first chat to classroom use
The project ran over four weeks from the first needs discussion to classroom handover. In week one we clarified the lesson goals, room size, storage options and the type of printed parts that would support the teaching plan. In week two we confirmed the kit layout and the print requirements. During week three we prepared the classroom materials, carried out the setup and ran the teacher walk-through. By week four the class was ready to start using the printed parts in actual lessons.
That timeline suited the school because it avoided a long waiting period and gave staff enough time to organise their space. It also allowed us to adjust the practical details as we went, which matters when a school needs the equipment to fit around existing timetables and not the other way around. The result was a steady handover rather than a rushed drop-off.
- Week 1: needs analysis and classroom planning
- Week 2: kit specification and lesson-use check
- Week 3: setup, testing and teacher orientation
- Week 4: classroom use begins
What changed in the lessons
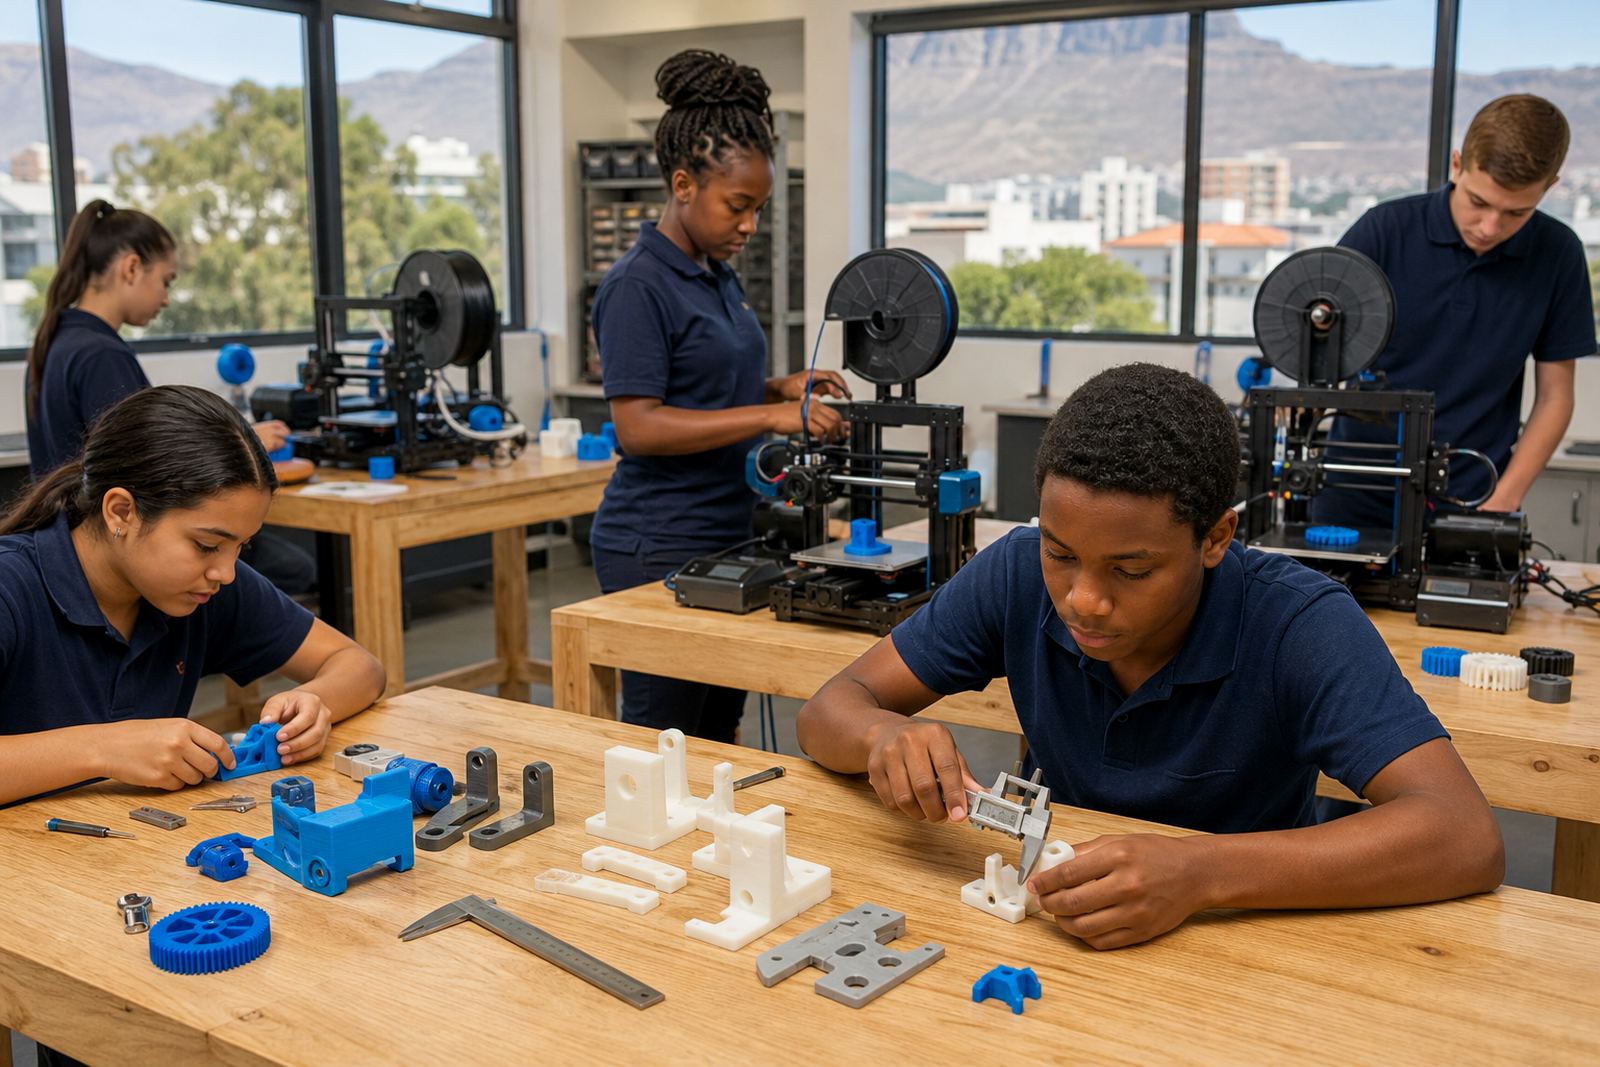
Once the printed parts were in use, the teachers had a more practical way to move from theory to action. Learners could hold parts, inspect how they fit and discuss why a design did or did not work. That made the problem-solving activities feel more concrete and less abstract. It also gave the teacher a better way to show iteration, because learners could improve a part and see the difference straight away.
The class used the materials for tasks that involved measuring, fitting, testing and simple design adjustments. That helped learners understand that technology lessons are not only about drawing on paper, but also about making, checking and improving. It also gave the school a reusable resource they can build on in later terms. A few of the printed items had to be reissued after learner handling, which is normal in a busy class, but the setup held together well and kept the lesson flow moving.
- Better learner engagement during practical work
- Clearer links between design and function
- More consistent lesson pacing for the teacher
- Reusable printed examples for later classes
What suited this tech classroom best
We would follow the same approach again for a school that needs printed project parts rather than a complicated technical installation. Start with the teaching goal, keep the kit practical, plan around the room and make sure the teachers know how to manage the printers safely. That formula works well in Kimberley and it works just as well in other South African school settings where time, space and power access can all vary.
We would also keep the same support structure for any follow-up project. A short planning phase, straightforward classroom setup and clear safety reminders give the best chance of long-term use. If the school later wants to expand into learner design work or a maker club, the same base kit can be adapted without starting from scratch.
- Begin with lesson outcomes, not hardware first
- Keep spare filament and tools stored in one place
- Use a simple printer schedule around school hours
- Keep safety rules visible in the room
Key facts
| Project location | Kimberley, Northern Cape |
|---|---|
| Project type | School tech class support with printed project parts |
| Timeline | 4 weeks |
| Kit format | Benchtop 3D printers, starter filament and classroom tools |
| Lesson focus | Practical problem-solving, fitting, testing and design improvement |
| Support notes | Teacher orientation, setup guidance and load-shedding planning |