The Brief from George
The school approached us for a practical classroom setup that could support several learners at once, not just a single printer tucked into one corner. The aim was to make 3D printing part of normal teaching and learning, with enough capacity for design, printing, basic troubleshooting and clean handover between groups.
George schools face a few familiar challenges, including tight timetable slots, mixed learner levels and the need to keep equipment safe and productive during the school day. The brief was clear: create a multi-printer layout that could be managed by teachers, used by rotating groups and kept running through busy weeks without constant supervision. The school also wanted a setup that made sense for local power interruptions and the coastal moisture that can affect filament storage and machine care.
What We Planned for the Lab
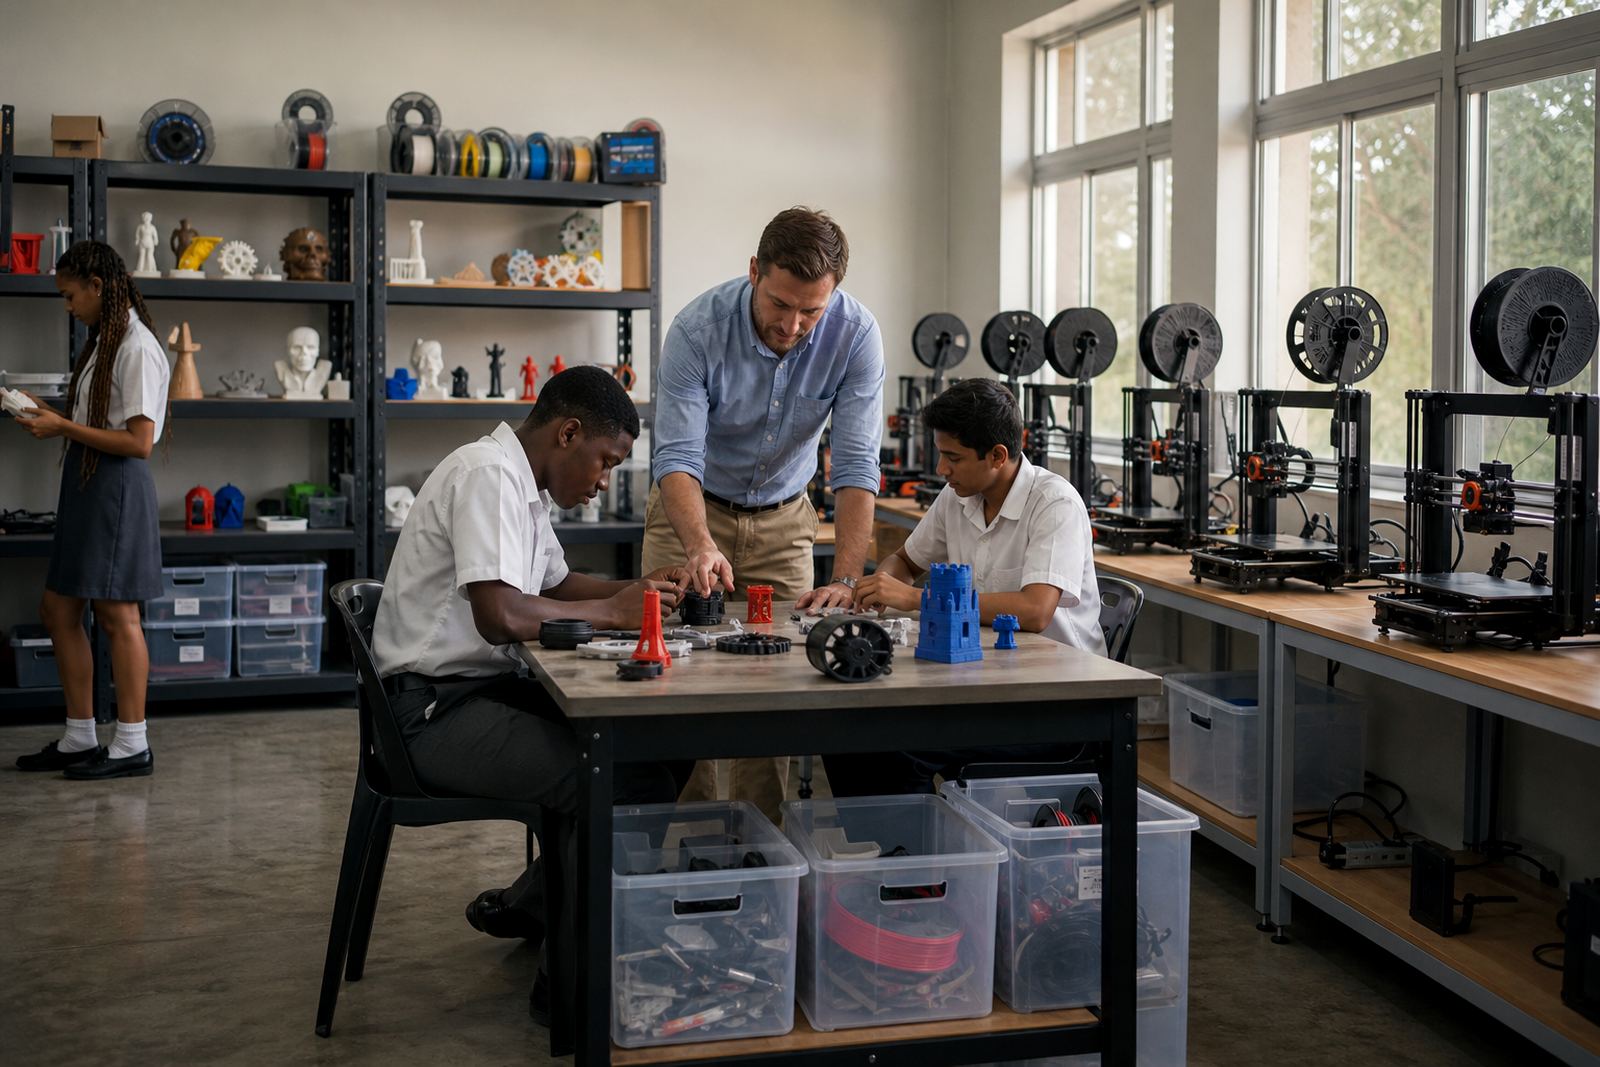
We started by mapping the room flow, the available power points and where learners would move for loading, removing prints and collecting finished parts. The lab was planned around separate work zones so that design work, machine operation and post print handling would not crowd each other. That gave the staff a clearer rhythm during lessons and reduced bottle necks when more than one class group was on rotation.
- Multi-printer layout for simultaneous class group use
- Dedicated tables for prep, printer operation and finished parts
- Storage for filament, tools and spares in a dry area
- Simple wall guidance for safe use, shut down and cleaning
- Setup suited to load-shedding planning and quick restart after outages
We also recommended a basic room procedure for learners, including who may start a print, who checks first layer adhesion and who logs completed jobs. This keeps things orderly and gives teachers a way to manage the room without having to stop every few minutes. It sounds small, but in a school setting it makes a real difference.
Equipment and Classroom Support Supplied
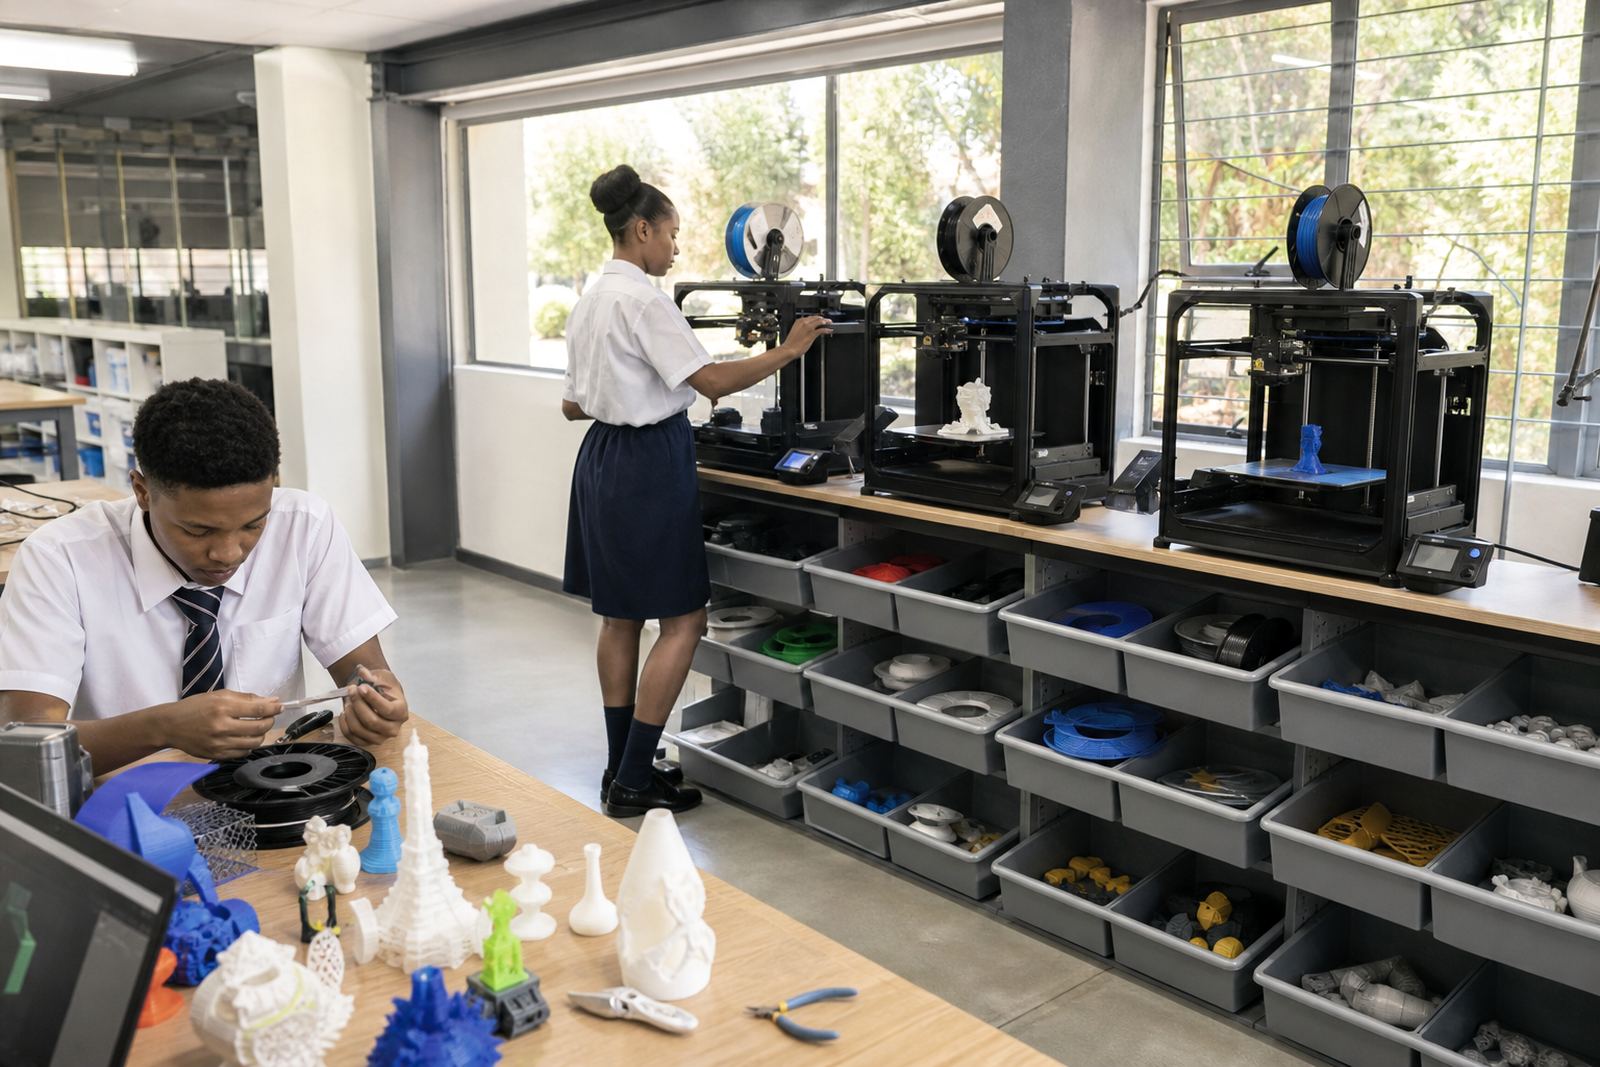
The installation centred on a practical set of printers, enough for a multi-group layout, together with the accessories a school actually needs to keep lessons moving. We supplied classroom-ready machines with enclosed work areas for safer handling, plus slicer-ready computers, filament storage and a small tool set for routine care. The printers were configured for common education use with standard nozzles, heated build plates and reliable power recovery settings.
- Multiple fused-filament printers for group rotations
- PLA filament in common colours for school projects
- Spare build surfaces, nozzles and basic maintenance tools
- Dry storage for filament in a coastal climate
- Safety signage and simple learner-facing operating notes
We kept the system straightforward so the staff could supervise it without specialist technical background. That included clear start-up checks, a simple print queue process and a print finish routine that learners could follow after a short induction. The result was a room that felt organised rather than complicated.
Teacher Handover and Routine Training
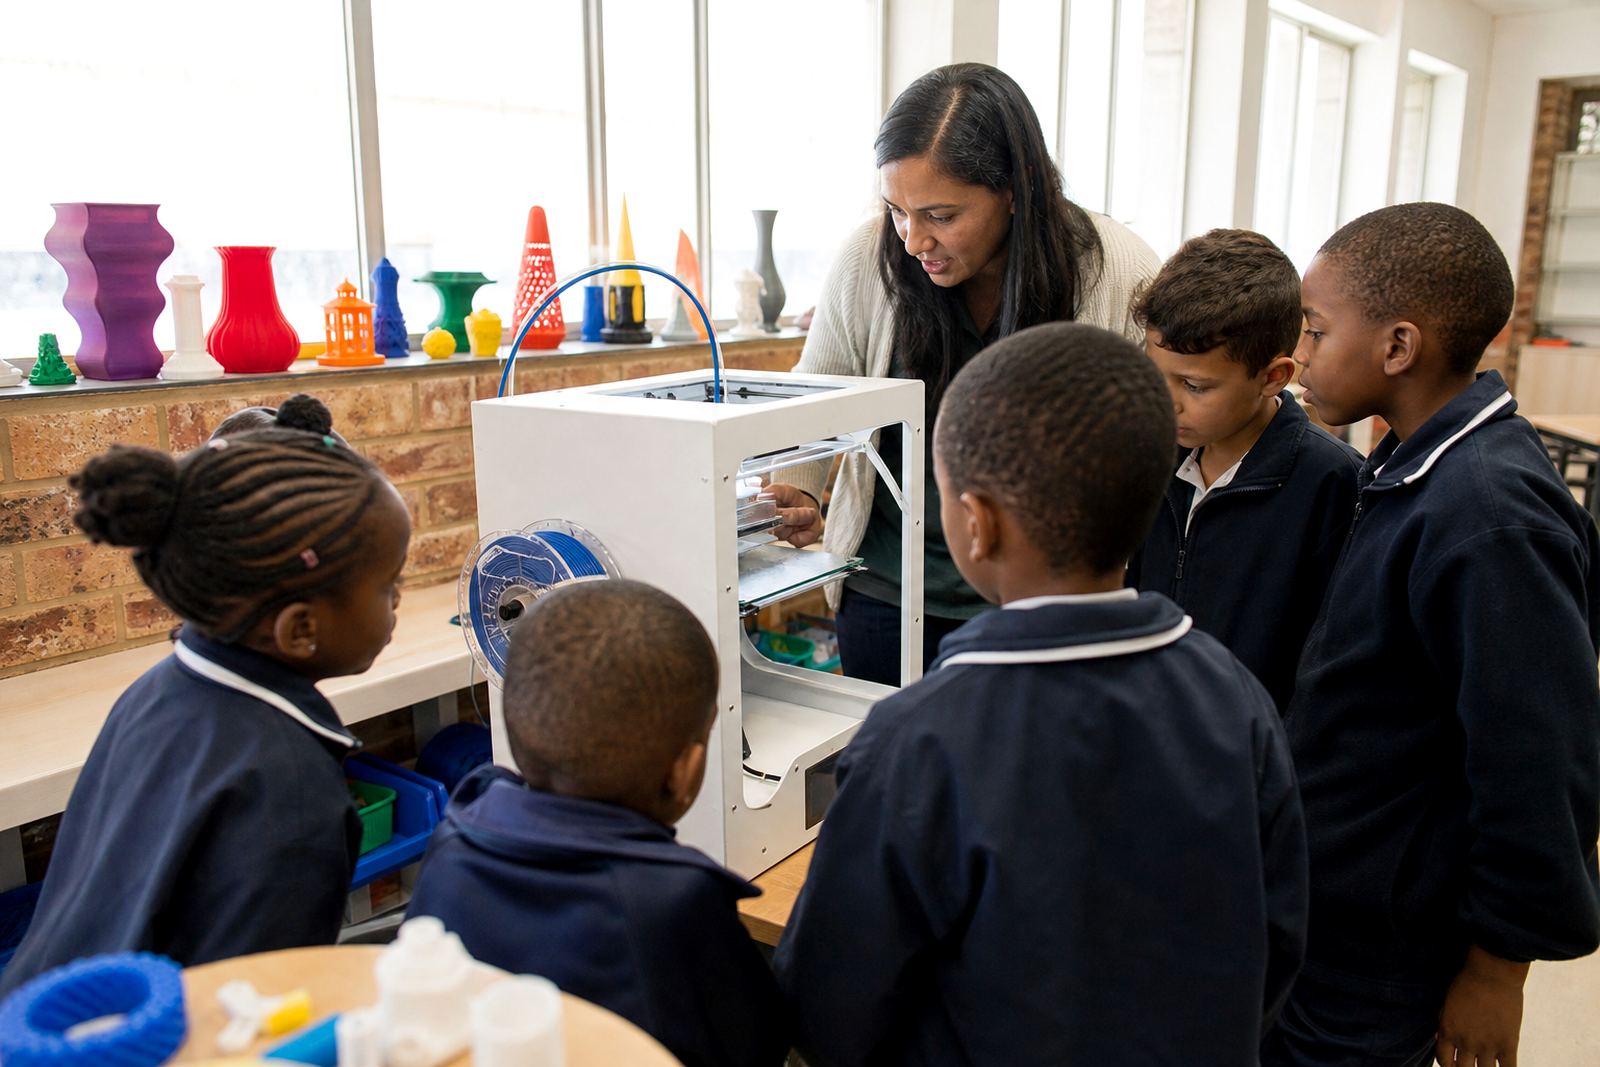
Once the lab was in place, we spent time with the teaching team on printer use, file preparation, group control and basic fault finding. The focus was on practical confidence. Teachers needed to know how to prepare a lesson, how to manage several learners at once and what to do if a print failed halfway through a lesson.
The handover covered safe operation, filament loading, bed cleaning, nozzle checks and how to judge whether a model was ready for printing or needed adjustment. We also discussed classroom rules around hot surfaces, moving parts and keeping loose items away from the printers. For school use, simple rules work best and they are easier to enforce when everyone understands why they matter.
Because the school wanted a long-term teaching tool, not a once-off demo corner, we also left behind a lesson-friendly routine for turn-taking. That meant learners could work in groups while one person designed, one prepared the file and one monitored the print under teacher supervision. It gave each class more hands-on time and cut down on waiting around.
Timeline, Constraints and Delivery in George
The project ran over a practical short timeline of about three weeks from planning to handover. Week one was the room assessment and equipment plan, week two covered delivery and installation, and week three focused on teacher training and fine tuning the room process. That schedule worked well because it allowed time for the school to organise space and timetable adjustments before the first full class rotation.
This school needed a few practical issues solved first. The room had to remain easy to supervise, the equipment needed to handle regular use and the school wanted a layout that would not overload a single power circuit. We also paid attention to the local conditions in George, where moisture can affect filament if it is left open and exposed. Small things matter in schools, especially when a lab is used by more than one class group and equipment is expected to last.
The final setup was delivered with a simple maintenance routine, so the staff could keep it working between visits. That included shutdown steps for load-shedding, storage checks after humid days and a basic weekly clean. No special drama, just a setup that fits real school life.
What the School Could Do Straight Away
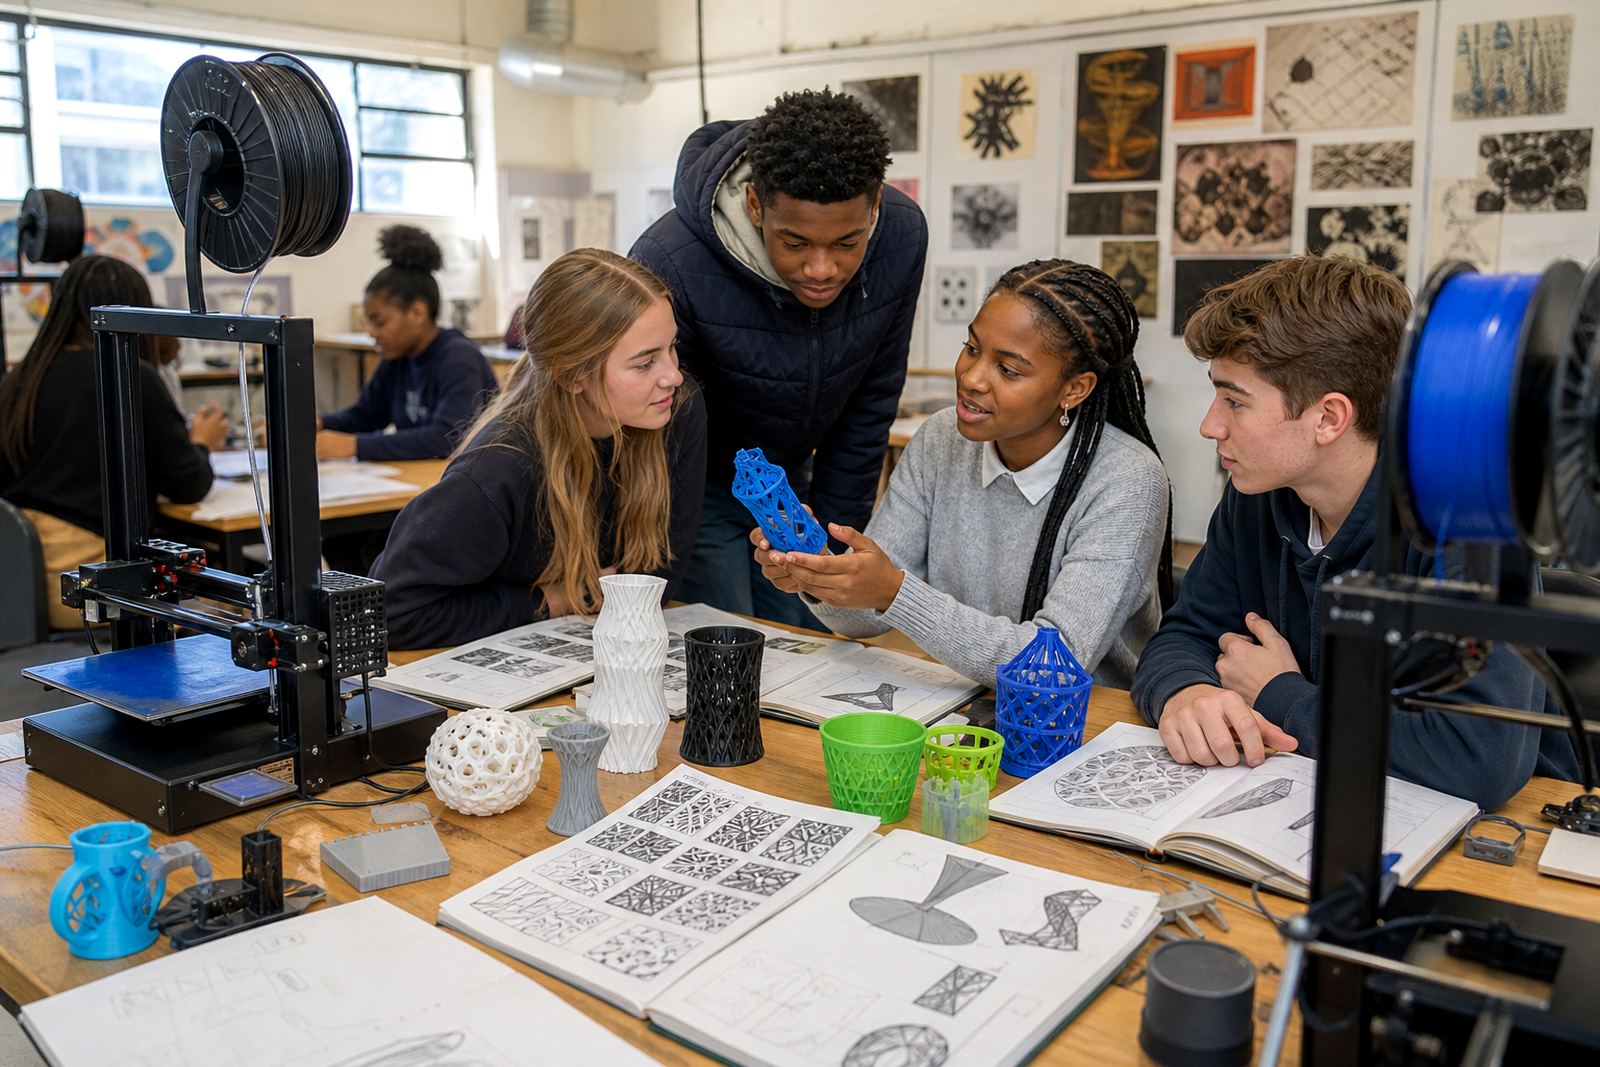
After the handover, the school was able to run learner rotations with less disruption and more consistency. Teachers could split a class into smaller groups, assign different tasks and keep the printers active without crowding the room. The lab became useful for design thinking, prototyping and practical problem solving across age groups.
- Faster class rotations with more than one print running at a time
- Cleaner supervision because the room had defined zones
- Better learner engagement through hands-on work
- Clearer lesson planning for design, printing and review
- Reduced downtime because staff knew the basic checks
For another room like this in a school, we would again begin with layout, class size and a repeatable teacher routine: begin with the room layout, match the machine count to the class size and give teachers a routine that is easy to repeat. That combination worked because it was realistic for a school setting, not overcomplicated. It gave George a lab that supports learning now and can be grown later if the school decides to add more courses or more printers.
Key facts
| Project location | George, Western Cape |
|---|---|
| Client type | School |
| Lab format | Multi-printer classroom rotation setup |
| Timeline | About 3 weeks from planning to handover |
| Core focus | Learner group rotations, teacher control and safe daily use |
| Included support | Lab layout, equipment supply, teacher handover and maintenance guidance |