What the Pretoria centre needed
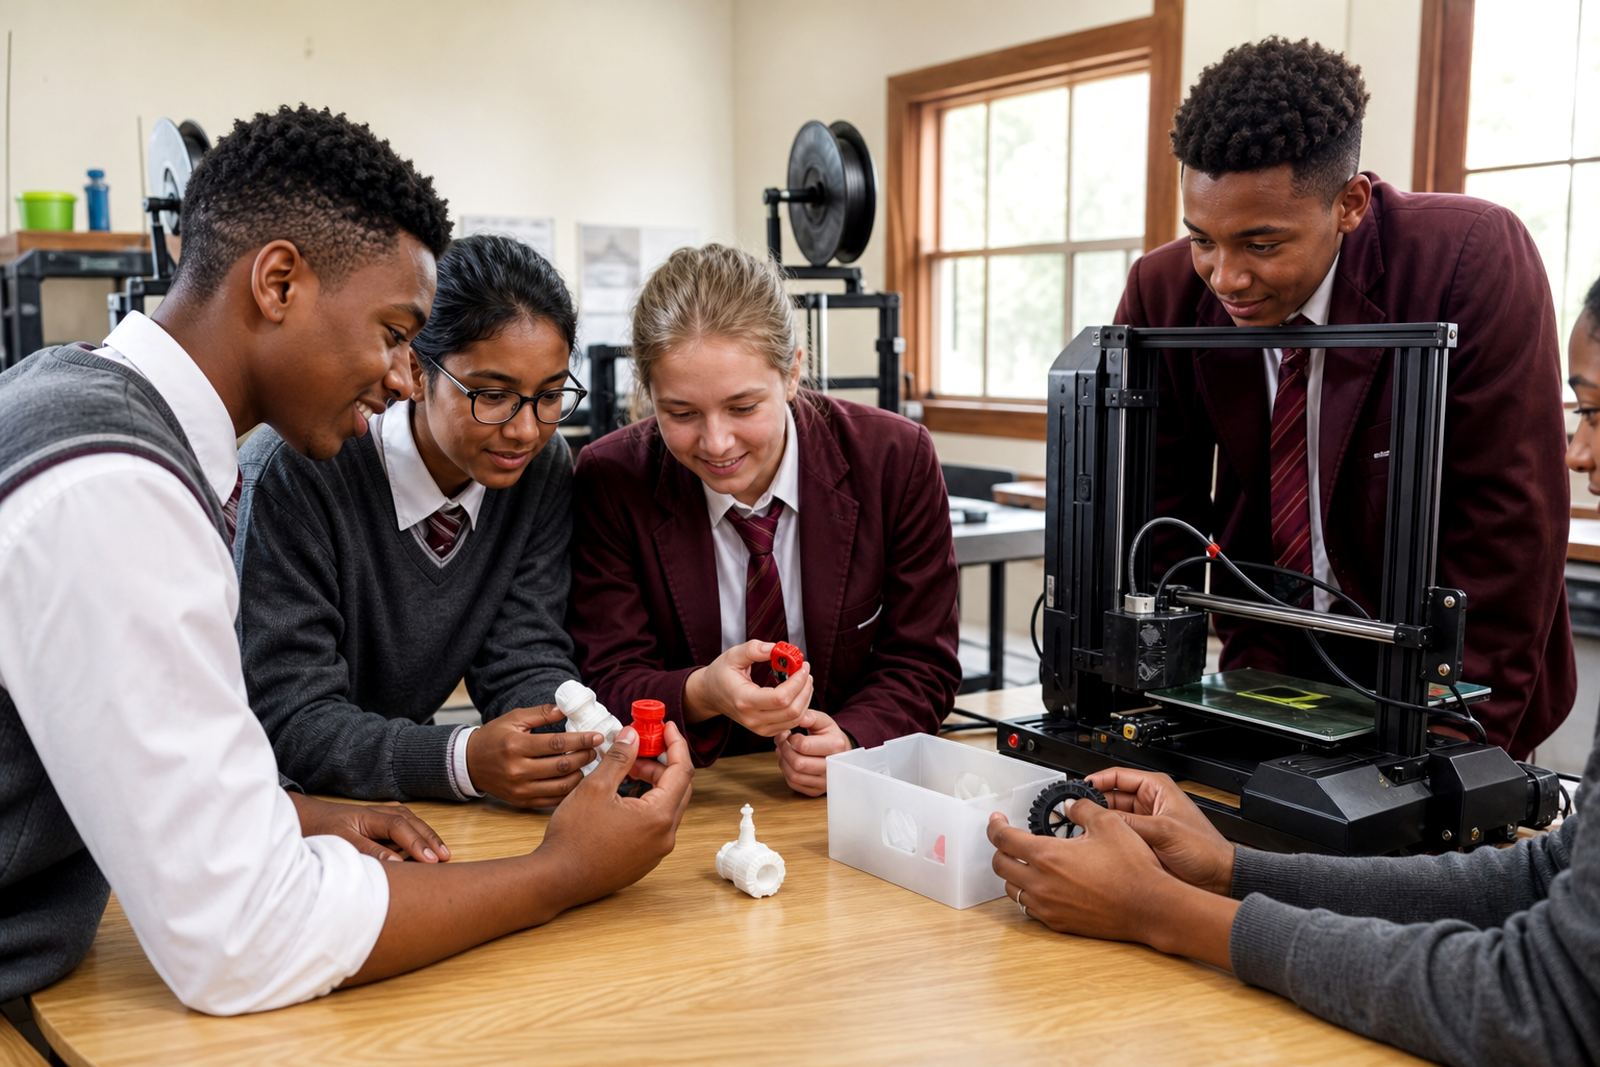
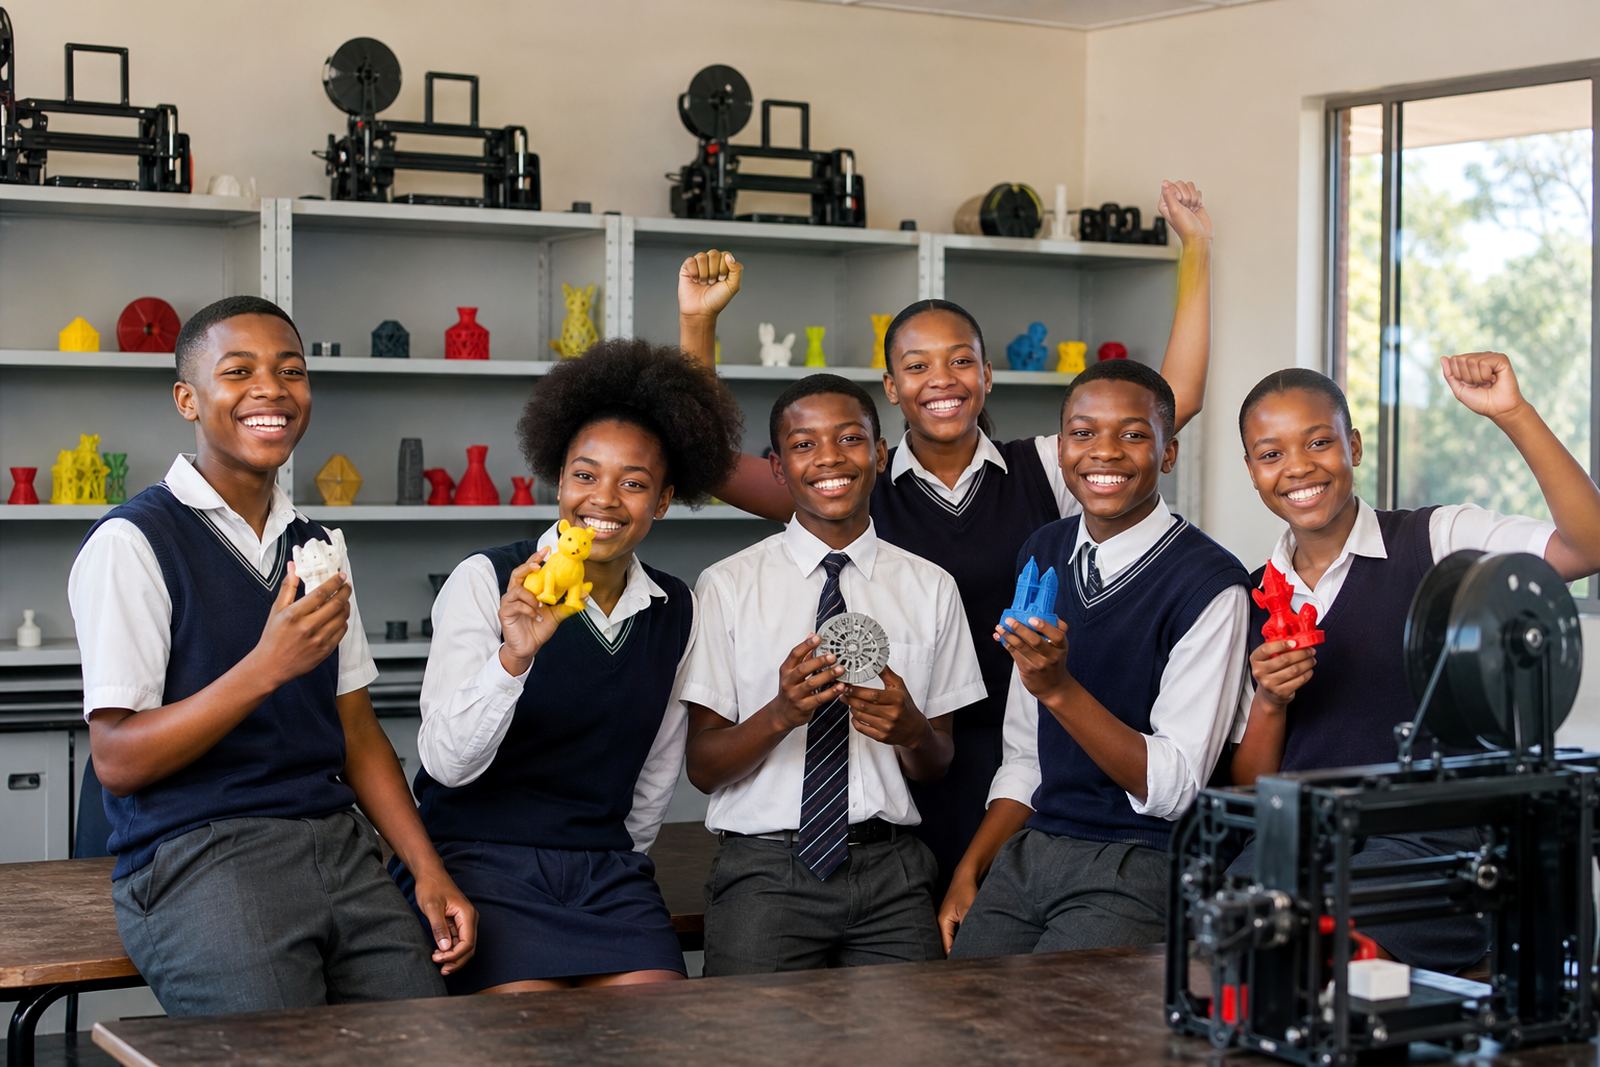
The client was a STEM learning centre in Pretoria that hosts visiting school groups from the city and surrounding areas. Their team wanted a better way to organise 3D printers, filament, tools and project materials so each visit could move from lesson to print job without wasting time looking for parts or clearing benches between groups.
The brief was straightforward. They wanted a room that could be used for short class sessions, after-school maker activities and teacher-led demonstrations, with enough structure for learners to work safely and enough flexibility to support different age groups. The centre also needed a setup that could cope with load-shedding interruptions and the general wear that comes with regular pupil traffic.
- School group use rather than one-off hobby printing
- Simple storage for printers, filament and tools
- Clear workstation layout for supervision
- Space for introduction sessions and hands-on tasks
The site constraints we worked around
Like many education spaces, the room had to do more than one job. It needed to support class movement, teacher oversight and secure storage, while still leaving enough circulation space for learners to move around safely. The centre also wanted to keep dust down and reduce the chance of small parts going missing between sessions.
We also had to plan for practical South African conditions. During load-shedding, printers need to be protected from sudden power cuts and restart issues. In a Pretoria setting, warm indoor conditions and seasonal dust mean filament and tools need proper storage, not open shelving only. We arranged the room so the most used items stayed close to the printers, while backup stock could be stored away from heat and direct sunlight.
- Limited room for permanent benches
- Need for tidy cable routing and safe plug access
- Secure storage for consumables and small tools
- Fast reset between groups from different schools
What we supplied and organised
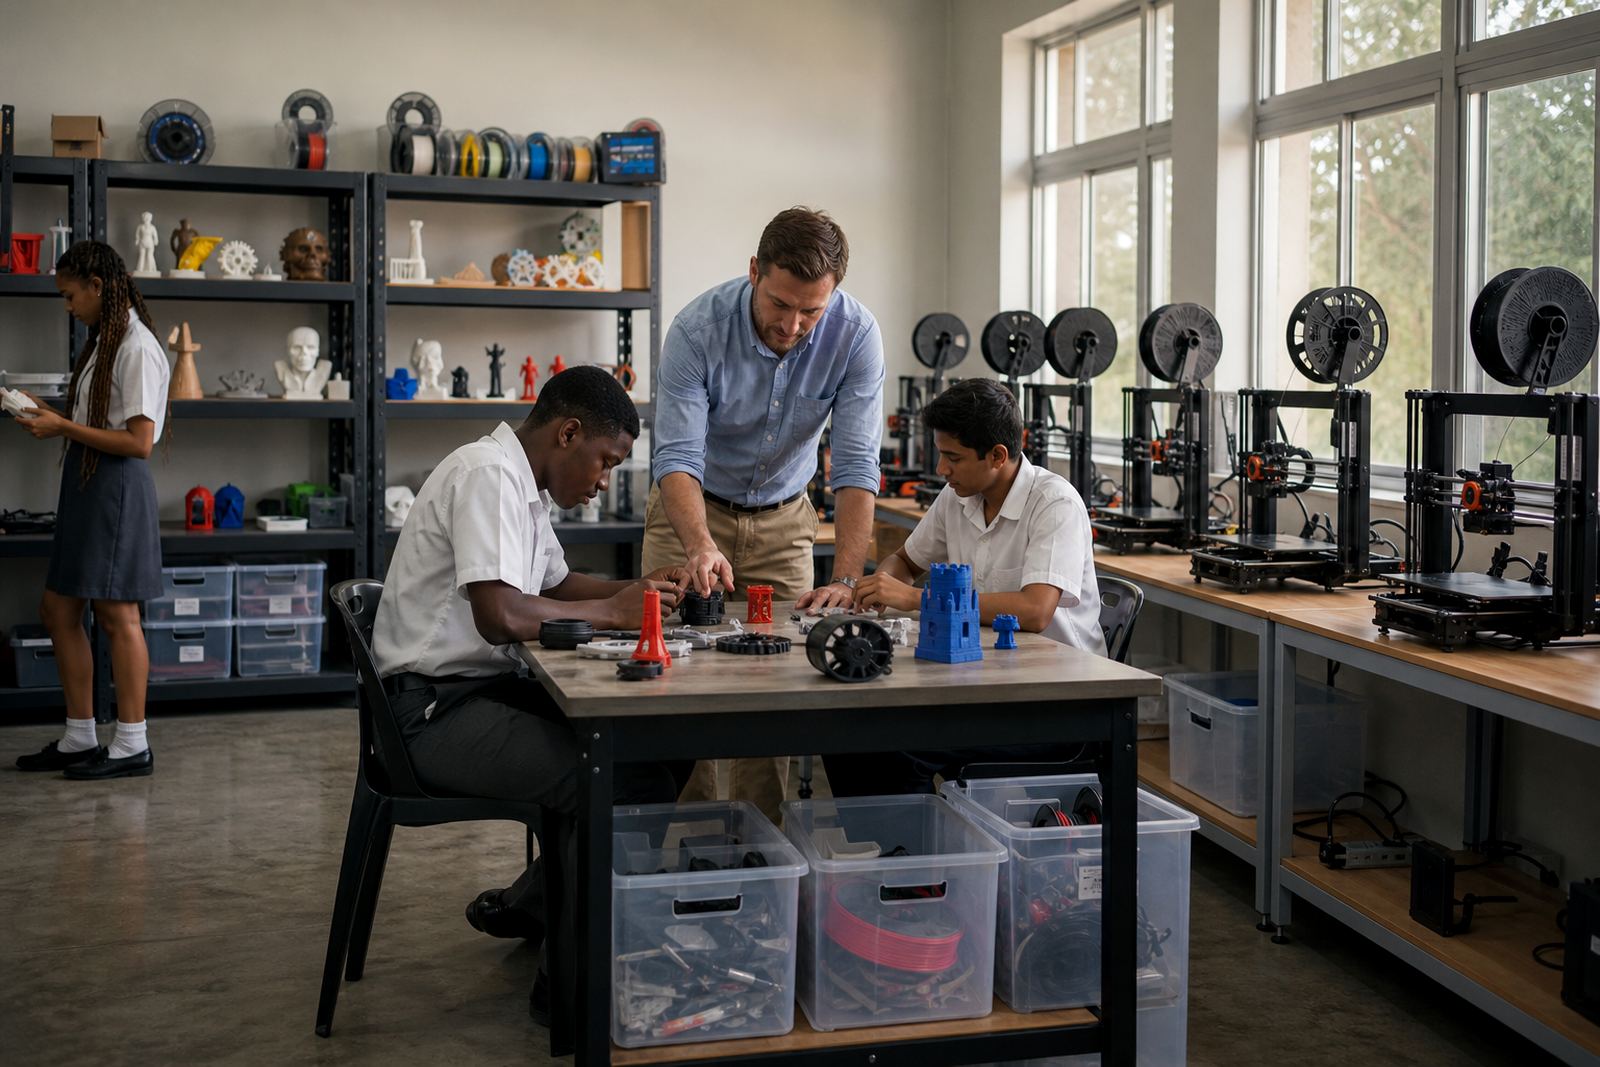
We supplied a classroom-ready lab kit and a working layout for a group learning environment. The setup included benchtop 3D printers, filament storage, basic post-processing tools, model preparation materials and a clear routine for starting, monitoring and finishing prints. The aim was not to overcomplicate the room, but to make it easy for staff to supervise and easy for learners to understand how each stage works.
For the centre, we also grouped materials by task. Design work, printer operation and cleanup each had a clear place. That made it easier for facilitators to keep track of parts and teach in a way that matched the flow of a school visit. We also supported the team with a basic maintenance plan so the machines could be checked, cleaned and prepared before the next group arrives.
- 3D printers arranged for supervised learner access
- Filament kept in organised, labelled storage
- Starter tools for removal, cleaning and finishing
- Basic maintenance routine for daily and weekly checks
- Clear work zones for setup, printing and packing away
How the project ran over four weeks
The project was completed over four weeks. In week one we reviewed the room layout and the centre’s school visit pattern. Week two focused on planning the workstation flow and deciding where printers, storage and demonstration space should sit. In week three we delivered and organised the lab kit, then checked that each area could be used without crowding. Week four covered handover, routine use and maintenance basics for the team.
This staged approach helped the centre avoid disruption. They did not need to stop regular activity for long periods, and the staff could begin using the room with confidence once the layout was in place. Because school visits often run back-to-back, we kept the system practical enough for quick turnover between classes.
- Week 1: room review and needs assessment
- Week 2: layout planning and equipment allocation
- Week 3: kit delivery and workstation setup
- Week 4: handover and operational guidance
What changed for learners and facilitators
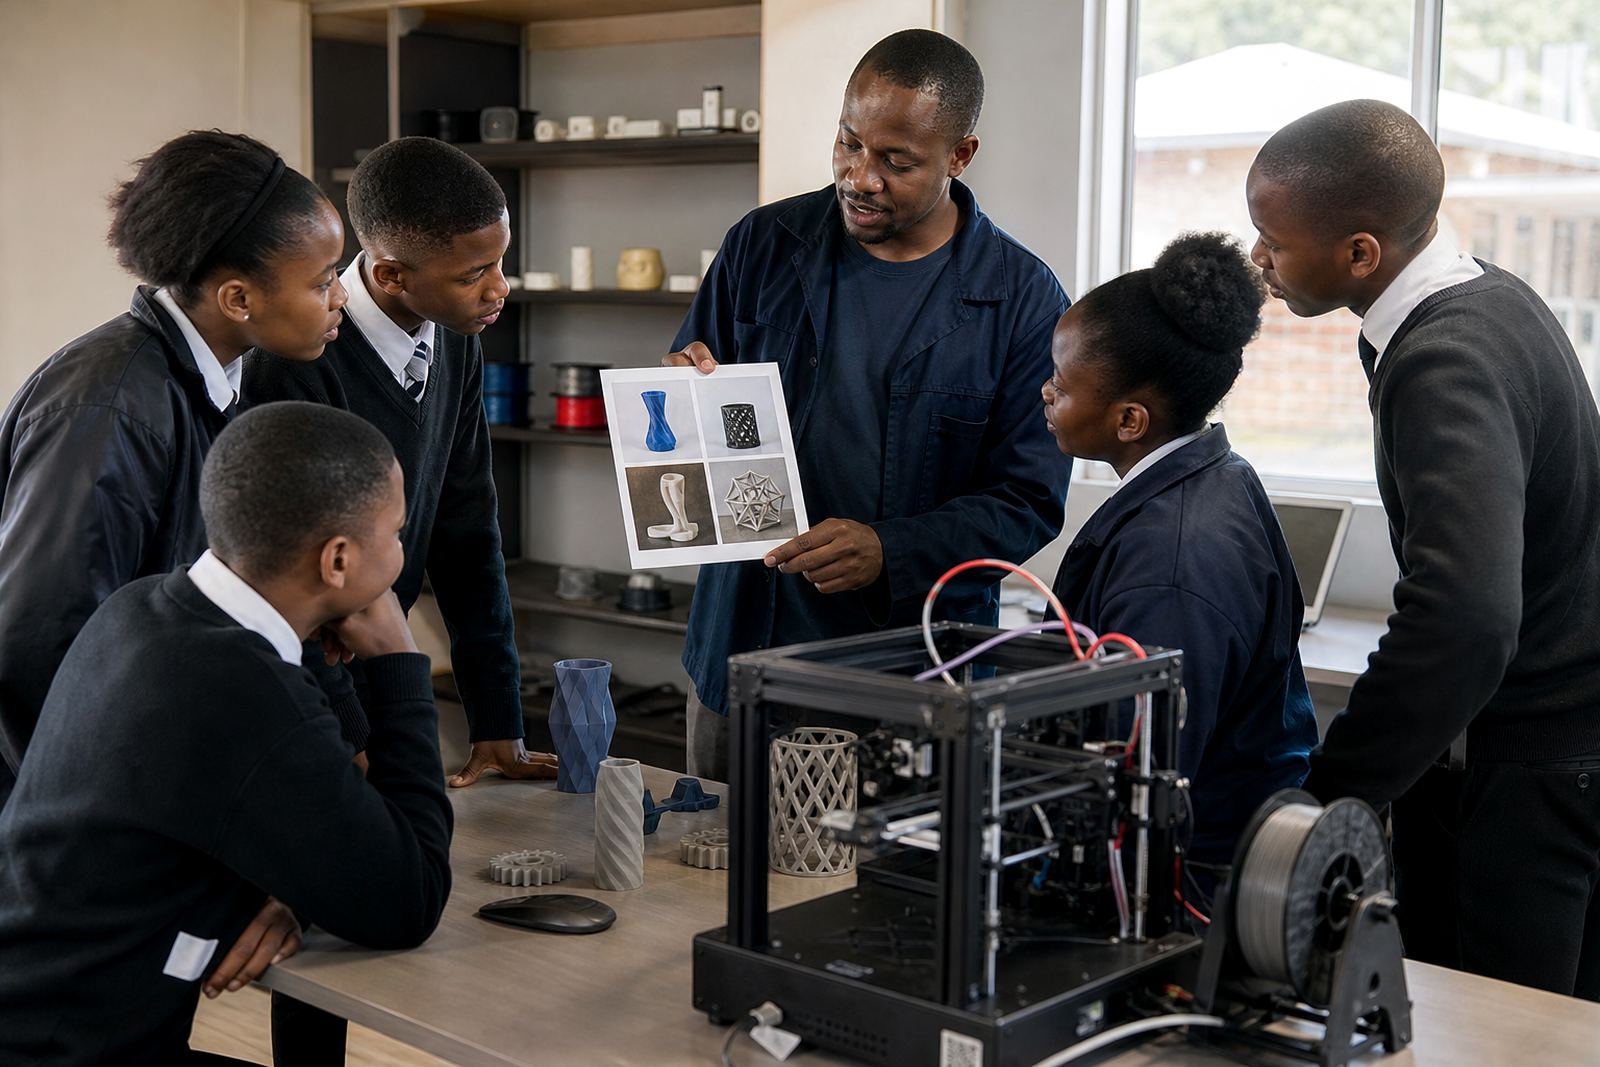
Once the printers and materials were organised, the centre could run visits in a more predictable way. Teachers and facilitators had a clearer process for introducing the equipment, starting a print and setting learners up for follow-up discussion. That matters in a school visit environment, because the lesson often has to fit into a fixed time slot and the group needs to move together.
The room now supports a better balance between observation and participation. Learners can see how a digital model becomes a printed object, while staff can keep the pace steady and watch for common beginner issues such as poor bed adhesion, clogged nozzles or careless handling of hot parts. It also became easier to keep the room neat after each group, which helps protect the equipment over time.
- Cleaner handovers between school groups
- Less time spent searching for tools and materials
- Better control of print-start and cleanup steps
- Safer supervision during active print jobs
What we would repeat for another STEM centre
For another busy learning venue like this, we would again plan around learner flow, simple layout and manageable equipment numbers: start with the visit pattern, keep the room layout simple and make sure the equipment matches the number of learners passing through the space. For a busy education venue, the best result usually comes from a setup that is easy to understand on day one and easy to maintain three months later.
We would also keep a strong focus on practical safety. That means clear instructions, hot-surface awareness, decent cable control and a proper place for tools after use. In South African school settings, where power interruptions and shared spaces are part of daily life, those basics help the centre keep working without constant interruptions.
- Plan for the number of learners per session
- Keep cables, tools and filament separated
- Leave room for demonstrations and movement
- Build in a simple cleaning and reset routine
Key facts
| Project type | STEM centre 3D-printing lab setup for school visits |
|---|---|
| Town | Pretoria, Gauteng |
| Delivery timeline | 4 weeks from review to handover |
| Core equipment | Benchtop 3D printers, filament storage, basic finishing tools |
| Use case | Learner visits, teacher demonstrations, maker activities |
| Support provided | Layout planning, supply, setup guidance and maintenance basics |