The brief from a busy community hub
The hub needed an entry point for 3D printing that would suit mixed-age groups, limited supervision and short workshop windows. The team wanted something practical for Soweto, where power interruptions can happen and equipment has to cope with regular use, dust and shared handling. The focus was not on a single display machine but on a repeatable learning setup that could be used for demonstrations, basic design work and supervised print sessions.
We were asked to keep the first phase manageable for first-time users and to build confidence quickly. That meant short sessions, clear safety steps and a kit that could be packed away securely after use. The learning area also had to fit into an existing room, so the layout and cabling had to be tidy, easy to reset and simple for staff to monitor.
- Client type: community-linked learning hub
- Town: Soweto, Gauteng
- Primary use: short workshops, demos and learner introductions
- Key need: practical 3D printing with low setup friction
What we planned for the space
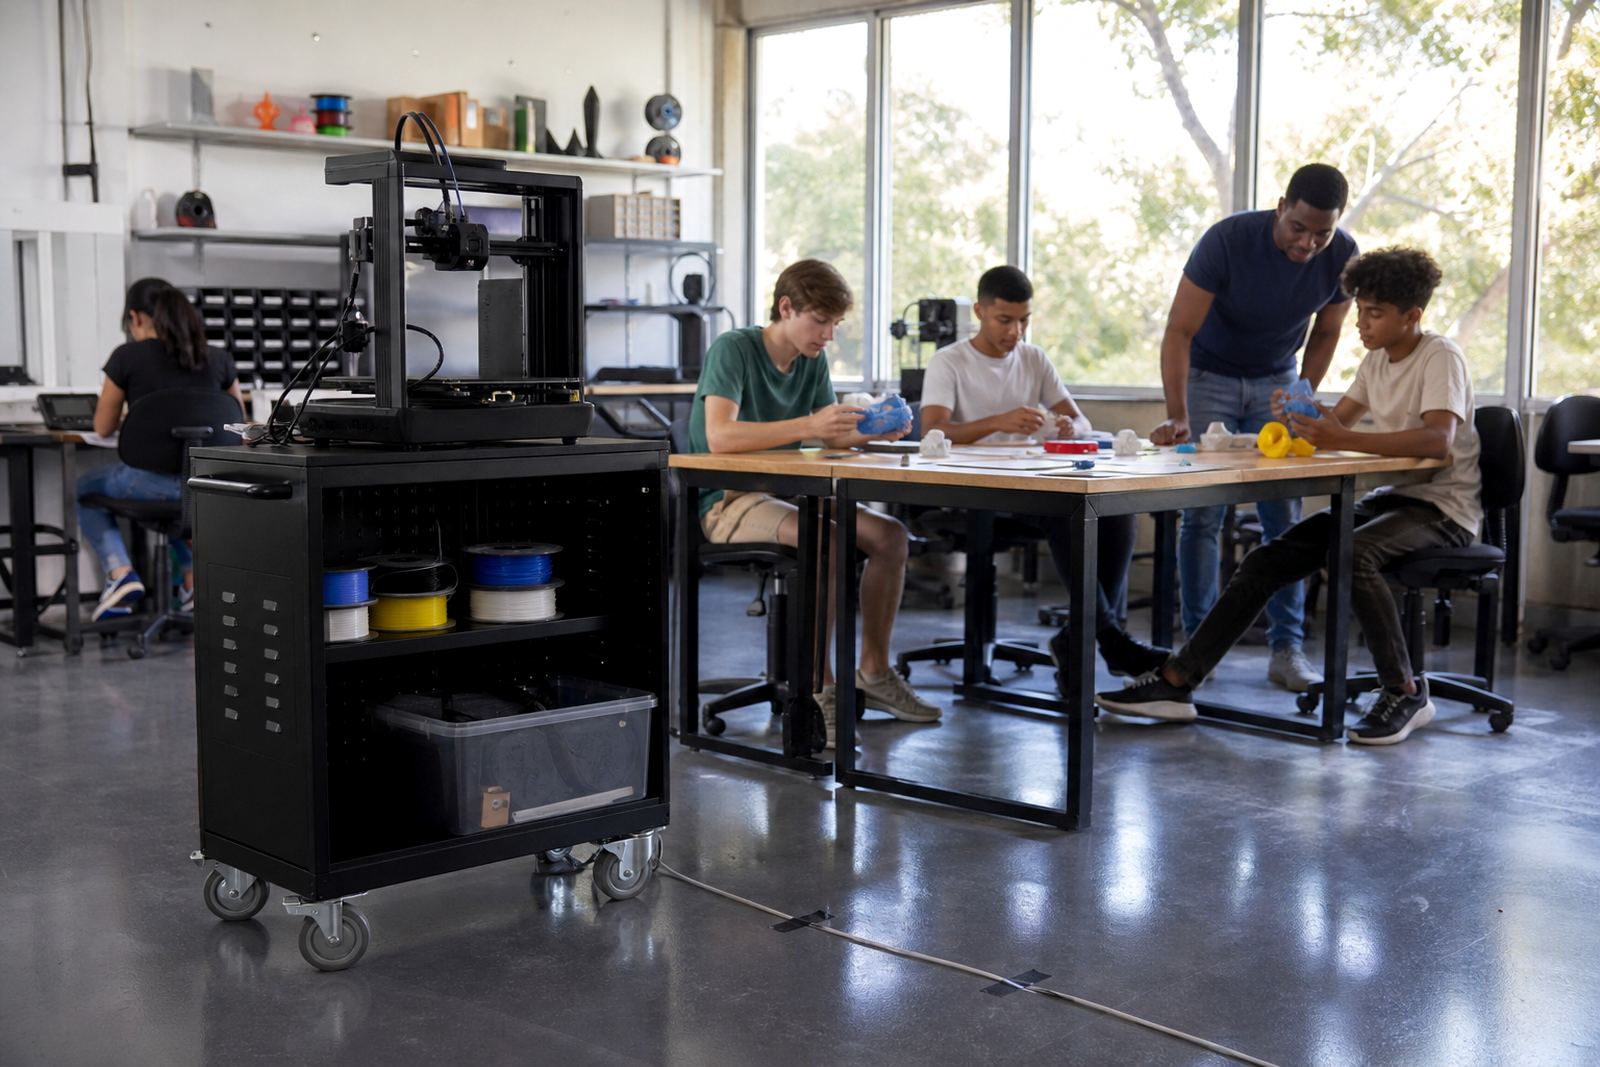
We mapped the workflow from learner arrival to clean-up, then matched the equipment to the room size and the hub's operating rhythm. The layout needed enough room for a trainer to demonstrate at the front, with learners able to see the printer in action without crowding the machine. We also accounted for the fact that the space would be used for other activities, so everything had to store neatly and return to service quickly.
The recommended setup included a compact fused-filament printer, a laptop-based CAD workflow, basic hand tools, filament storage and a safe demonstration zone. We kept the material choice practical, with standard 1.75 mm filament and common classroom-sized models that print in under a few hours. That made it easier to run a workshop in one visit and still leave the group with something they had designed themselves. Small print failures are part of the learning, so we allowed for test pieces and simple recovery steps instead of trying to force perfect results every time.
- Printer format: single benchtop fused-filament unit
- Material format: 1.75 mm filament
- Typical build volume: approx. 220 x 220 x 250 mm
- Workshop model size: small classroom objects and test samples
The workshop series and support we supplied
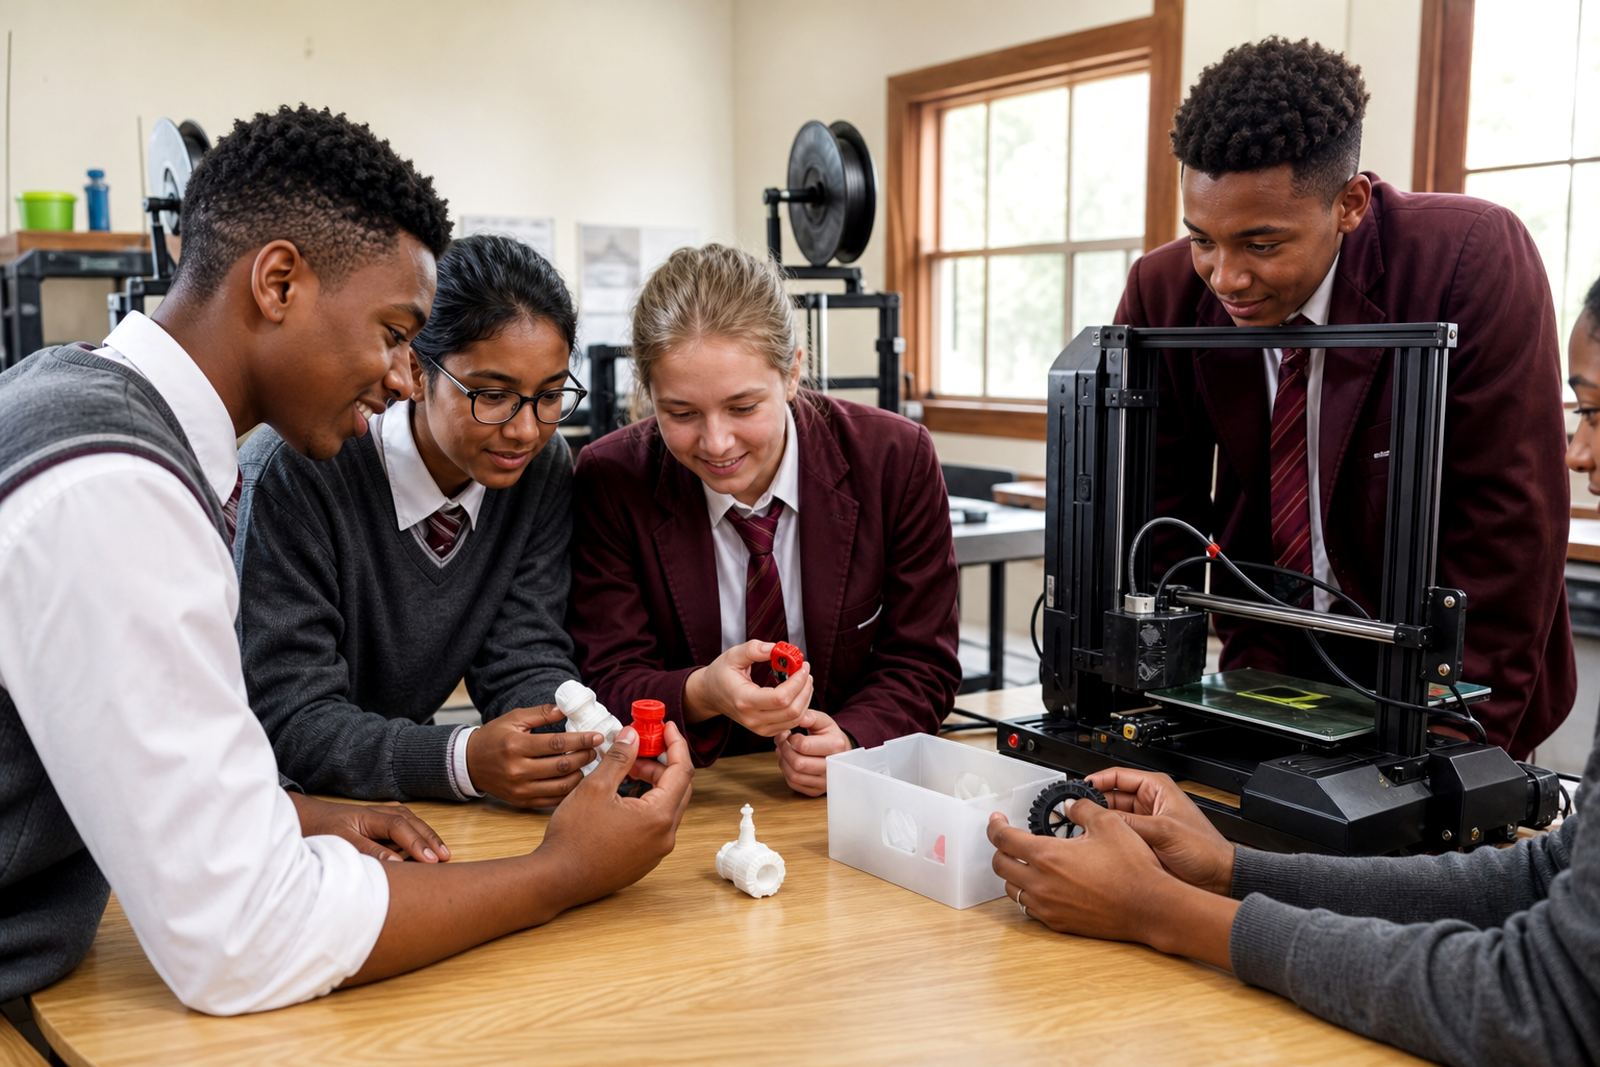
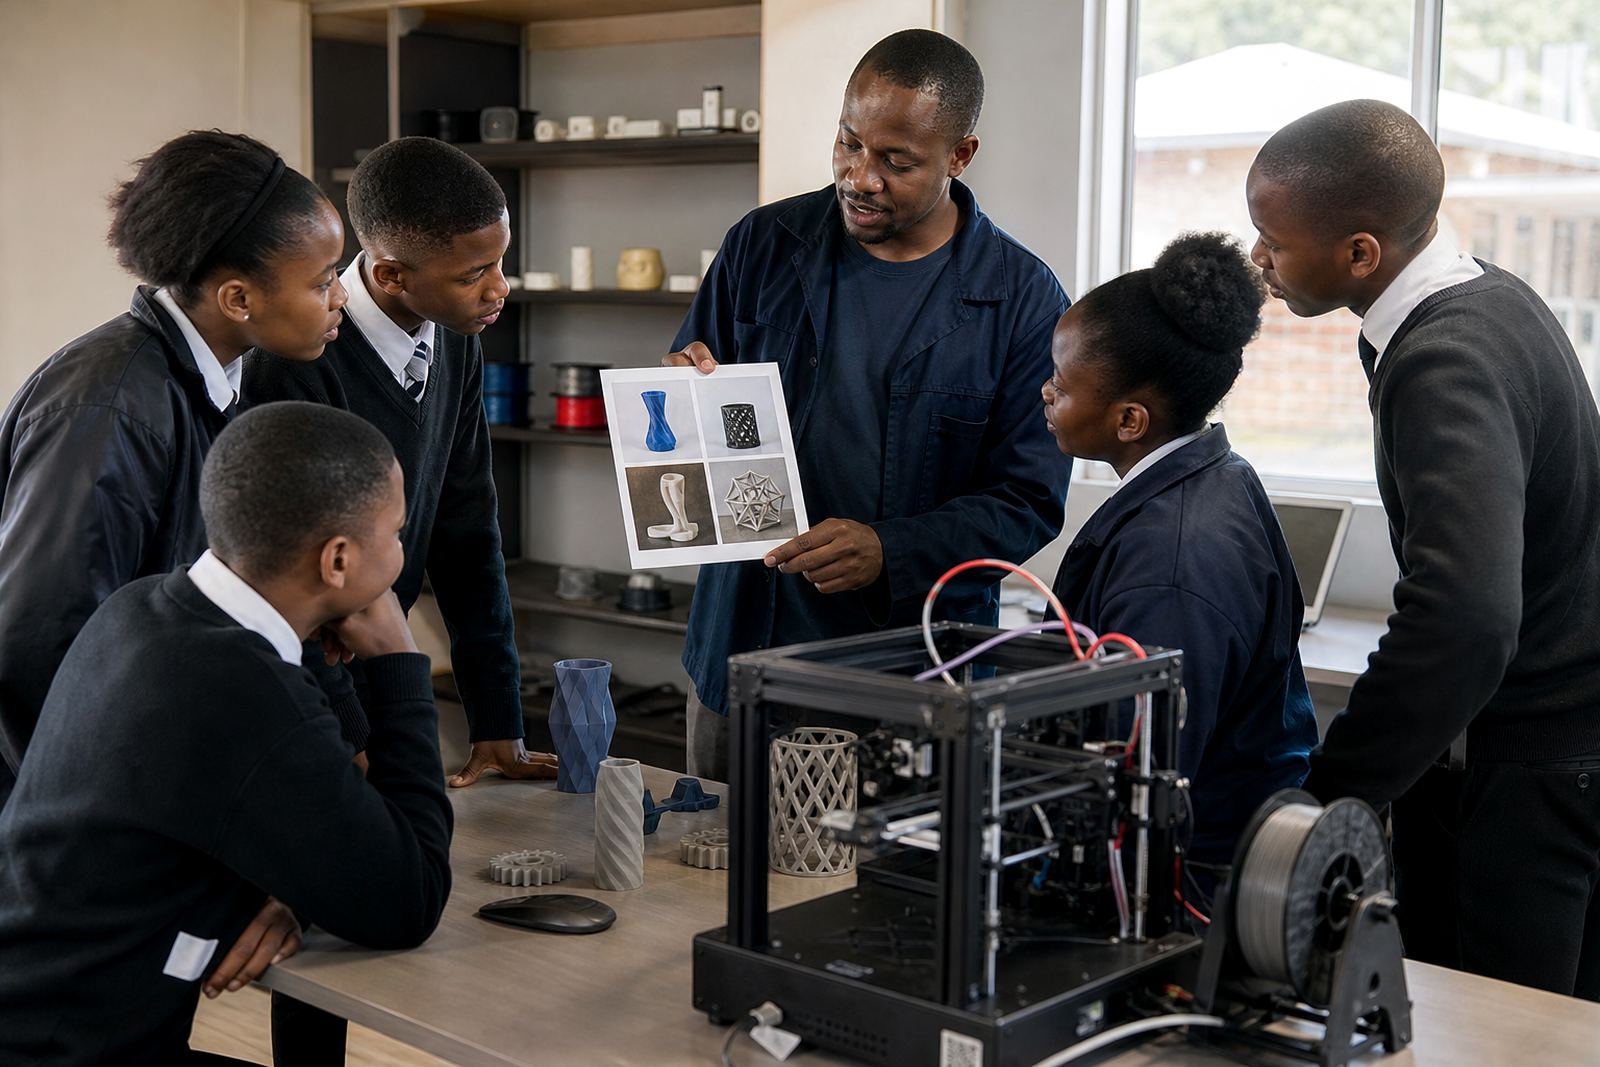
The rollout ran over four weeks, starting with a management briefing and a basic printer familiarisation session for staff. After that, we delivered guided learner workshops that covered how a 3D printer works, how to prepare a simple model, how to check orientation and how to start a print safely. We also covered printer care, nozzle checks, bed levelling, filament loading and what to do when a print fails partway through.
Because the hub would run sessions with different groups, we kept the teaching material modular. The trainer could run a short demo in 20 to 30 minutes or extend it into a full activity with drawing, slicing and print observation. We also supplied quick-reference notes for staff so they could restart the machine, clear minor jams and recognise when a print needed to be stopped. In a shared learning space, that kind of support matters more than fancy features.
- Week 1: site walk-through and setup plan
- Week 2: staff briefing and printer operations basics
- Week 3: learner workshop and first supervised prints
- Week 4: maintenance basics and handover support
Safety, power and room constraints we worked around
The hub had to work within a real community environment, so safety came first. We kept the printer on a stable surface, away from foot traffic, with clear access around hot parts and moving components. The group was reminded not to touch the nozzle, bed or freshly printed parts until they had cooled. We also suggested clear lab rules for cable management, tool storage and supervised use only, especially when younger learners were in the room.
Load-shedding was another practical concern. The setup allowed for careful print planning, shorter jobs and a simple shutdown routine if power was unstable. We also advised the team on ventilation, dust control and keeping filament sealed when not in use, which is especially useful in Gauteng conditions where shared rooms can get warm and dry. The result was a learning space that felt organised and manageable, not intimidating.
- Classroom rule: supervised use only during printing
- Safety point: no handling of hot parts or fresh prints
- Storage point: tools and filament kept in labelled containers
- Power point: plan short jobs around interruptions where possible
What changed after the first month
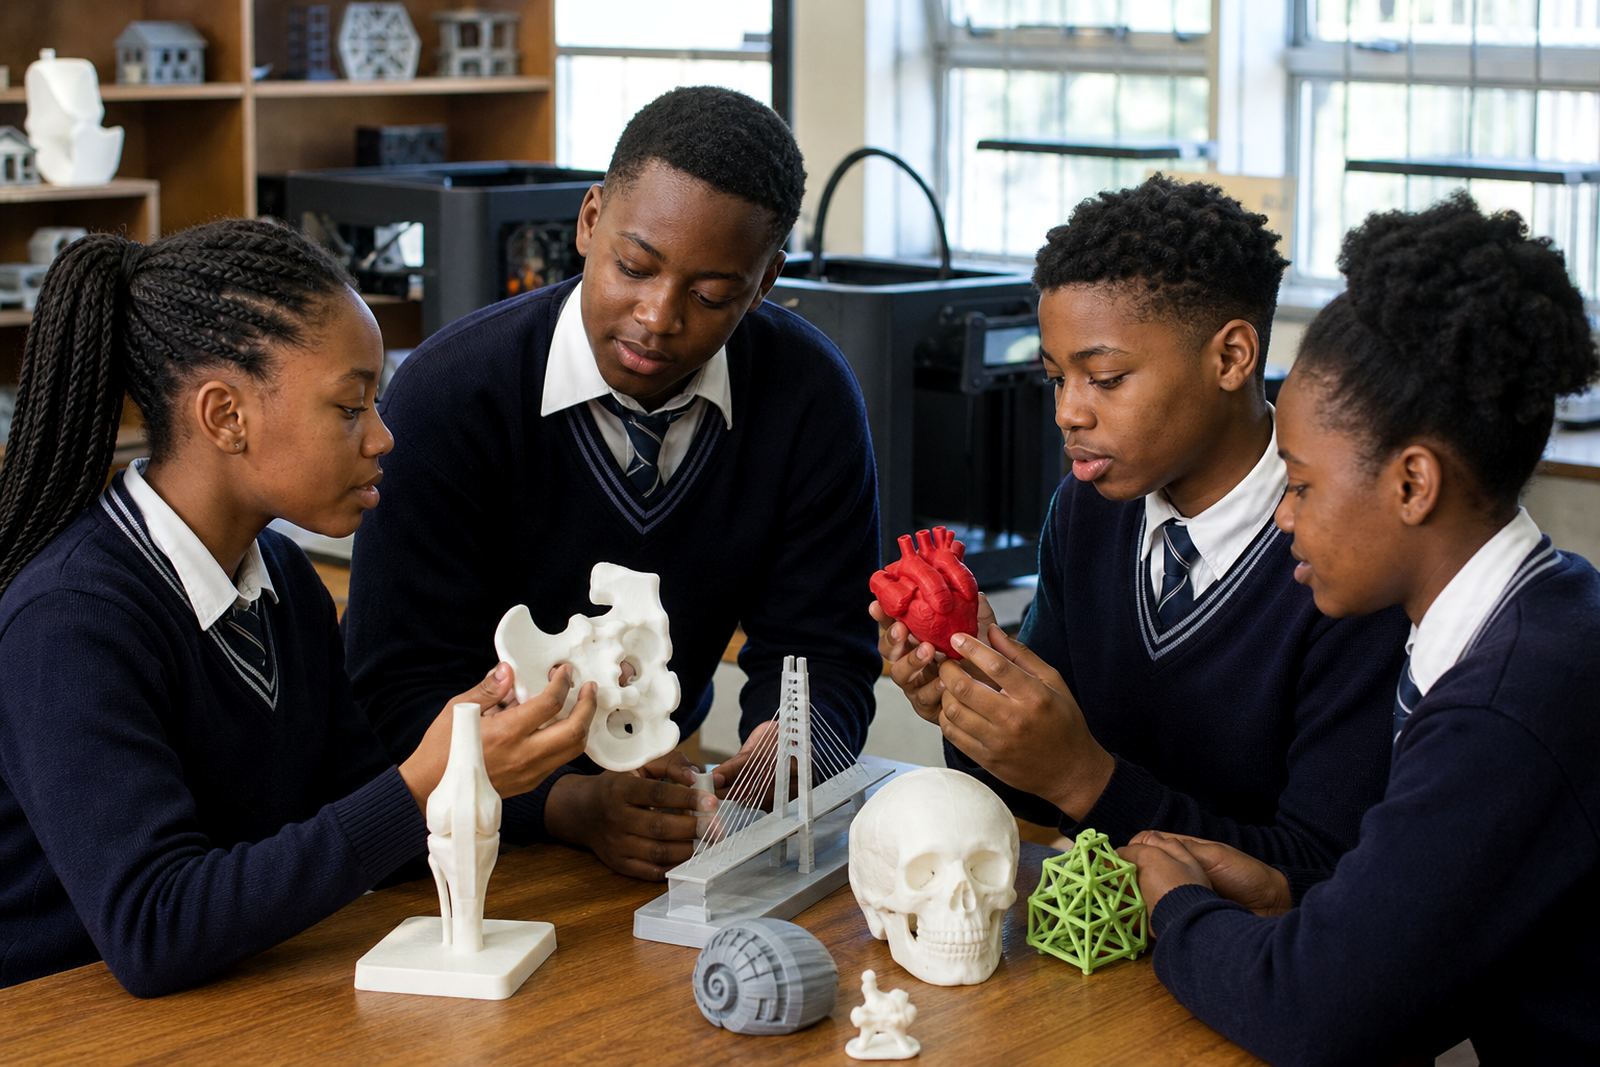
By the end of the first phase, the hub had a working introduction to 3D printing that could be repeated for different age groups. Teachers and facilitators were able to run basic demonstrations without outside help, and learners could see their own ideas move from sketch to physical object. The biggest gain was not only the printer itself but the confidence to use it sensibly and keep it in working order.
The hub reported stronger participation during short practical sessions because learners could immediately understand what the machine was doing. They also found that the printed objects helped with discussion in design, technology and maker activities. A few early prints needed adjustment as expected, but that became part of the teaching rather than a setback. We would use the same phased approach again, because it gives a community space time to settle into the routine before adding more advanced work.
- Result: staff could run guided sessions independently
- Result: learners engaged well with hands-on demonstrations
- Result: the hub gained a repeatable workflow for future sessions
- Result: basic maintenance became part of daily routine
What we would do again for a similar hub
If another community learning space asked for the same kind of support, we would keep the first phase focused, practical and easy to maintain. A small, well explained setup is better than a complicated one that nobody feels confident using. We would again start with staff training, then move into short learner sessions, and only after that consider expanding to more printers, more advanced CAD work or longer programmes.
For Soweto specifically, the important lesson was that a community hub needs flexibility. The room may be shared, the schedule may change and the equipment has to be ready for real use rather than display. A modest setup with clear rules, tidy storage and sensible workshop lengths is what made this project workable. That approach gave the team a useful base they could build on as demand grew.
Key facts
| Project name | Soweto Learning Hub |
|---|---|
| Client type | Community-linked learning hub |
| Location | Soweto, Gauteng |
| Timeline | 4 weeks from planning to handover support |
| Core equipment | Benchtop fused-filament 3D printer, CAD laptop workflow, tools and filament storage |
| Training covered | Printer operations, learner introduction, maintenance basics and workshop planning |