A science room built for clearer explanation
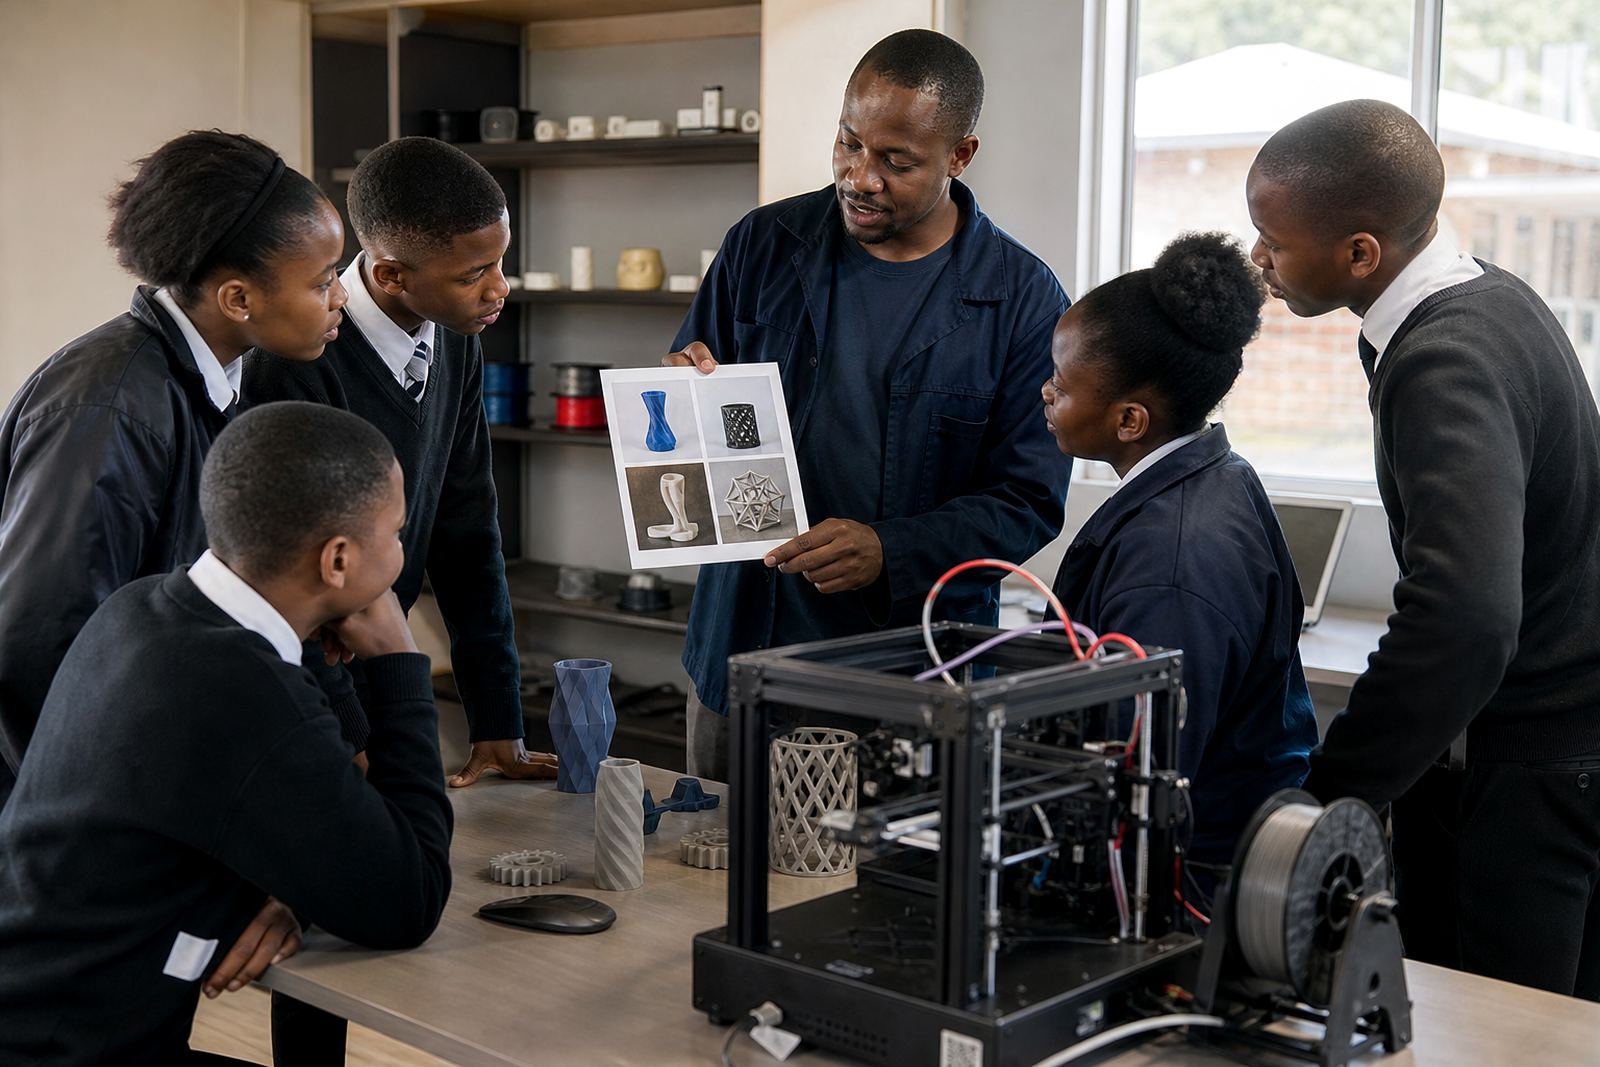
The client was a secondary school in Gqeberha looking to strengthen visual learning in a busy science room. The teaching team wanted more than posters and textbook diagrams, they needed physical models that could be passed around, discussed and compared in class.
The brief was simple on paper but specific in use. Models had to be durable enough for repeated handling, easy to store between periods, and light enough for teachers to move from one table to the next without fuss. The room also had limited cupboard space and regular power interruptions, so the setup had to work without depending on a constant print job schedule or complicated maintenance.
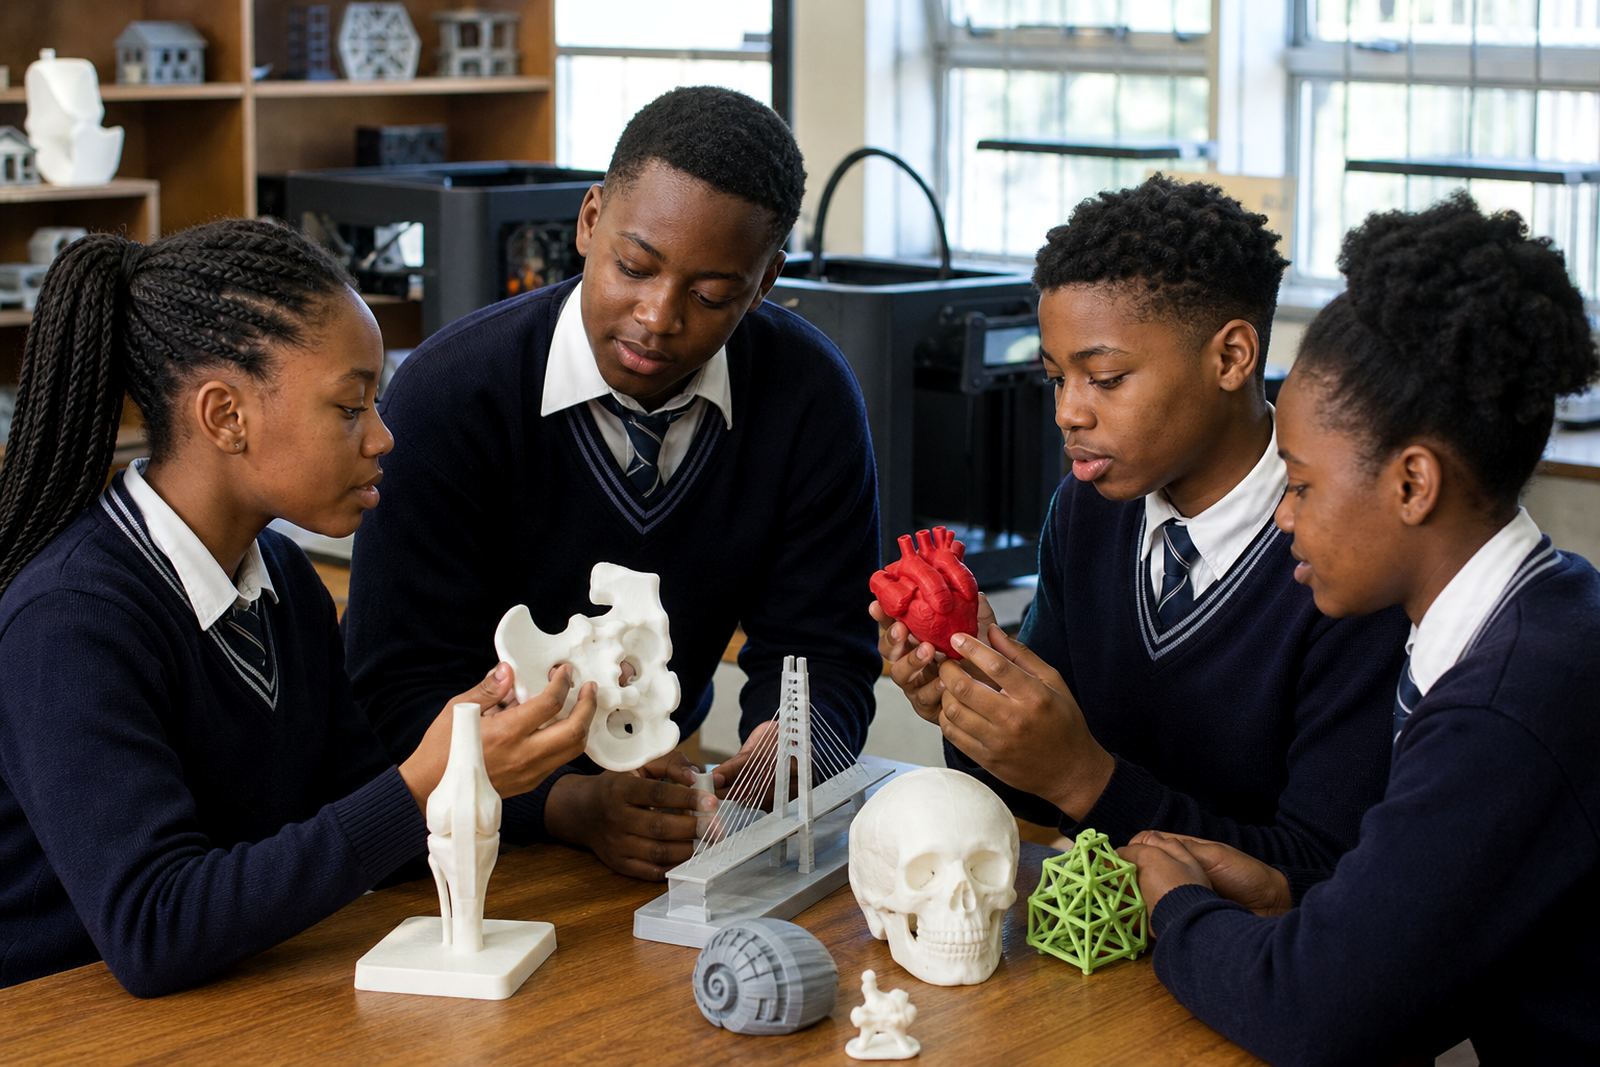
We first looked at what topics were being taught most often and which ones were hardest to explain with flat diagrams. That pointed to anatomy, molecular structure, simple machine parts and general demonstration pieces that help learners see form, size and relationships. It was not about filling shelves, but about choosing the right printed models for real lessons.
What the school needed to work around
Like many coastal schools, the room had to cope with humidity, dust and frequent use. Stored items can warp or go missing quickly if they are not labelled and kept in one place, so the practical side of the setup mattered as much as the models themselves.
The school also needed a setup that teachers could manage without specialist tech support every day. That meant clear labelling, simple usage notes and a sensible storage plan. We kept the workflow lean so the classroom team could focus on teaching instead of troubleshooting.
- Limited storage space in the science room cupboards
- Need for safe handling by learners during lessons
- Power cuts and load-shedding affecting routine use of equipment
- Coastal air and humidity requiring sensible storage
- Multiple teachers sharing the same room and materials
The printed models and classroom items supplied
We supplied a targeted mix of printed models and supporting classroom items. The set was planned so the room would have clear demonstration pieces, not random samples that sit unused after the first week. Each item was chosen for a lesson use, a storage place and a cleaning method.
The printed items included larger visual models, smaller hand-held pieces and labelled components for showing how parts fit together. Where needed, we supplied stands and simple holders so the models stayed upright during demonstrations. The finish was chosen for classroom visibility, with colours that made parts easy to distinguish from a few metres away.
- Anatomy and structure models for visual explanation
- Simple demonstration parts for physics and general science
- Labelled learning pieces for table work
- Display stands and storage trays
- Quick-use notes for teachers and lab assistants
Lab setup and teacher handover
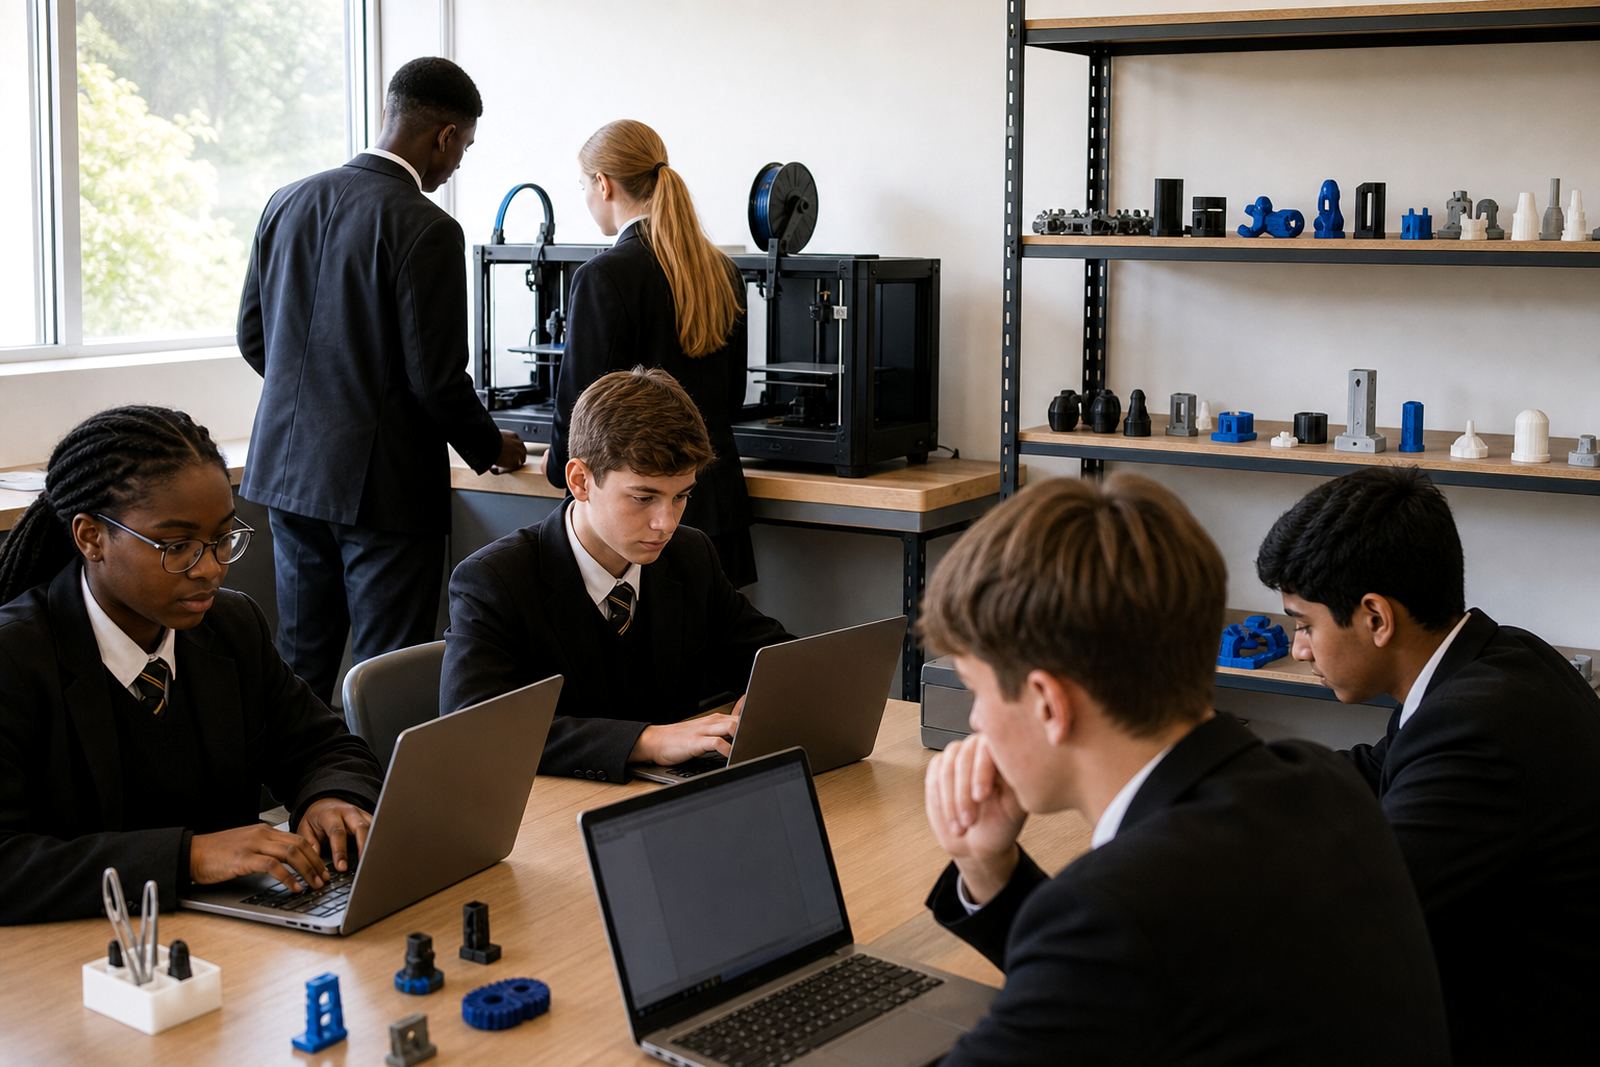
Once the items were printed, we arranged the room in a way that suited class movement and quick access. We worked through where each item should be stored, how it should be handed out and how it should be cleaned after use. The aim was to make the room easier to run from day one, not only prettier on the day it was delivered.
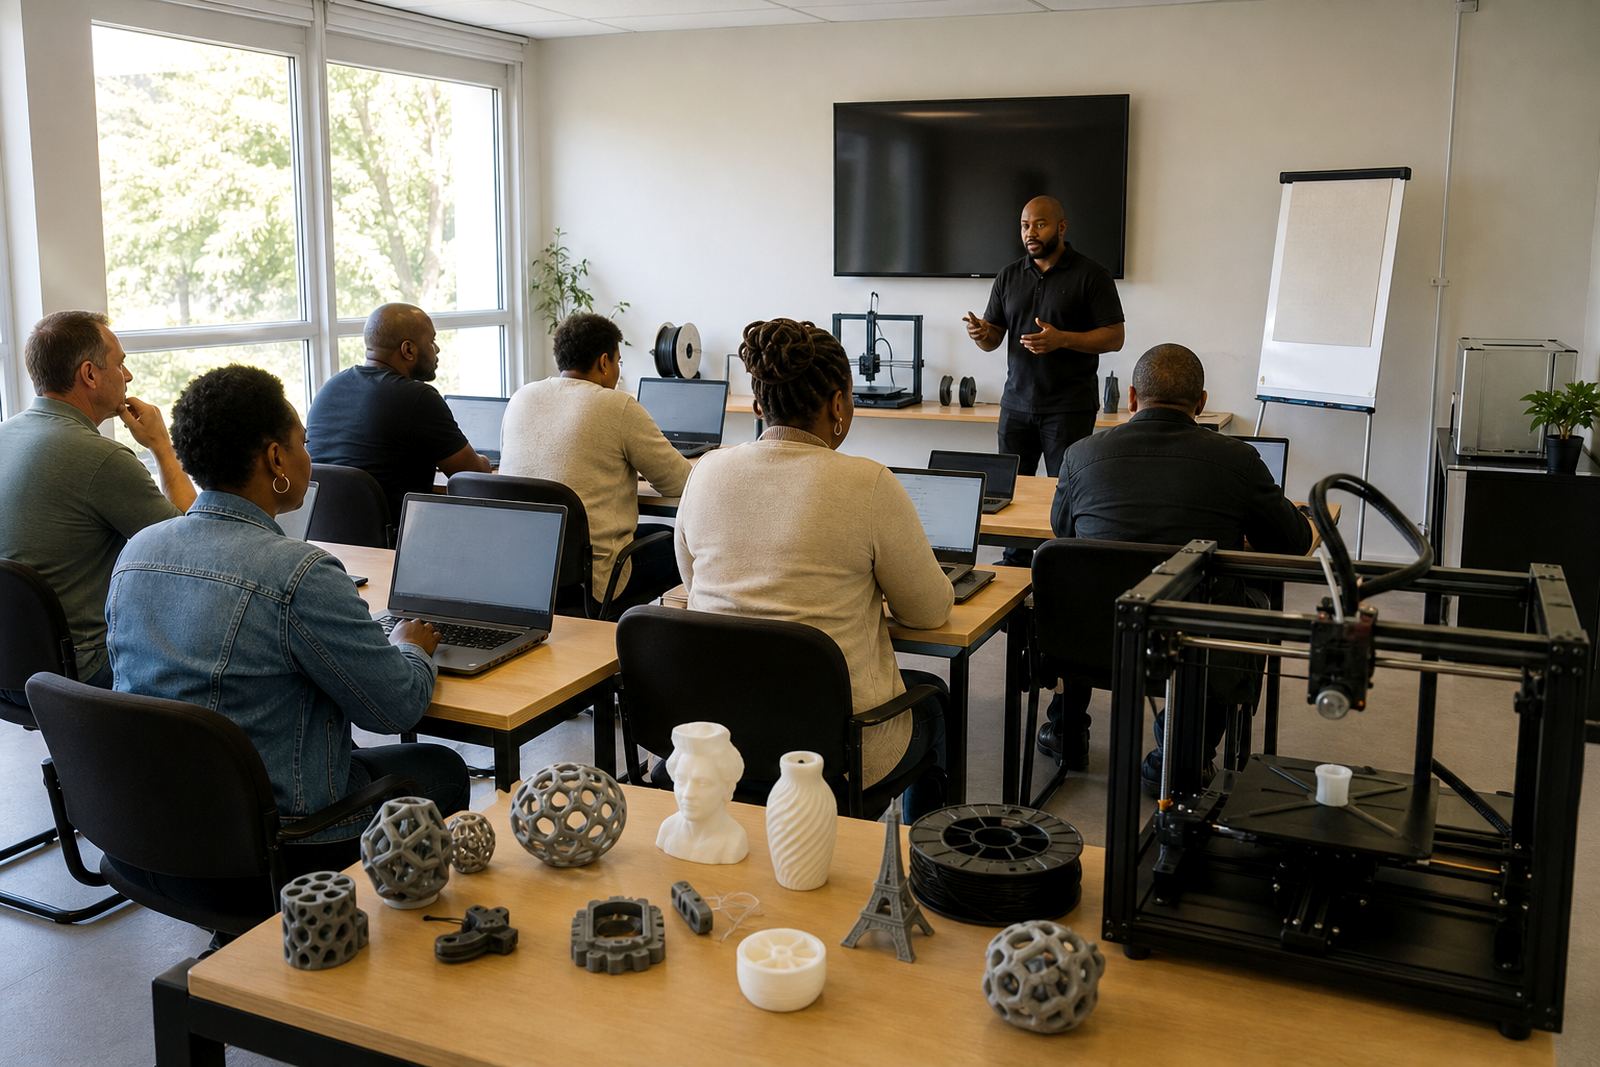
We also gave the staff a practical handover on handling, basic cleaning and what to do if a part gets damaged. No complicated process, just useful guidance that fits a normal school day. Teachers were shown which items work best for group discussion and which ones are better kept for front-of-class explanation.
- Room layout suggestions for easy circulation
- Storage labelling for fast retrieval between lessons
- Basic care notes for moisture and dust control
- Classroom safety reminders for learner handling
Timeline from brief to handover
The project ran over three weeks from the first brief to handover. The first week was spent on needs review and model selection, with a close look at the topics taught in the room and the available storage. In week two we completed production and checked the fit of the larger items, then set up the supporting pieces and labels. The final week was used for room placement, teacher handover and minor adjustments after first use.
This pace worked well because the school could keep teaching while the new materials were prepared. It also gave the staff time to review the items before they were fully integrated into the room. That helped avoid wasted pieces and made sure the setup matched the way the team actually teaches, not how a catalogue says it should work.
What changed after the room was in use
After the setup, teachers had more options for explaining complex ideas without relying only on a board sketch. Learners could see scale, shape and structure, then ask better questions because the models made the topic more concrete. That is often the main shift in a room like this, the lesson becomes easier to follow and a bit less abstract.
The room also became easier to manage. Items had a home, the teachers knew which piece was for which topic, and the set could be brought out quickly for a class activity. It sounds small, but in a school timetable every minute counts and a messy setup can slow the whole lesson down.
For another teaching room like this, we would again start with the lesson plan and build the setup around daily school use: start with the teaching plan, choose only the models that support those lessons, and build the storage and handover around the school’s day-to-day routine. That is what makes the difference between a one-off delivery and a room that keeps working term after term.