A Creative Brief with Real Classroom Limits
The client was an arts-oriented campus in Durban looking for a practical way to add digital making to visual arts, design and maker-based learning. The brief was straightforward: help staff and learners work with 3D modelling and printing in a way that suited studio classes, shared rooms and a busy timetable.
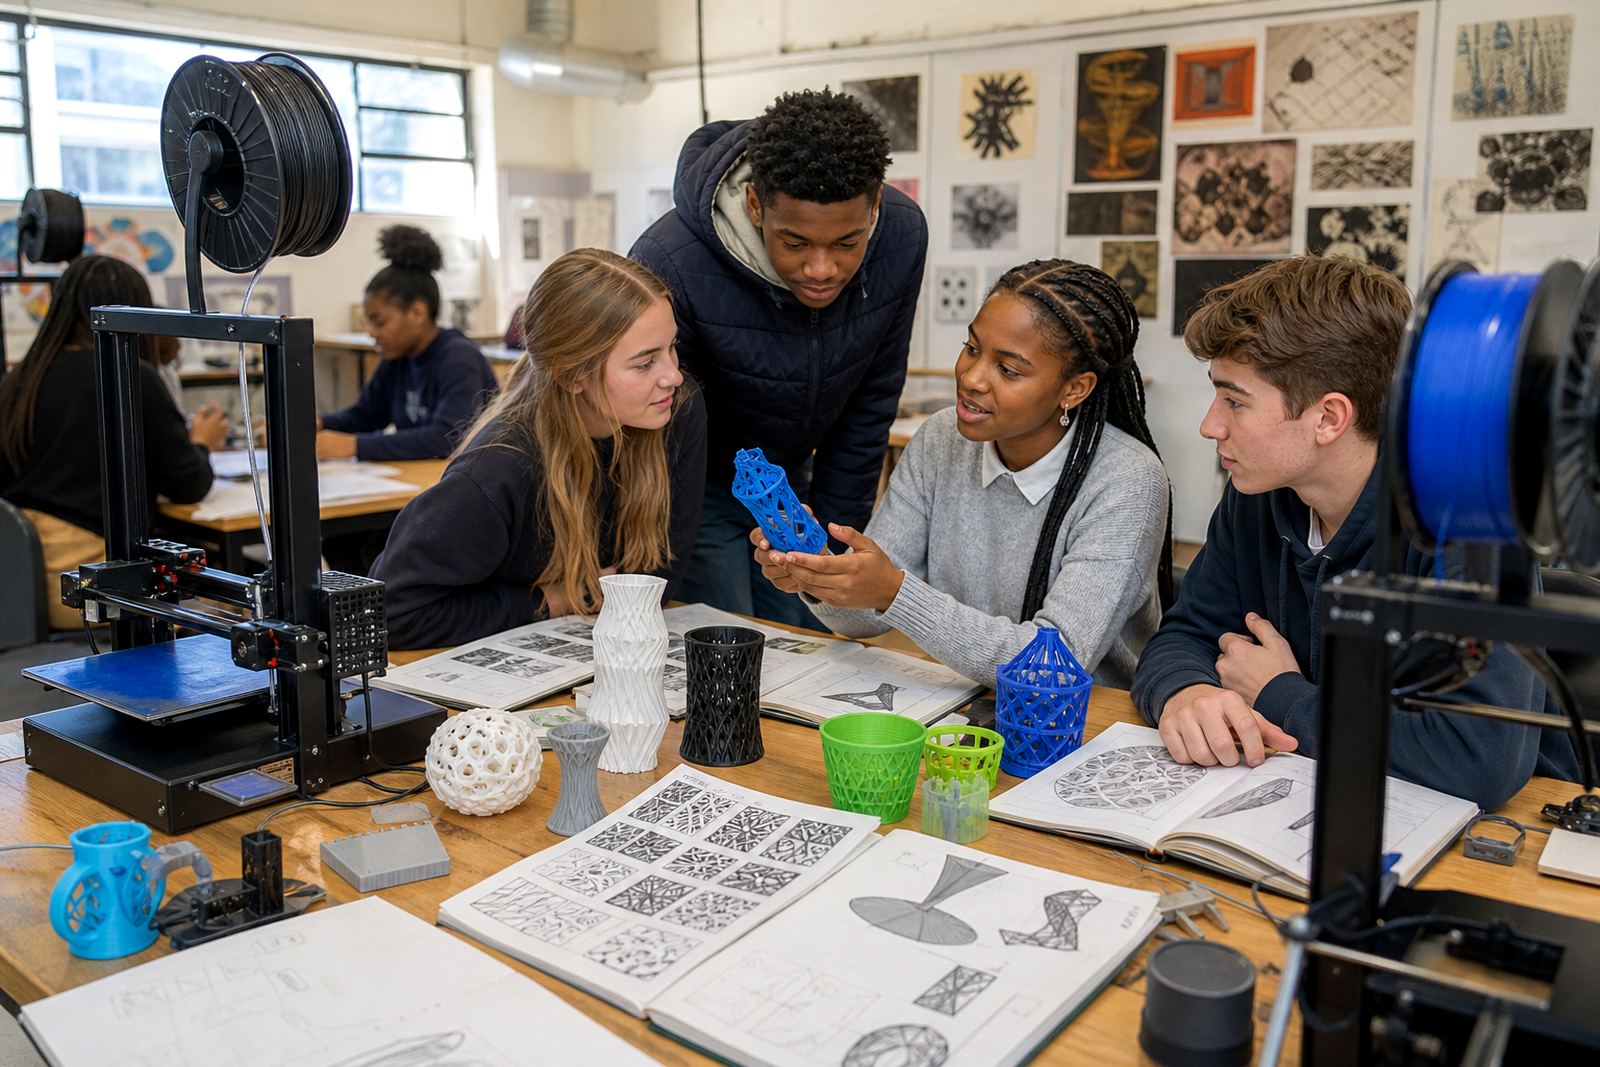
They wanted texture, surface detail and form studies rather than large production runs. That meant the programme had to support small creative parts, quick turnarounds and repeatable classroom processes. The campus also needed a setup that could cope with Durban humidity, regular cleaning and the kind of day-to-day interruptions that come with teaching spaces where tools, paper, paints and laptops often share the same room.
We planned the project around practical teaching outcomes, not only the machine side. The work had to be simple enough for a first-time user, but flexible enough for art educators who wanted to push shape, pattern and composition. Our side of the job was to make the process clear from the first concept sketch to the finished printed piece.
What We Supplied for the Studio Setup
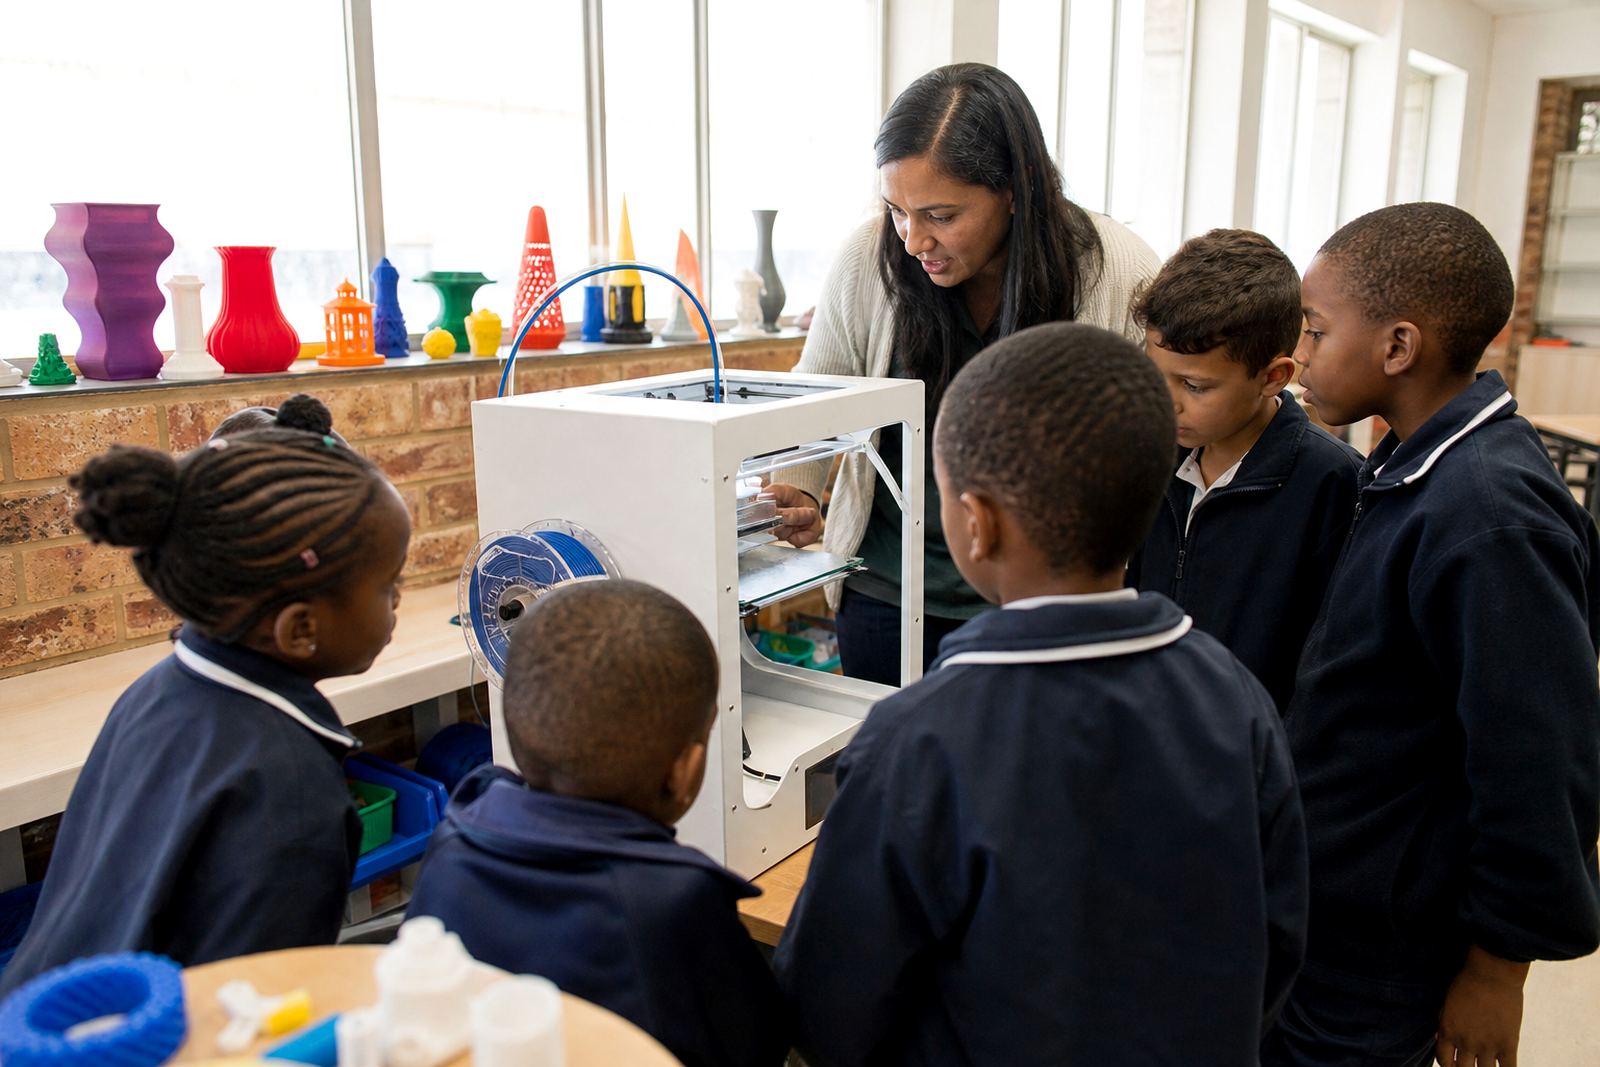
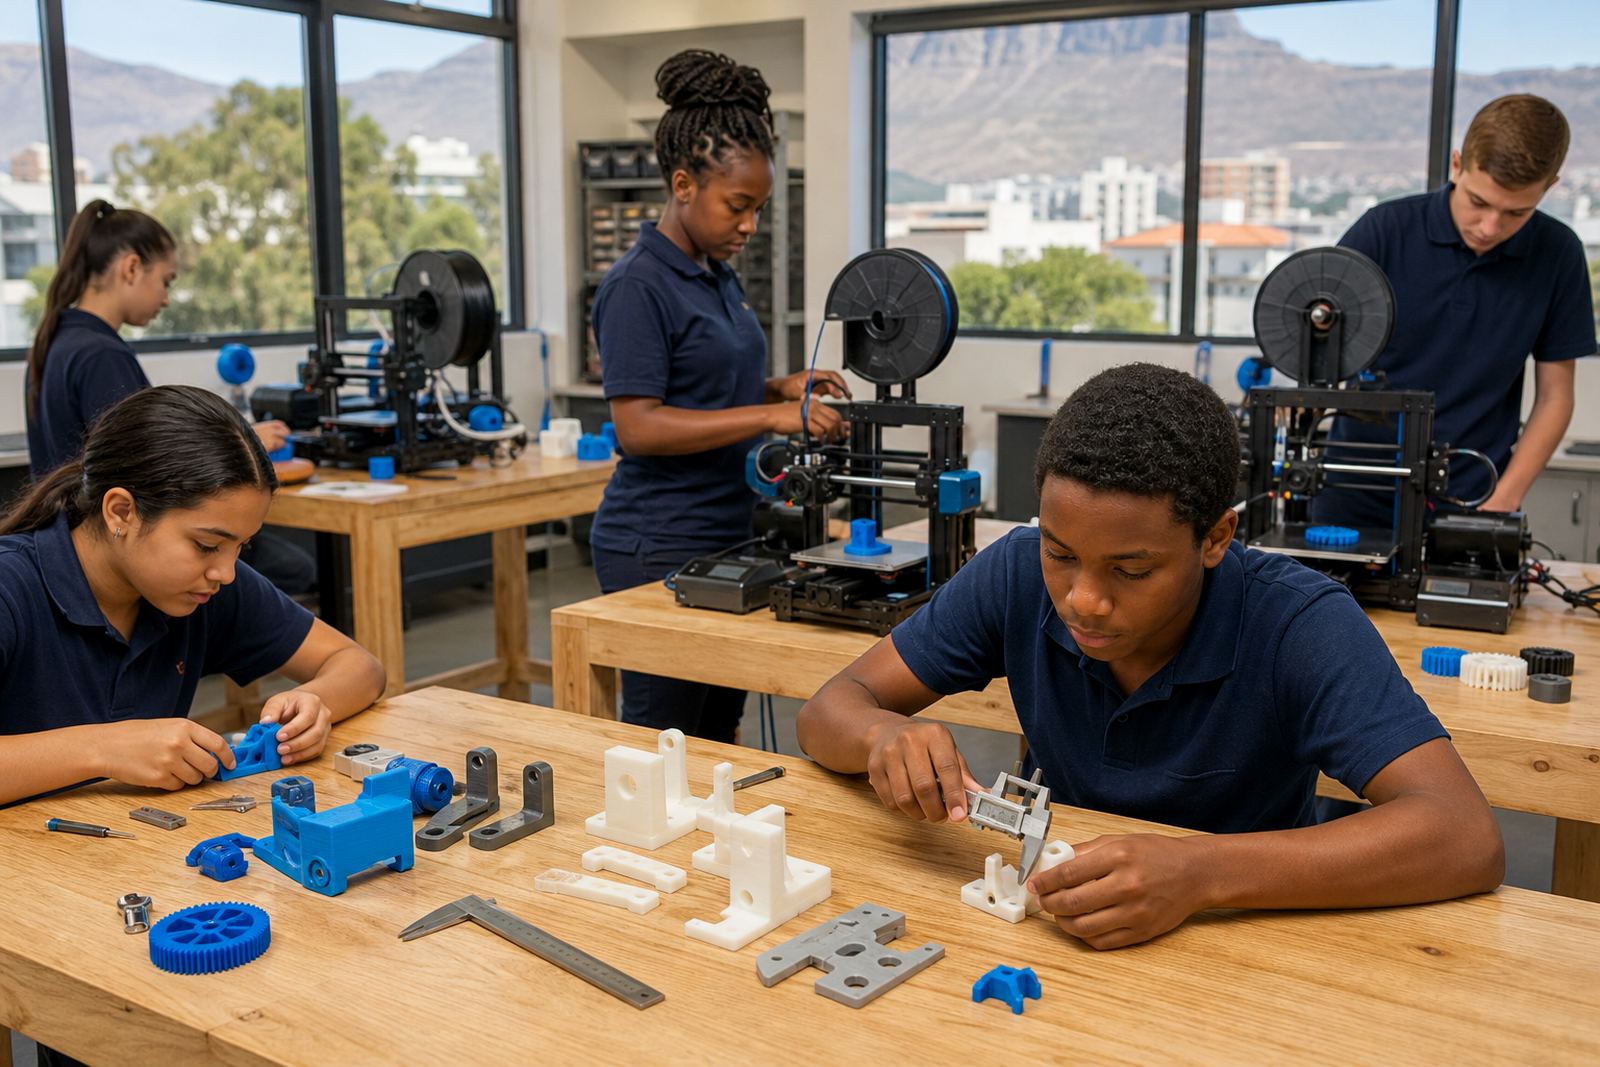
We supplied a classroom-ready 3D-printing environment with the right teaching balance of hardware, consumables and support material. The setup was chosen for student use, regular supervision and smaller creative objects that could be printed during lesson blocks or over a few periods.
- 3D printers suited to classroom use and repeated lessons
- Filament in common classroom colours for sample work and creative projects
- Digital design guidance for shape, texture and size planning
- Basic maintenance tools and cleaning items
- Safe storage guidance for filament, parts and printed models
- Teaching notes for supervised setup, print checks and end-of-session packing
The campus also needed a clear workflow for storing work between lessons. We helped map out where finished prints could cool, where filament should stay dry and how to keep the work area organised when multiple groups were using the room. In a coastal city, that sort of planning makes a difference to print consistency and to the life of the equipment.
Training the Team Around the Creative Process
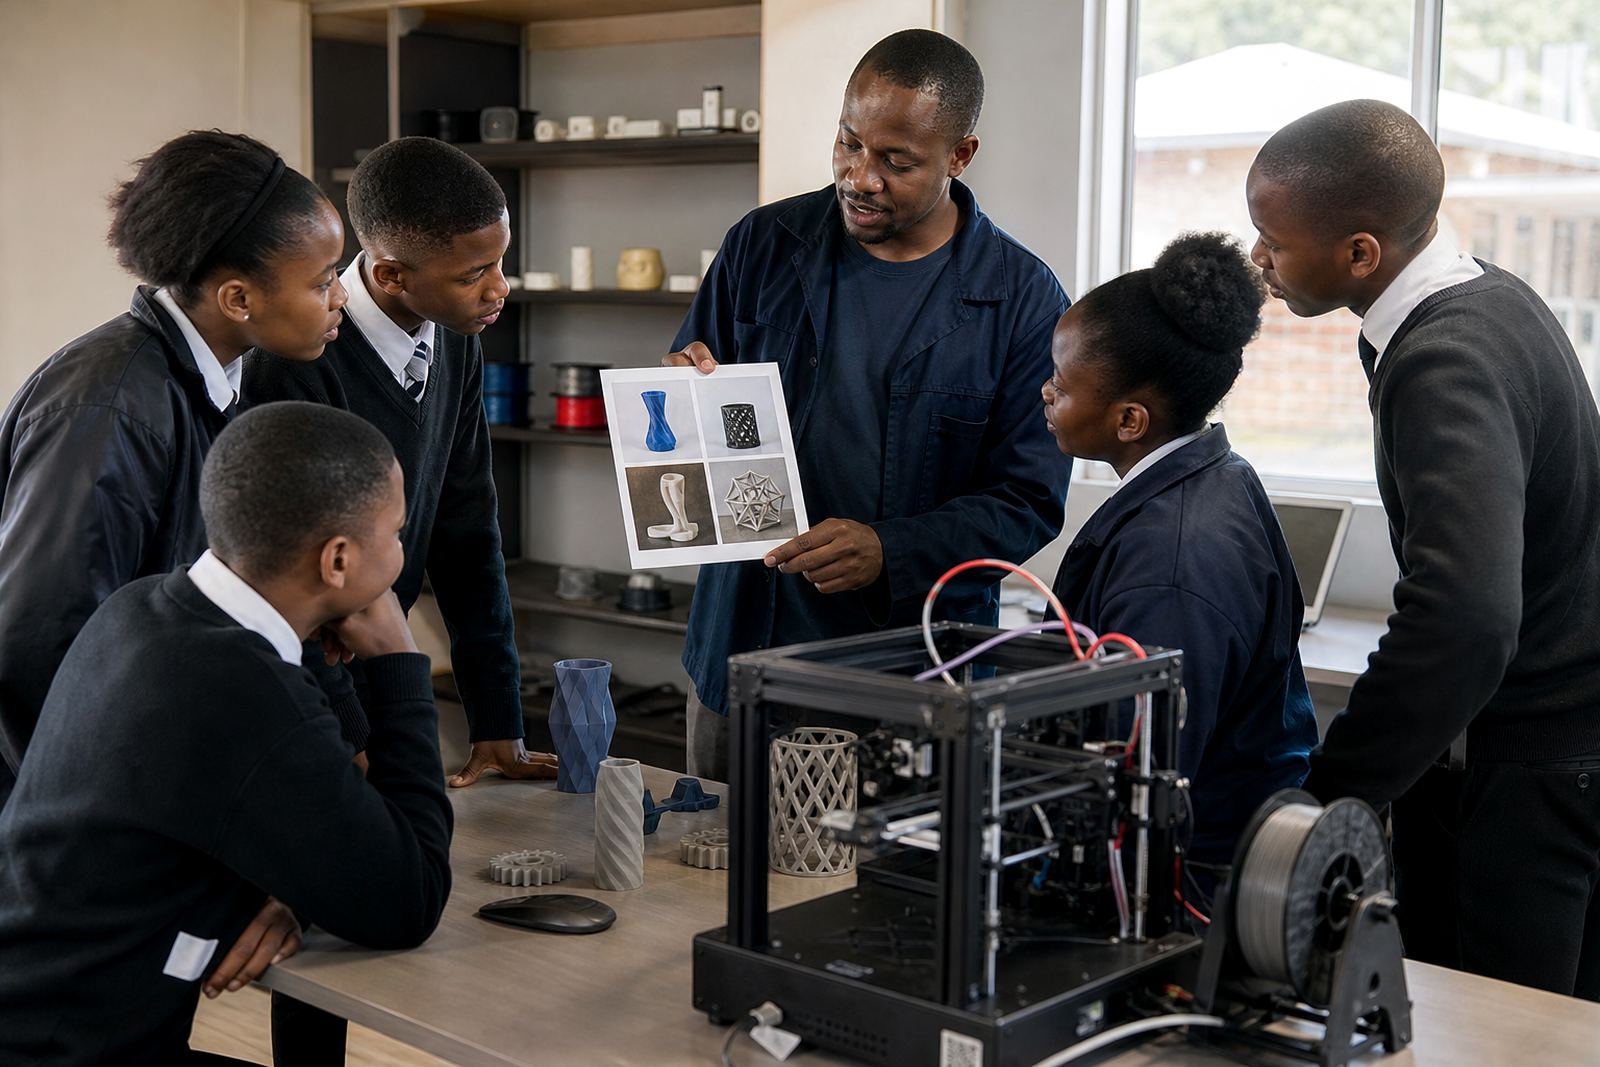
The training focused on helping educators understand the full process, not just the button-pushing side of printing. We covered file preparation, print sizing, layer height choices and the way surface finish changes when a student wants a smoother object or a more textured result.
The team included lecturers and support staff with different experience levels, so we used a step-by-step approach. Some staff needed the basics of printer operation, while others wanted to guide advanced learners through simple CAD work and project planning. We kept the sessions practical and tied them to actual classroom use.
- Teacher introduction to 3D printing and classroom routines
- CAD basics for simple creative modelling
- Printer operation, first layer checks and print removal
- Project planning for student briefs and time limits
- Maintenance basics for nozzles, beds and general care
The campus wanted a programme that could live alongside existing arts teaching rather than sit apart from it. That meant talking about scale, form, repetition and finish in plain language. We also covered basic safety reminders such as supervising heat zones, keeping hands clear during movement and giving prints time to cool before handling. Nothing complicated, just good habits that keep classes moving.
Lab Setup Decisions for a Busy Durban Campus
Durban schools and campuses often work in spaces that have to serve several purposes, so the lab layout needed to be tidy and predictable. We looked at power points, bench space, ventilation and simple storage so the printing area could sit comfortably inside a teaching environment without creating clutter.
The setup had to deal with load-shedding and short interruptions too. We discussed print scheduling, safe pause points and how staff could handle a power cut without losing an entire class session. Because the campus sits in a warm coastal area, we also advised on keeping filament sealed and away from moisture when not in use.
The project worked best when the room followed a set routine. Learners could collect materials, start a print, log the job and return to the space later with a clear sense of what happened in the last lesson. That structure helped teachers manage larger groups and kept the equipment in better shape.
What we recommended for the room:
- A dedicated print zone away from walkways and heavy foot traffic
- Labelled storage for filament, tools and completed models
- Good airflow and a stable surface for each printer
- Simple checklists for start-up, shutdown and cleaning
- A supervised area for hot parts and freshly printed pieces
Timeline, Delivery and Classroom Rollout
The project ran over six weeks from initial planning to full classroom rollout. In the first two weeks we confirmed the lab needs, the room layout and the training sequence. Weeks three and four focused on equipment setup, staff orientation and sample prints. The final two weeks were used for classroom trial runs and adjustments based on how the team planned to use the space.
That staged approach made it easier to spot small issues early, like where to place tools, how many learners could work at once and how long certain prints should run between class times. It also gave the campus a chance to test the workflow with real teaching pressure rather than in theory only.
The result was a working creative lab that supported both learning and demonstration. Staff could now guide students through digital design, printing and post-processing with a clear structure. The campus gained a practical tool for arts education and a way to bring digital making into the same conversation as sculpture, pattern and product form.
What We Would Carry Into the Next Arts Project
For another school lab like this, we would again start with the teaching goal and build the equipment plan around it: begin with the teaching goal, then build the equipment plan around it. That keeps the setup useful from day one and avoids overcomplicating the room with kit that will not be used regularly.
We would also keep the short, hands-on training blocks. For art students, the best results usually come from quick examples, visible changes and a chance to compare material choices. A small sample can teach more than a long explanation, especially when learners can see how layer lines, infill and support structures affect the finish.
For a campus like this, the strongest outcome is not a single print. It is a repeatable process that teachers can keep using term after term. That is where the value sits, in a room that stays organised, a team that knows what to do and learners who can move from idea to object without guessing.
We would keep the same emphasis on moisture control, supervised operation and simple maintenance too. In Durban, those basics matter. If the room stays orderly and the printer care stays consistent, the learning stays on track.
Key facts
| Project type | Arts campus 3D-printing setup and training |
|---|---|
| Town | Durban, KwaZulu-Natal |
| Timeline | 6 weeks |
| Focus | Digital design, texture studies and printed creative pieces |
| Training included | Teacher introduction, CAD basics, printer operation and maintenance basics |
| Operational notes | Humidity control, supervised heat zones and load-shedding aware workflow |