What the school wanted from the club
The client was a primary school in Milnerton, Cape Town, looking for an after-school maker club that would feel hands-on from the first session. The teachers wanted something structured enough to manage, but open enough for learners to try ideas, fail quickly and improve their designs without turning the room into chaos.
The brief was straightforward: introduce 3D printing as a tool for teamwork, creativity and basic design thinking. The school wanted learners to work in small groups, learn how a printer operates, and complete small projects that made sense in a classroom setting. The club had to fit around a normal school timetable and be simple enough for staff to supervise once the initial setup was done.
We also had to keep things practical. The room was shared with other activities, so storage, cable routing and printing schedules all had to be tidy. Cape Town humidity was not a major issue in Milnerton, but the school still needed clear guidance on keeping filament dry and checking bed adhesion before every print. Load-shedding was part of the picture too, so the plan needed a sensible restart and save routine.
The setup we supplied for the club
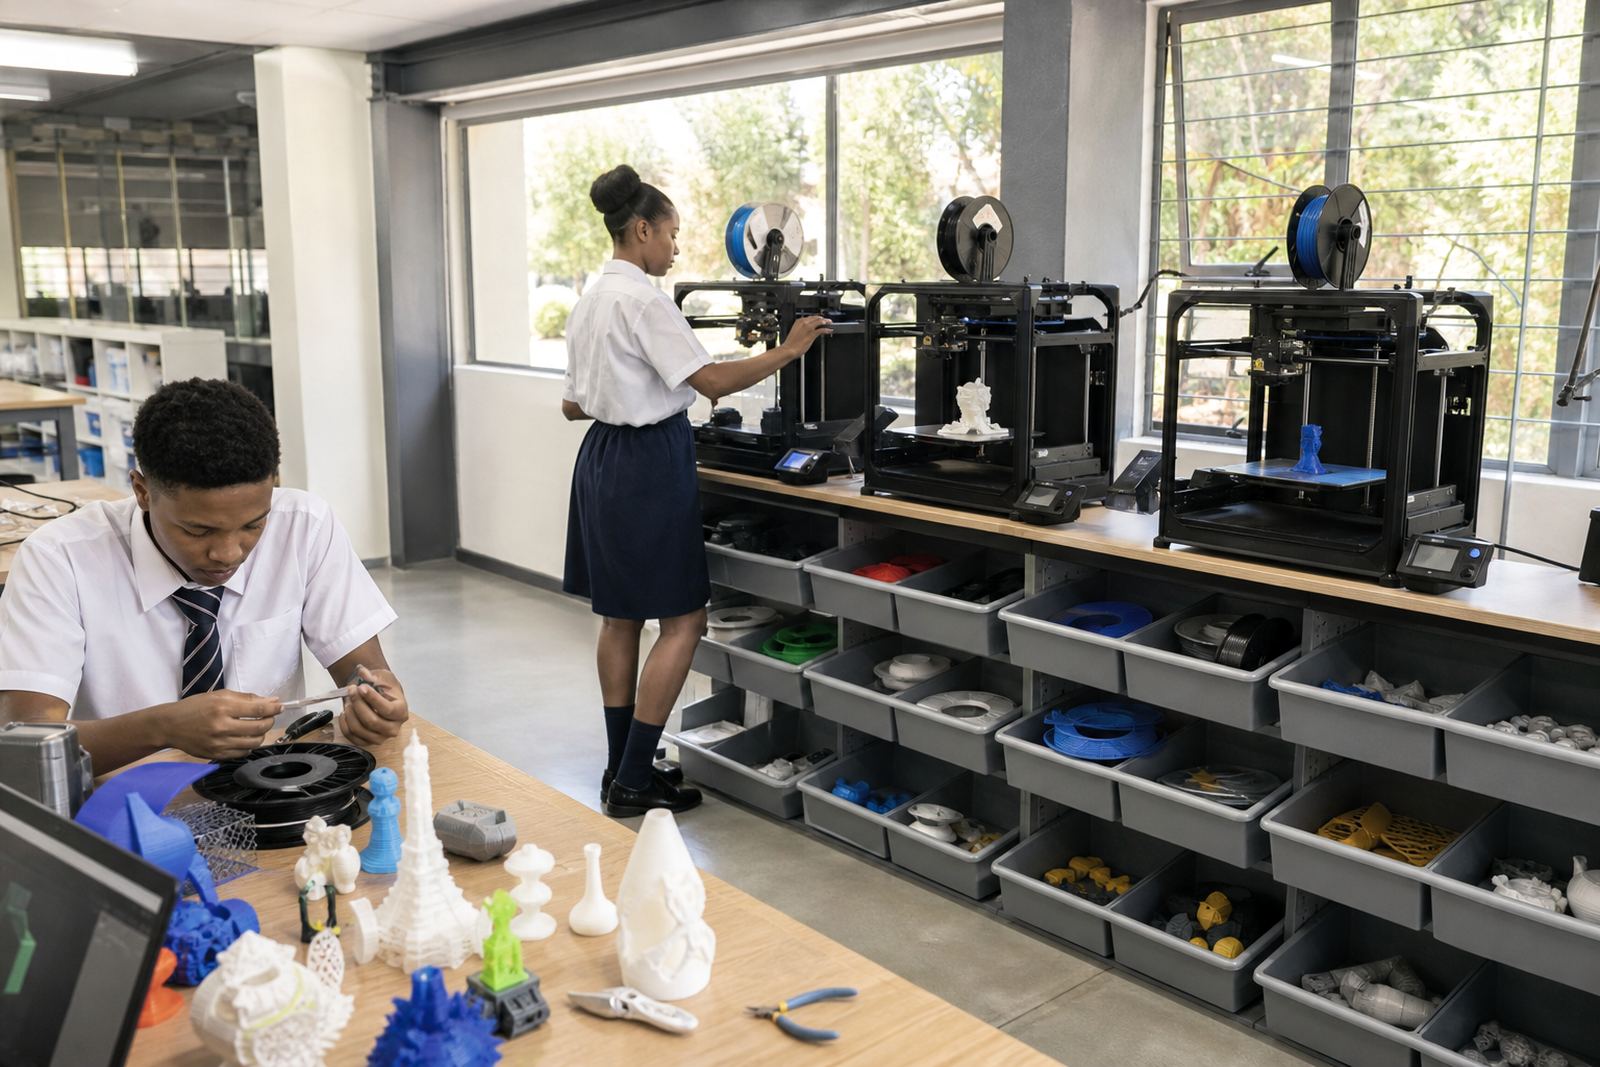
We provided a compact club setup built around reliable benchtop printers, a slicing workflow for beginners and a set of classroom-friendly tools for post-processing. The aim was not to overload the space with equipment, but to give learners enough capability to move from idea to finished part without long delays.
- 2 benchtop FDM printers with enclosed working areas
- PLA filament in several colours for low-odour classroom use
- Entry-level CAD and slicing software guides for learners and staff
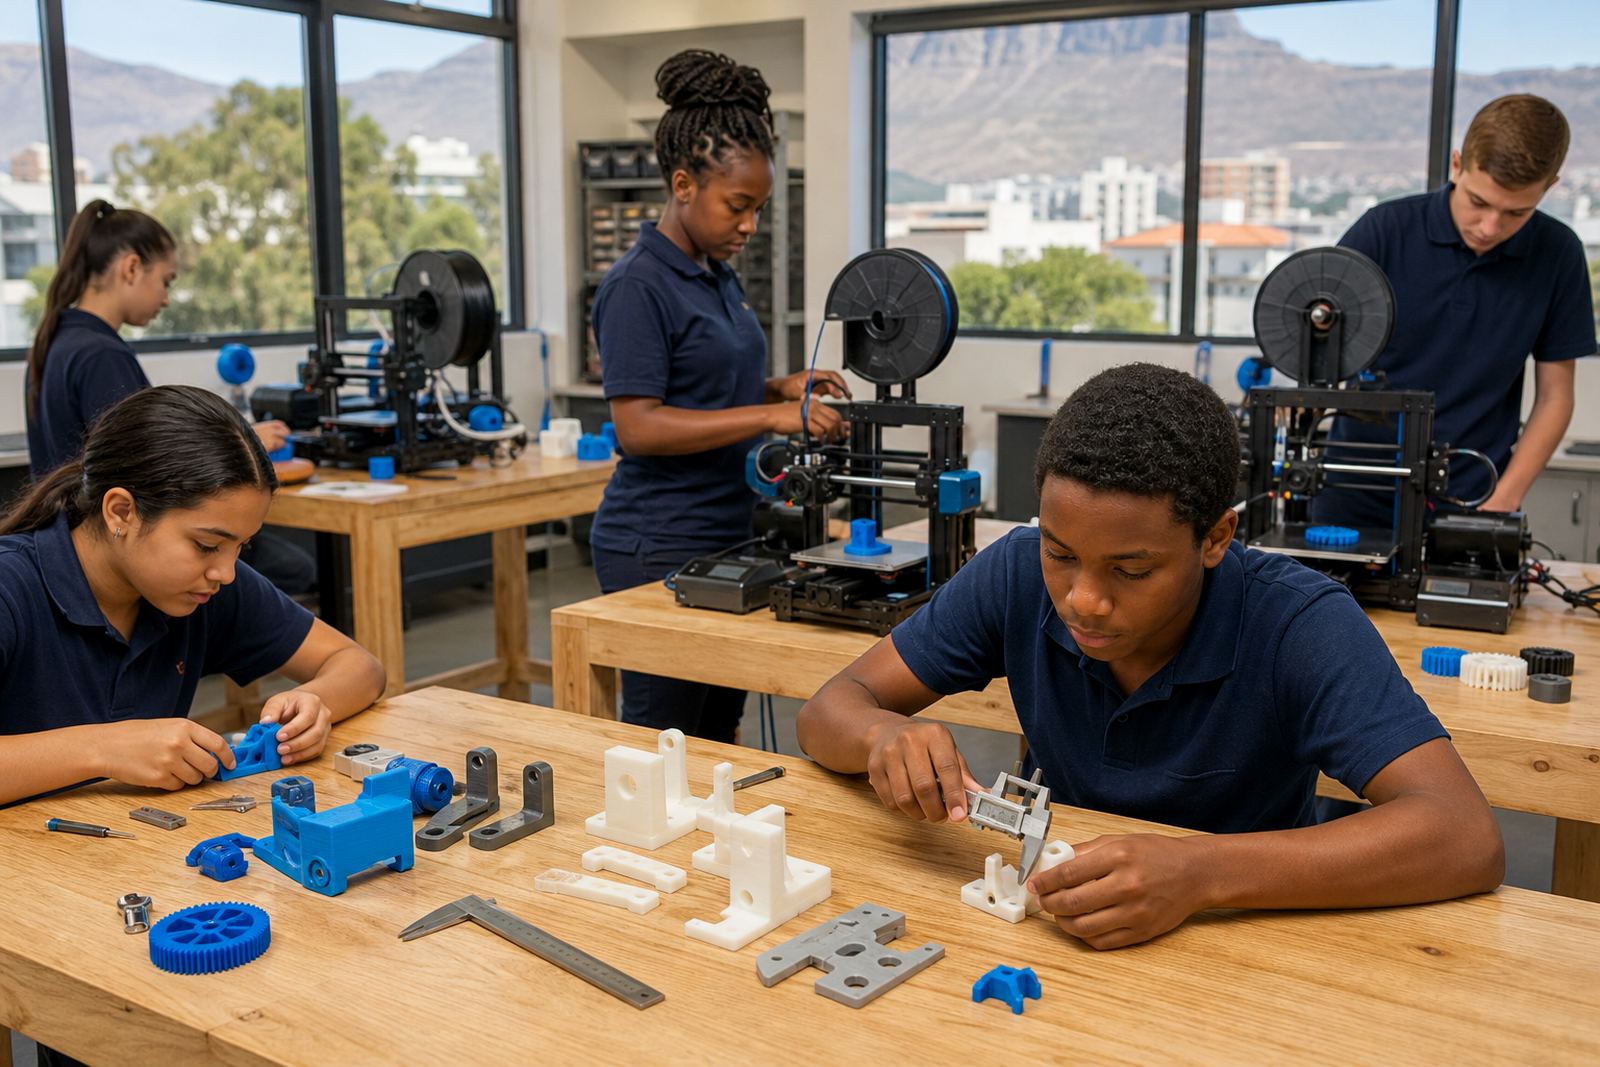
- Scrapers, side cutters and basic finishing tools
- Storage tubs for filament, tools and in-progress prints
- Safety signage, heat warnings and simple clean-up routines
We set up the station so learners could see the full path from sketch to slice to print. The printers were positioned where teachers could monitor the build area easily, and the tools were kept separate from the print queue to reduce confusion. A small naming and logging system was also introduced so each group could track its own files and changes from week to week.
How the after-school sessions ran
The club was planned over 8 weeks, with one session a week after school. Each session lasted long enough for teaching, design work and printer time, while still leaving room for clean-up and handover. The first two weeks covered the basics of 3D printing, machine parts and safe handling. After that, learners moved into idea testing and small design tasks that could be completed in pairs or groups of three.
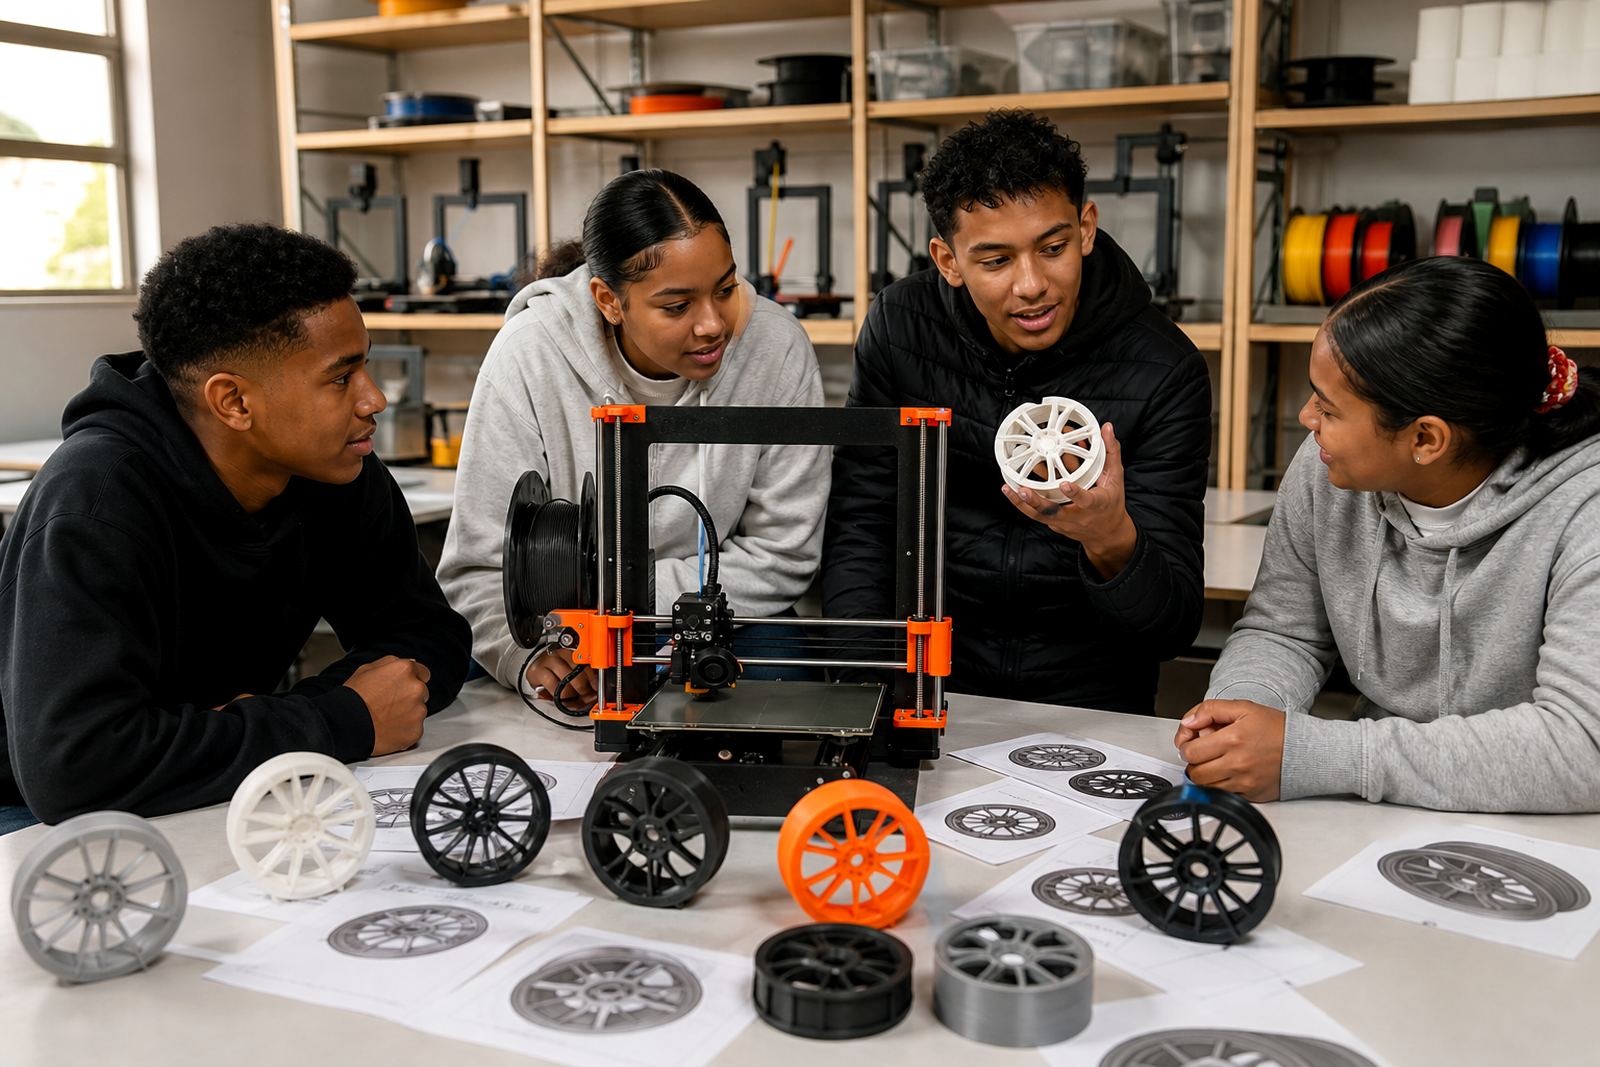
We kept the lesson flow practical. Learners started with simple measurements, then designed objects with a clear purpose such as clips, name tags, token holders or small classroom aids. That let them understand wall thickness, overhangs and print orientation without getting bogged down in theory. The teachers liked that they could reuse the same structure with different age groups if needed.
- Week 1: printer familiarisation and safety rules
- Week 2: basic design shapes and dimensions
- Weeks 3 to 5: learner challenges and first prints
- Weeks 6 to 7: revisions, fit testing and finishing
- Week 8: display and discussion of next steps
What we had to work around
The biggest constraint was space. The club room had to switch between normal school use and maker activities, which meant the setup needed to be compact and quick to pack away. We avoided anything that required permanent fixtures or large storage footprints. The school also wanted a solution that did not depend on one person knowing everything, so the process had to be easy for more than one staff member to follow.
Another issue was print time. Learner enthusiasm is high but patience can be thin, so we chose starter projects that could finish within a manageable window. This kept the sessions moving and prevented the club from stalling while waiting for long prints. We also built in a queue system, because nothing causes arguments faster than three groups wanting to print at once.
There was also the usual classroom reality of distractions, missing pieces and the odd learner who wants to redesign everything halfway through. We planned for that by keeping spare consumables on hand and using quick test prints before committing to longer jobs. It saved time and kept the club moving without turning every idea into a full production run.
What the learners and teachers achieved
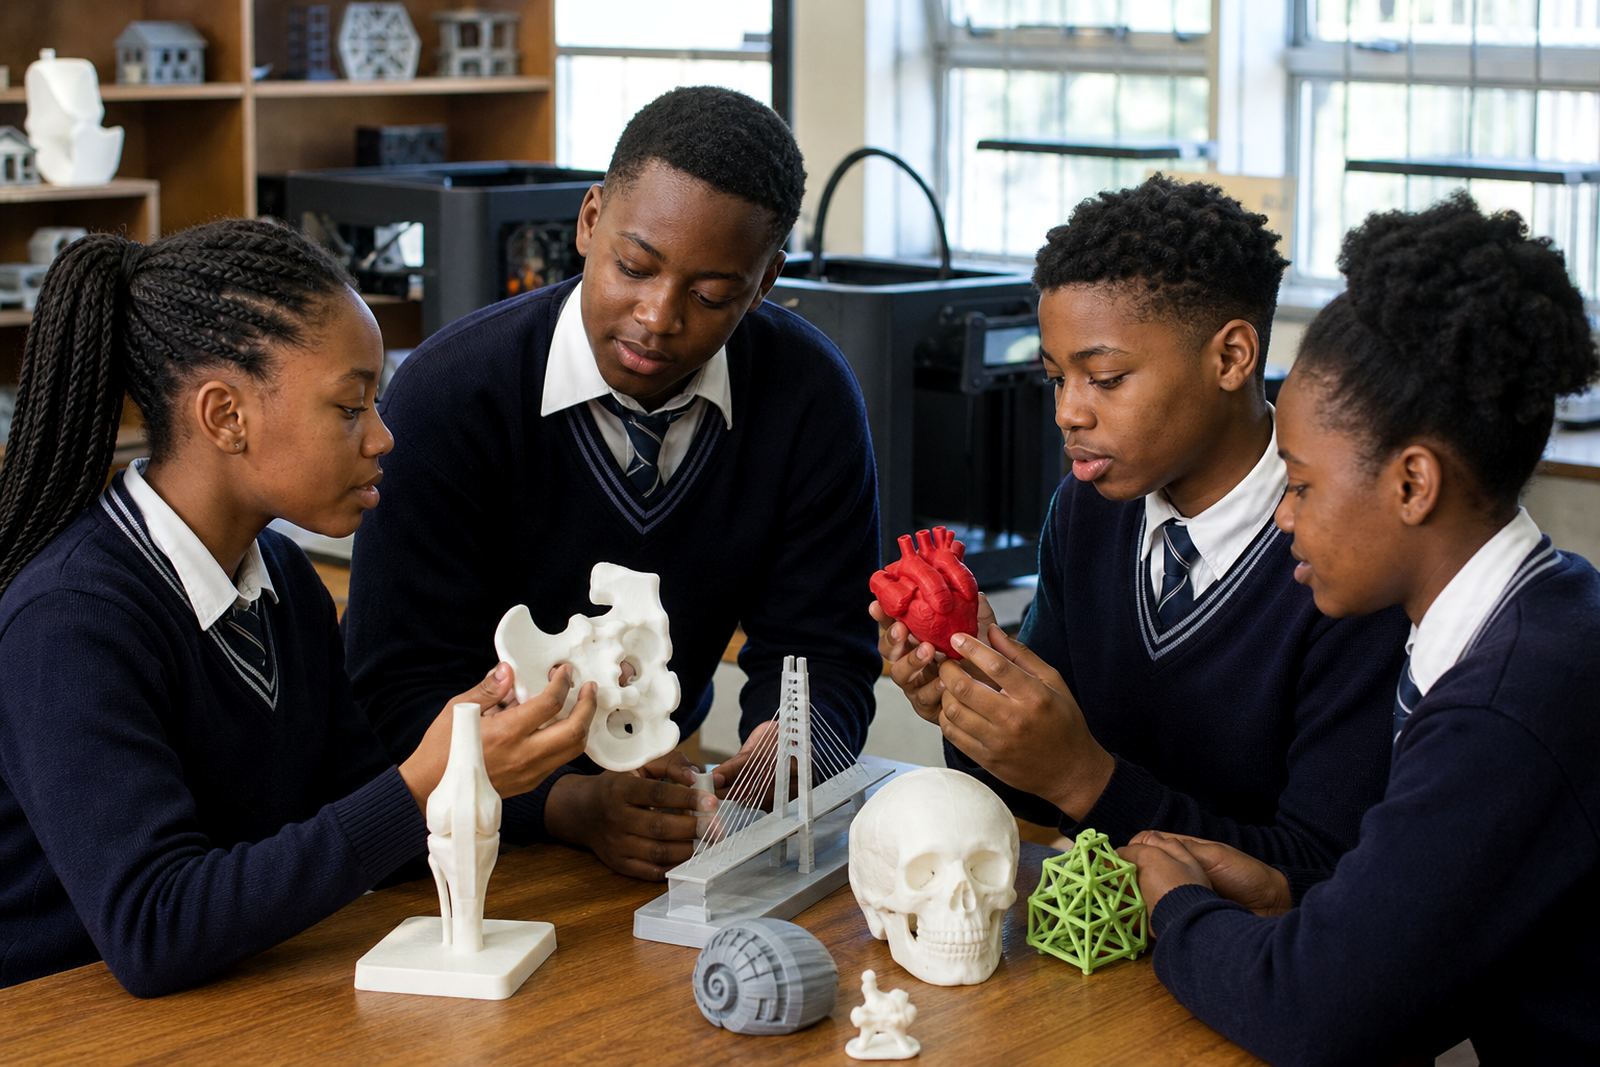
By the end of the 8-week cycle, the school had a working maker club with a repeatable structure and a set of finished learner projects that could be shown to parents and staff. The learners had not just used the printers, they had learned how to think through a problem, adjust a design and test again. That shift mattered more than any single object coming off the build plate.
The teachers gained enough confidence to supervise the printers, manage the tool area and help learners prepare files for printing. They also had a clearer sense of how 3D printing could support design, technology and creative tasks without needing to force it into every lesson. The club became a space where quieter learners often stepped up, because the work rewarded patience and clear thinking.
- Improved learner confidence with digital design basics
- Better teamwork during small group projects
- Practical printer handling skills for staff
- A repeatable after-school format for future terms
What we would do again for a similar school club
For another after-school setup like this, we would again start small and match the equipment to the time available: start small, keep the workflow visible and make sure the equipment matches the time available after school. That means planning for short prints, choosing materials that are easy to manage in a school setting and giving teachers enough notes to take over confidently when needed.
We would also keep the learner tasks tied to real classroom use. Practical objects work best because they let children see why dimensions matter and why a print sometimes needs a second attempt. For schools in Cape Town, Johannesburg, Pretoria, Durban or Gqeberha, the same model works well as long as the room, timetable and staff support are considered from the beginning.
Milnerton Maker Club showed that a school does not need a complicated setup to get useful results. It needs clear rules, a sensible printing plan and enough structure for learners to stay engaged without feeling boxed in.
Key facts
| Project | Milnerton Maker Club after-school programme |
|---|---|
| Town | Milnerton, Cape Town |
| Timeline | 8 weeks |
| Setup | 2 benchtop FDM printers with enclosed working areas |
| Materials | PLA filament in multiple colours |
| Format | After-school learner-led maker club |