Start with the classroom use case, not the machine count
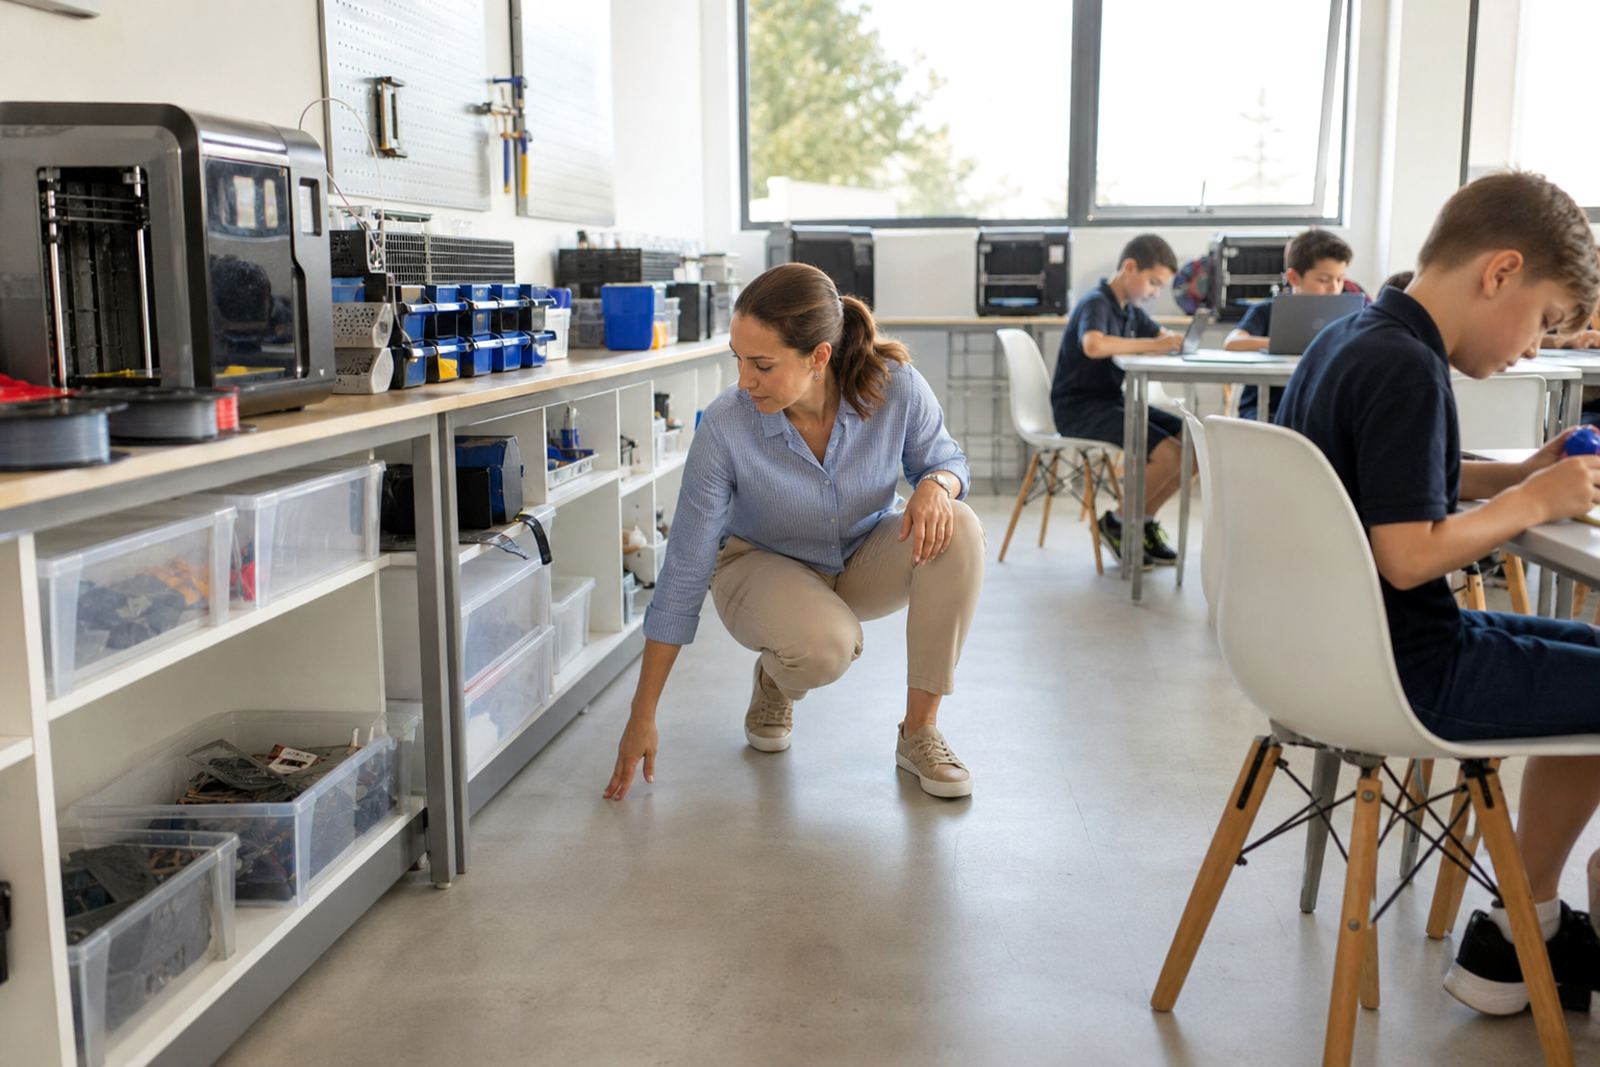
Before comparing kit lists, decide how the printer will be used. A small lab for an after-school maker club has different needs from a full technology classroom where several groups must rotate through practical work. Schools in Stellenbosch, Cape Town or further inland all face the same basic question: what will learners actually do with the equipment each week?
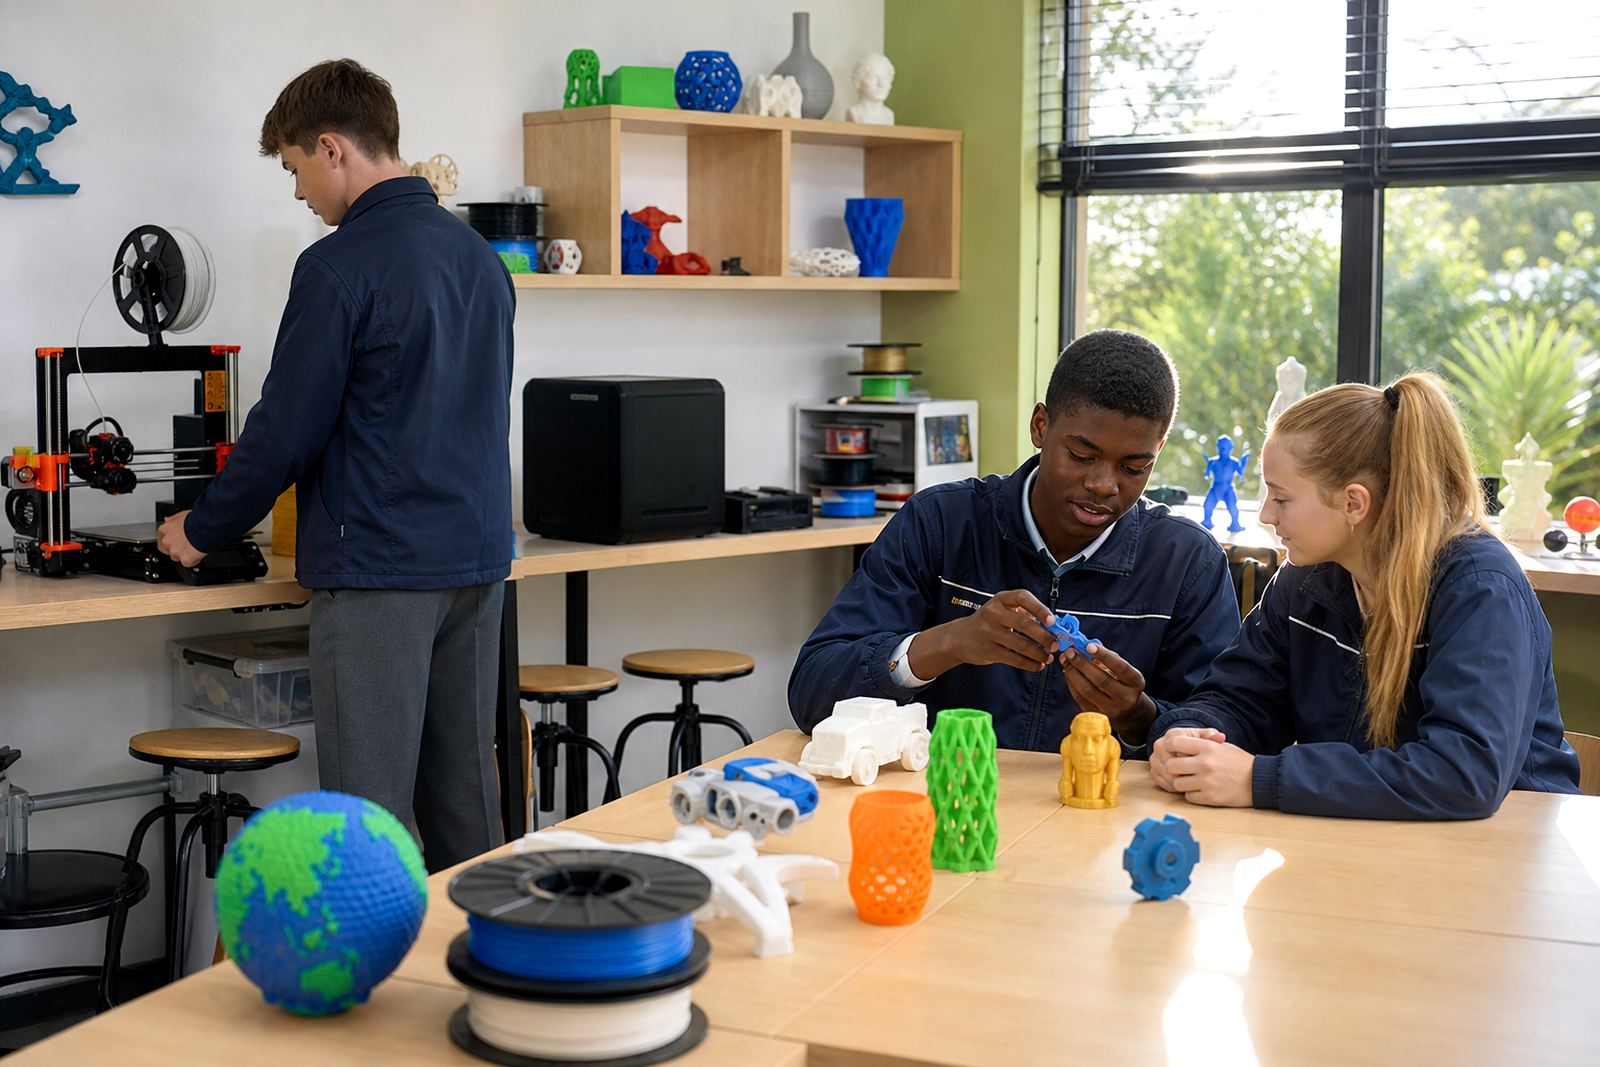
For most first-time setups, it helps to define the age group, class size and lesson style. Younger learners may need guided demonstrations and simple print jobs, while senior learners can handle basic design tasks, file preparation and print monitoring. If teachers will share the equipment across subjects, choose a setup that supports easy supervision and quick turnaround between periods.
Keep the first goal practical. A kit should let staff introduce 3D printing safely, print simple classroom models and build confidence before adding more advanced tools.
What a starter school kit should normally include
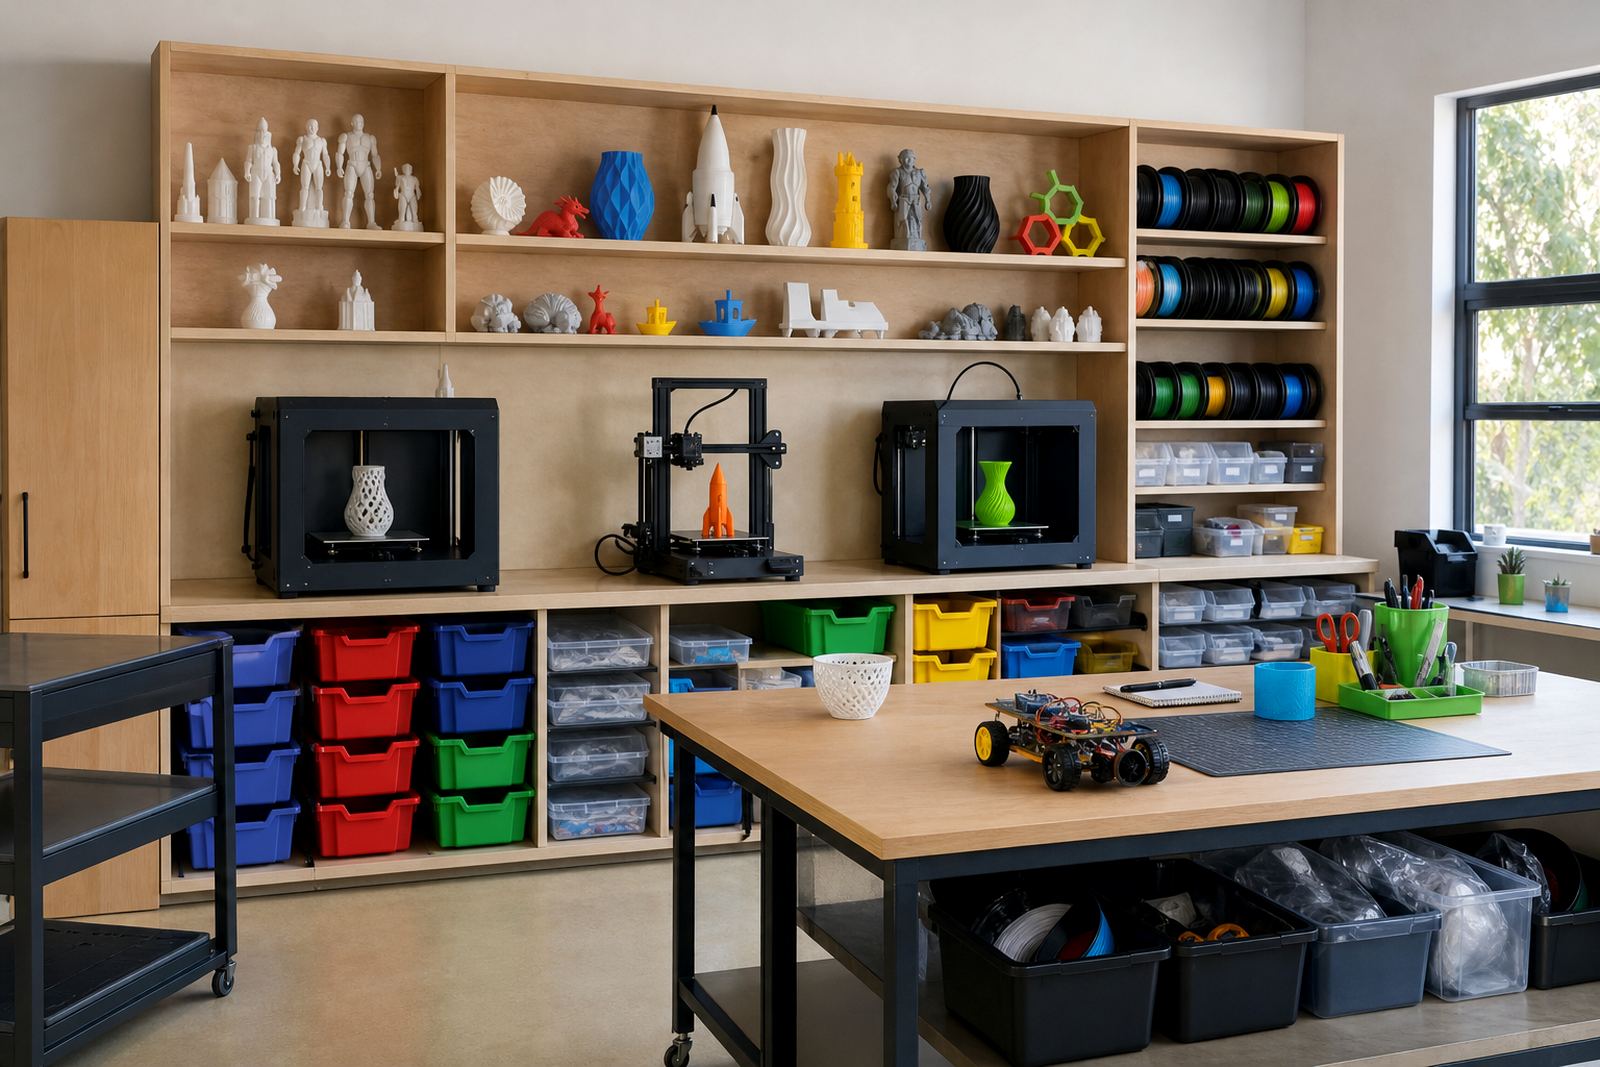
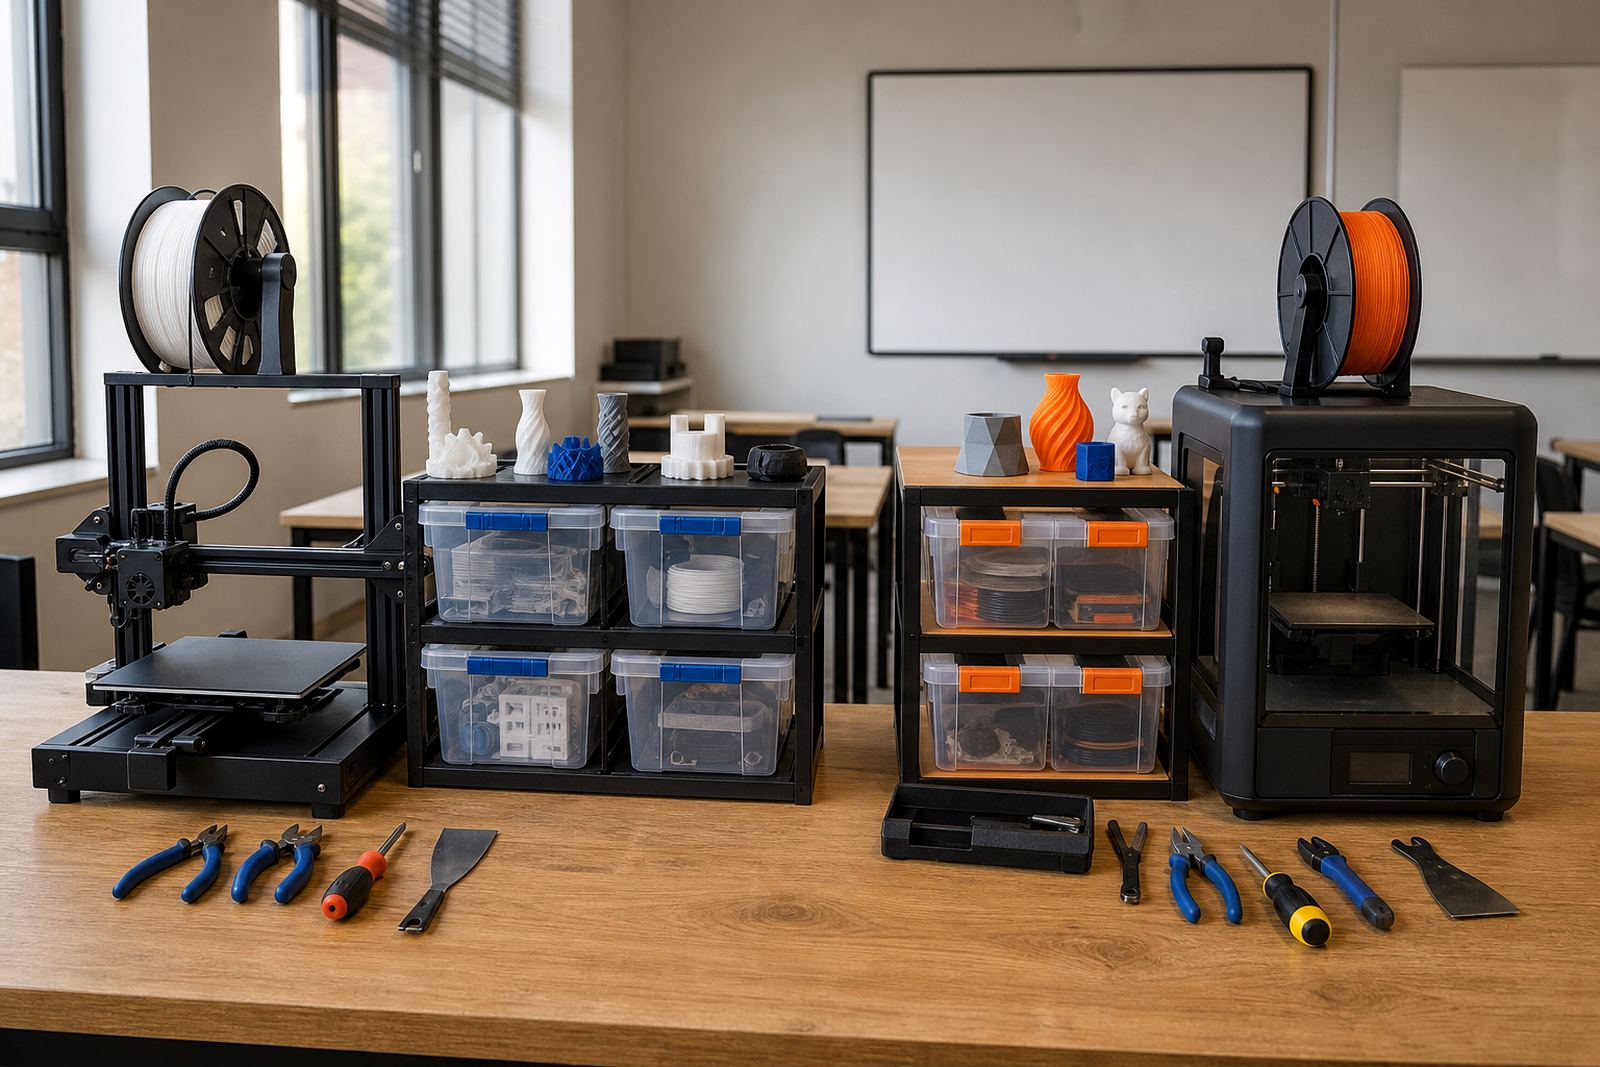
Starter kits vary, but a good first kit should cover the full workflow from design to finished part. If the school only has one printer and no spare items, the first few weeks can become frustrating when a nozzle clogs or a print bed needs cleaning. A proper classroom setup should include the basics needed to keep lessons moving.
- One or more 3D printers suited to classroom use
- Design software or learner-friendly CAD access
- Filament storage and clear material labels
- Build surfaces, tools and removal equipment
- Cleaning items for routine maintenance
- Sample projects for first lessons
- Printed safety and operating guidance for staff and learners
Check that the kit also includes sensible spares for day one, such as nozzles, build-plate accessories and tools for simple troubleshooting. In a school environment, small missing parts can stop a lesson very quickly, especially when the power goes off and on again during load-shedding.
Room planning for noise, heat and power interruptions
A first kit should fit the room you already have, not the other way around. Measure the available counters, plug points and storage areas before buying anything. Leave enough space around the printer for safe access, cable routing and teacher supervision. If the room is shared with another subject, think about where hot parts, tools and filament will be kept between lessons.
South African schools also need to plan for power interruptions. Printers should be connected to stable power where possible, and the setup should allow safe stopping and restarting of jobs after an outage. If the lab is in a coastal area such as Gqeberha or Durban, choose storage that protects filament from humidity. Moisture can affect print quality and make classroom results inconsistent.
- Keep printers on level tables with firm support
- Allow space for ventilation around each unit
- Store filament in sealed containers when not in use
- Keep tools out of reach unless supervised
- Make sure the room can be locked after hours
Match the kit to staff confidence and lesson timing
The best starter kit is the one teachers can manage with the time they have. If staff are new to 3D printing, choose a setup that is easy to explain, simple to clean and not too technical to maintain. A complicated first purchase can leave the machine underused, even when the school has genuine interest.
Think about lesson length too. Short periods work better with ready-prepared files and quick demonstrations. Longer sessions can include design tasks, slicing and print observation. A school in Pretoria may want a more structured timetable for rotating classes, while a smaller group in Paarl might prefer a hands-on club model. Either way, the kit should support the pace of the room, not create pressure on teachers.
If several staff members will use the same equipment, include basic handover notes and clear naming for materials, print jobs and storage areas. That simple step saves time and reduces confusion later on.
Safety and supervision points schools should not skip
3D printing is a practical classroom activity, but it still needs rules. Heated parts, moving parts and sharp tools should be treated with respect. Keep the first kit grounded in classroom safety rather than assuming learners will work everything out on their own.
General safety reminders should be posted near the printer and covered in the first lesson. These do not need to be complicated, just clear enough for learners and visiting staff to follow.
- Do not touch hot nozzles or build surfaces
- Supervise all removal tools and cutters
- Keep drinks and loose school bags away from the work area
- Do not leave long print jobs unattended without a staff check
- Show learners how to pause, stop and report faults
It also helps to assign one person to do a quick visual check before each session. That habit catches loose cables, debris and damaged parts before they become a problem.
A simple checklist for comparing first-kit options
When schools compare starter lab kits, it is easy to get distracted by extra items that look useful but do not answer the real classroom needs. Use a short checklist to keep the decision practical. This also makes it easier for management, teachers and the technical support team to agree on the right setup.
Ask each supplier to show how the kit fits your room, your timetable and your level of staff experience. If the answer is vague, the kit may not be the right one for a first purchase.
- Will it suit the age group using it most often?
- Can the room handle the footprint, storage and ventilation needs?
- Are spare parts and maintenance items included?
- Can teachers run the basics after one training session?
- Is there a plan for filament storage in humid areas?
- Does the kit support both demonstrations and learner practice?
For schools in Cape Town, Johannesburg, Pretoria and beyond, the strongest first choice is usually the one that balances ease of use, safe supervision and straightforward upkeep. A smaller, well planned kit often gives better results than a larger setup that is difficult to manage.
When to add more equipment later
Once the first kit is running well, the school can plan the next step with more confidence. That might mean an extra printer for faster class rotation, more design workstations or additional material storage. It may also mean adding structured project work once learners have mastered the basics of file handling and printer operation.
Do not expand too quickly. A first kit should prove the classroom routine, show how learners respond and reveal what support the teachers need. After a term or two, the school will have a much clearer idea of whether to add capacity, change the room layout or introduce a new training stream.
Used well, a starter 3D printing kit gives a school a practical entry point into design and making. It also keeps the focus where it belongs, on steady classroom use, safe habits and learner confidence.