Start with the space you actually have
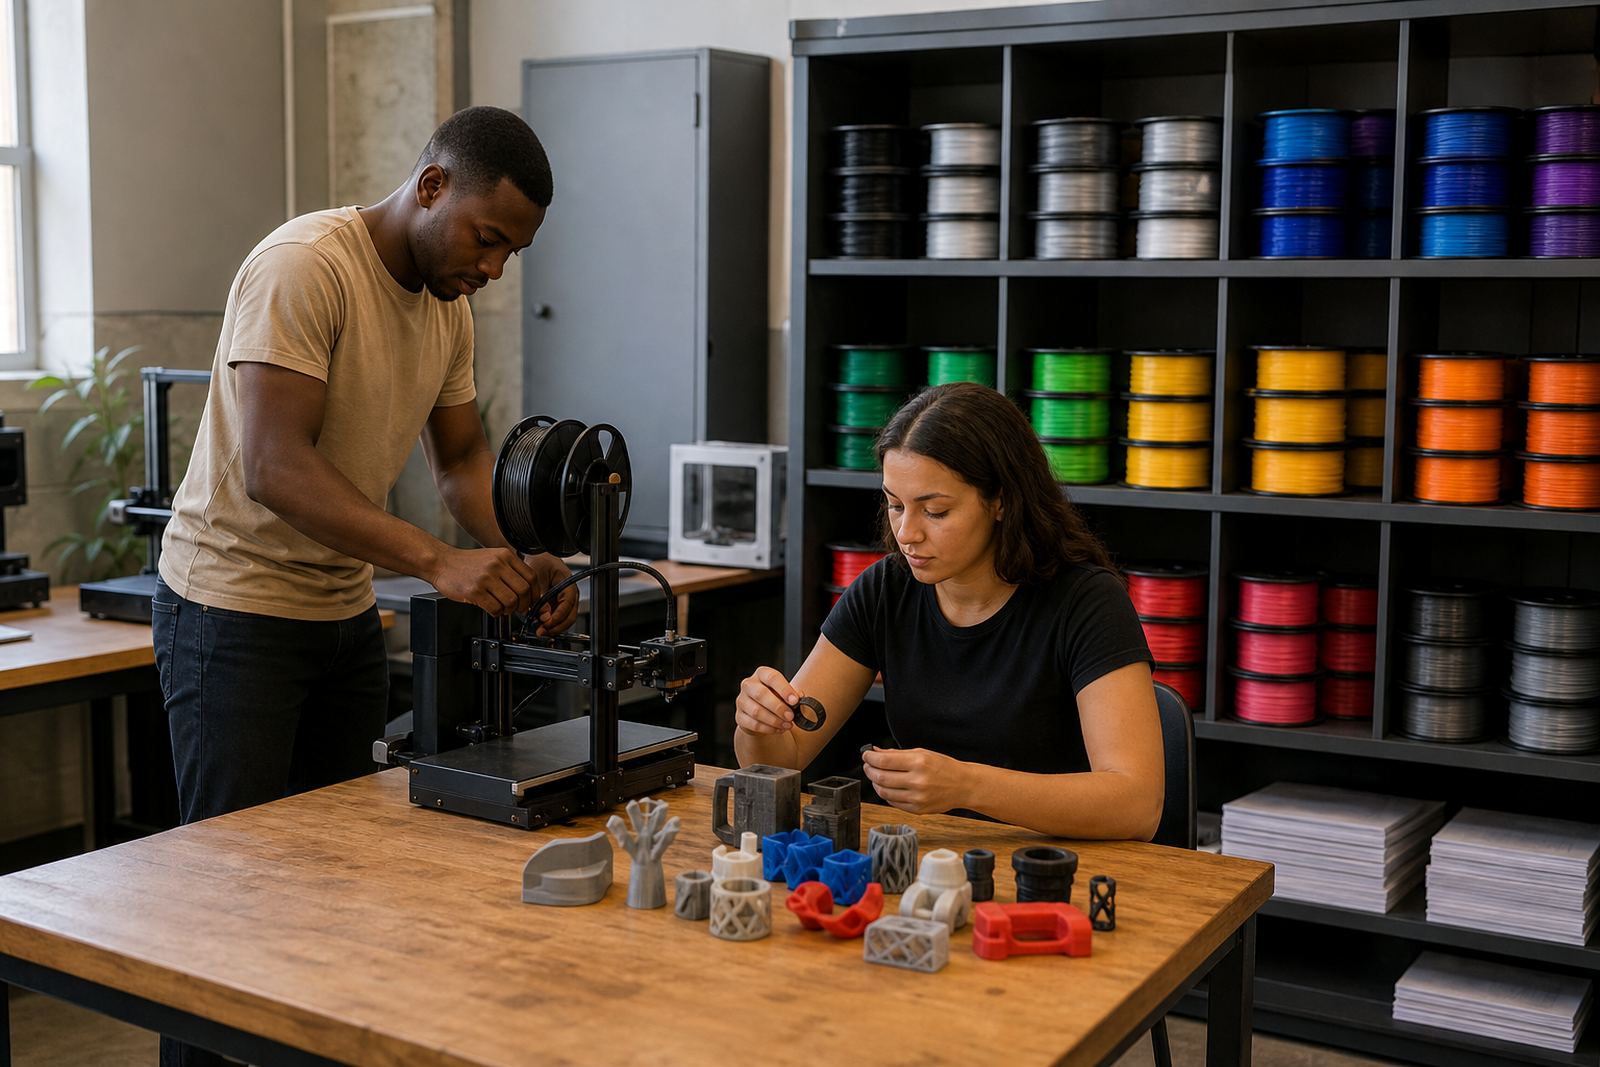
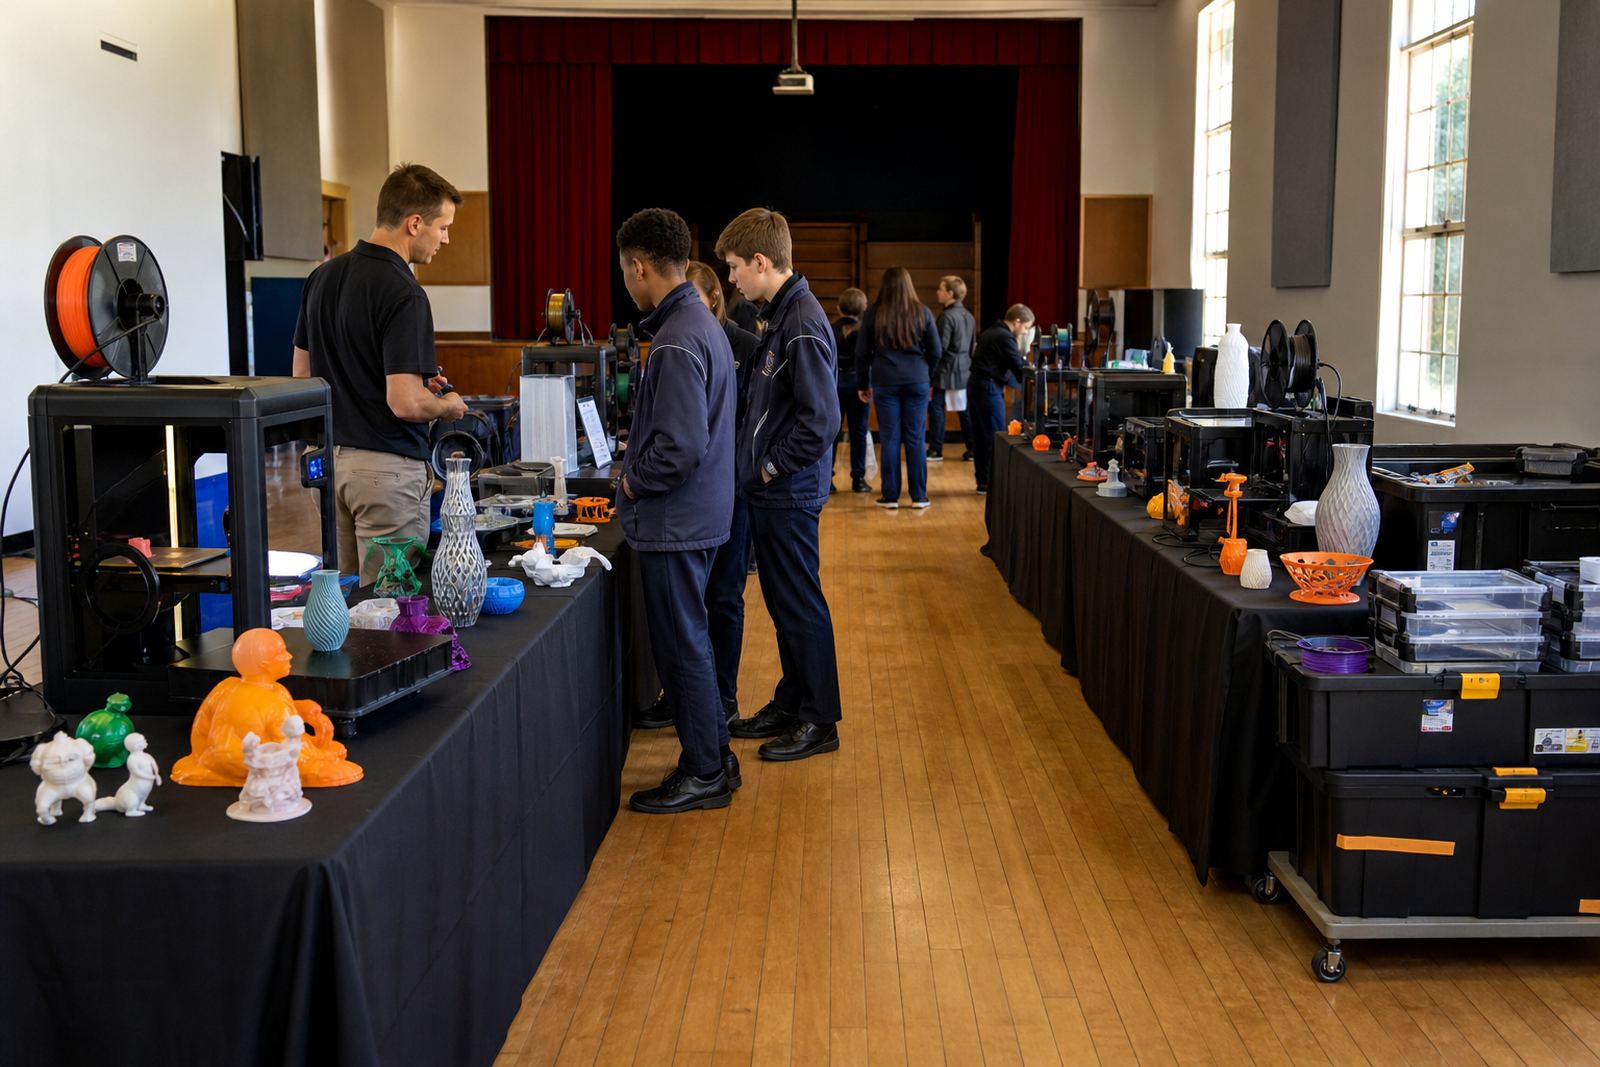
A small maker corner does not need a complicated set-up. One reliable printer, a computer for design work, basic hand tools and a secure storage box are enough to begin. Schools in Pretoria, Durban or Gqeberha often ask for a setup that can be supervised by one teacher while the rest of the class works on planning and design, and that is exactly the right approach for a compact space.
Good starter equipment should be simple to manage during load-shedding, easy to clean and not too noisy for shared rooms. Look for tools that suit the age group and avoid overcrowding the table with extras that learners will not use. A printer with clear controls, spare nozzles and sensible maintenance access will save time when the term gets busy.
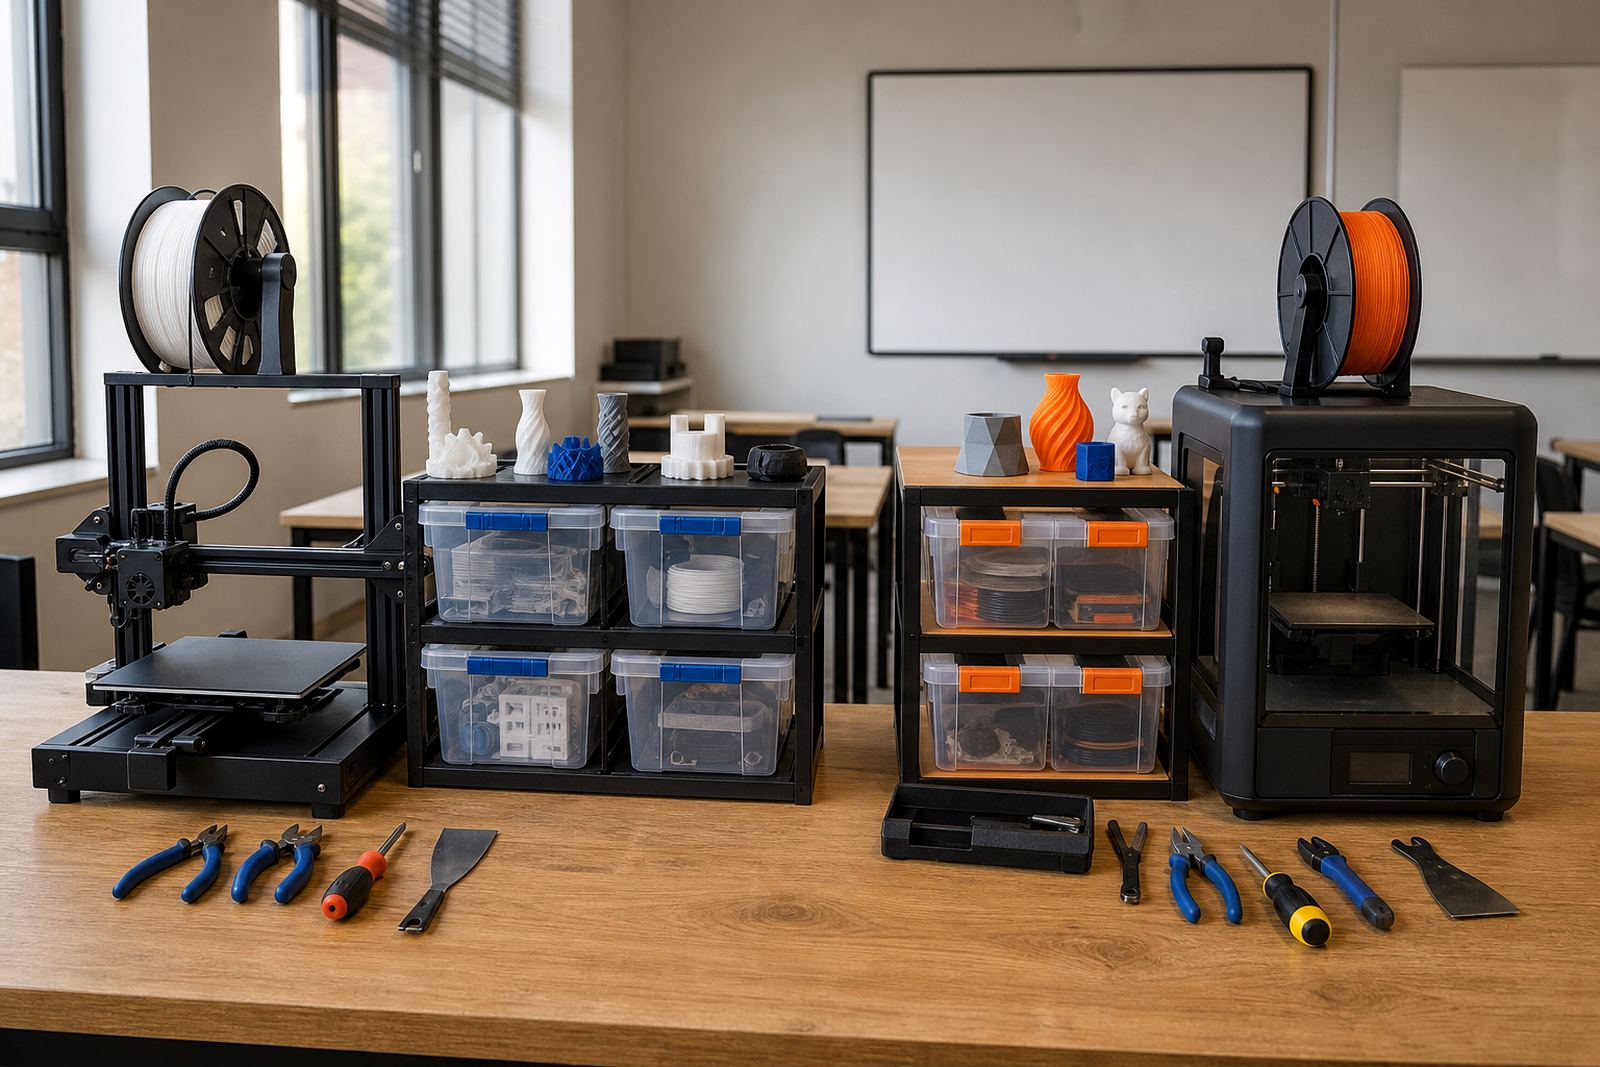
- One 3D printer with stable placement.
- One laptop or computer with design software.
- Filament in a few standard colours.
- Scrapers, cutters and a heat-safe surface for removing prints.
- Storage tubs for tools, small parts and completed models.
Build the workflow in three simple stages
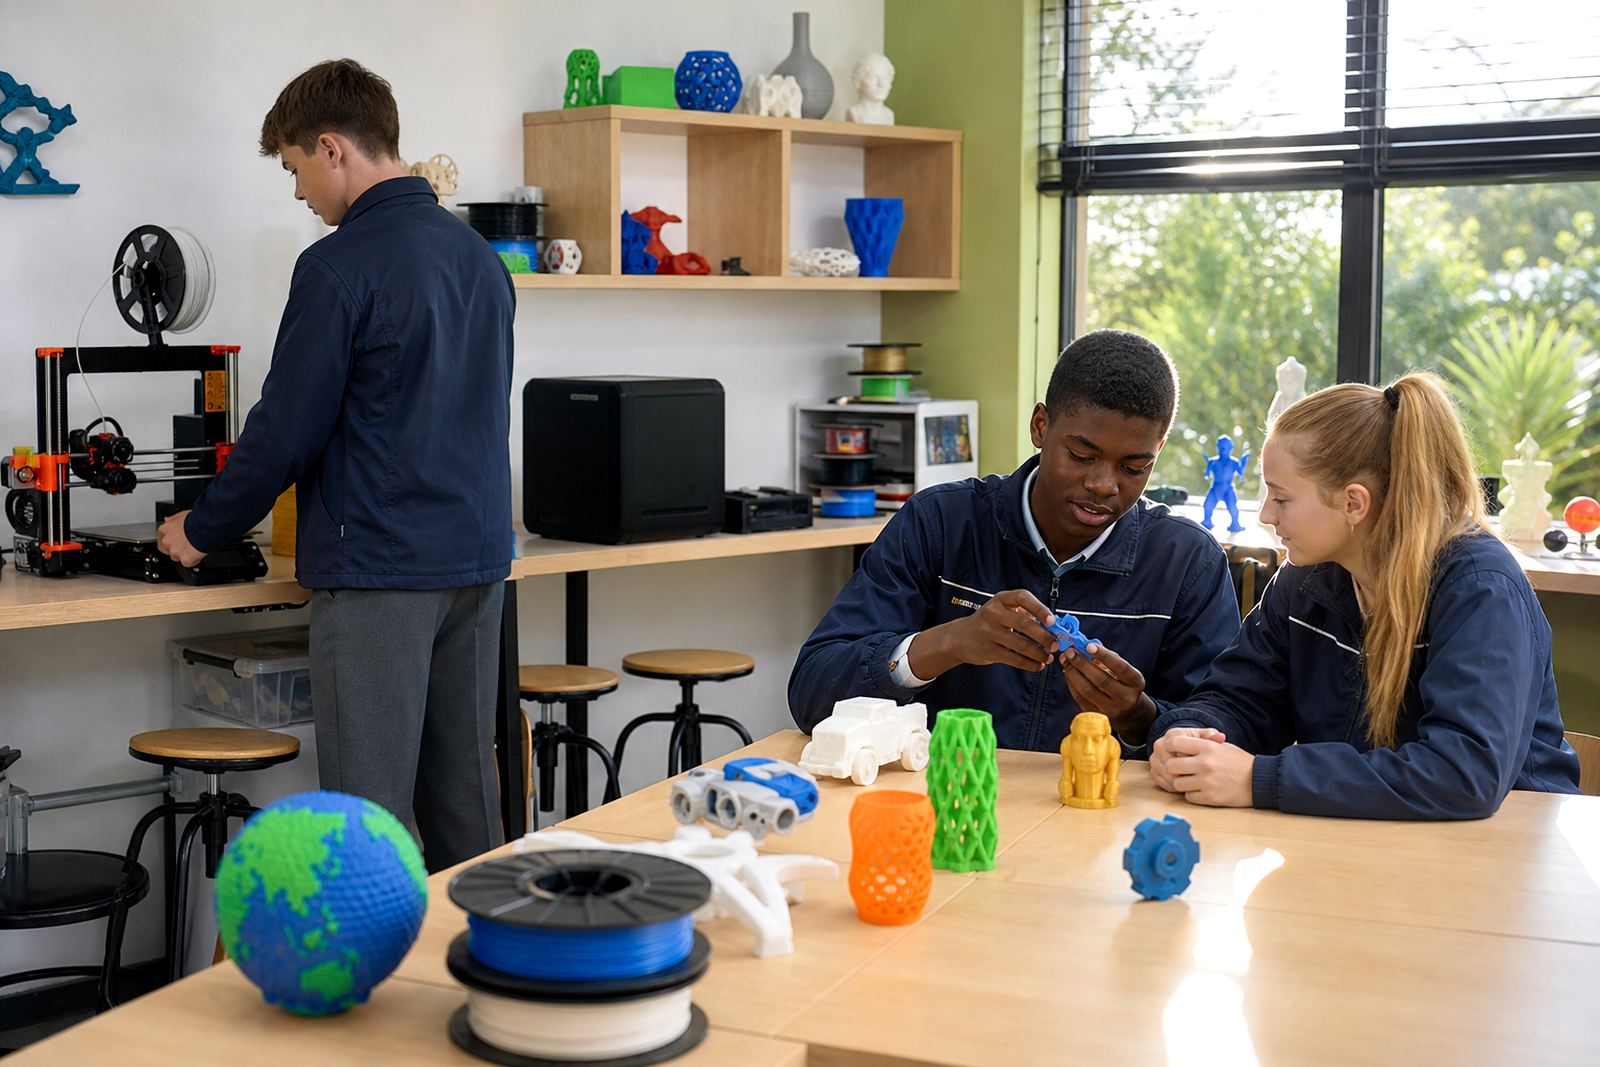
The easiest way to run a maker corner is to break the process into three steps: design, print and review. Learners can sketch ideas, move into CAD basics and then send a chosen model to the printer. This keeps the space calm and helps teachers manage turns without confusion. It also gives learners a clear routine from first idea to finished object.
When the process is simple, the room stays usable for normal teaching. A model can be started in one lesson and checked in the next. If a print fails, learners can discuss why and try again, which is often where the learning happens. In smaller schools, this approach works better than trying to run too many projects at once.
- Use short project sheets with one goal per task.
- Keep print files named clearly so learners can find them again.
- Record settings that worked for each material.
- Assign one learner to monitor the printer while others work at tables.
Set classroom rules before the first print
Safety rules should be explained before any printer is switched on. Learners need to know that the hot end, bed and moving parts must not be touched while the machine is running. The area around the printer should stay clear, and only the teacher or trained supervisor should handle maintenance adjustments. This is especially important in busy classrooms where students move quickly between tasks and may be tempted to reach in too soon.
Keep the rules visible near the printer and review them often. The same applies to power use, cables and hot tools. If a corner is set up for younger learners, keep the printer behind a marked line or on a shelf that can be watched easily. A tidy room reduces accidents and makes it simpler to focus on the lesson rather than the machine.
- No touching moving or heated parts.
- No food or drinks near equipment.
- Hands must be dry before using switches or plugs.
- Switch off and let equipment cool before cleaning.
- Store cutters and small tools in a closed container.
Plan for maintenance and supply gaps
A maker corner only stays useful if someone looks after it. Dust, loose filament and minor clogs can stop a lesson quickly, so the school should set aside a small weekly maintenance routine. Check belts, clean the build surface and inspect the spool path. If the school is in a coastal area or a room with humidity, filament should be kept sealed when not in use to avoid print trouble.
It also helps to name one staff member to track consumables and report faults. That way, issues do not get left until the end of term. A simple log book is enough for most schools and makes it easier to see what is wearing out. The aim is steady use, not constant tinkering.
- Weekly: clean surfaces and check the printer path.
- Monthly: inspect cables, rollers and storage containers.
- Termly: review filament stock and lesson materials.
- After every session: close the printer, store tools and tidy the bench.
Choose training that suits the staff and learners
Training works best when it matches the role of the people using the space. A teacher who only needs to oversee lessons will need different support from a club facilitator or technician. For a small maker corner, the useful topics are usually CAD basics, printer operations, project planning and maintenance basics. That keeps the room practical rather than over-complicated.
Schools can also book a custom group workshop when several staff members need the same foundation. The point is to make the corner usable from day one and not leave one person carrying all the responsibility. If the room is shared between grades or used for holiday programmes, a short management briefing can help the timetable run properly without confusion.