Start with the teaching plan, not the spool count
Before ordering anything, map the work that learners will actually print. A class doing small keychains, tags and test pieces needs very different material from a group building terrain, prototype housings or larger models. Start by listing the number of learners, the number of print tasks per learner and the size of each task. That gives you a fair starting point for how much filament to keep on hand.
For regular lessons, it helps to separate work into three buckets: short exercises for new learners, medium prints for class projects and longer prints for advanced groups. This makes stock planning easier and avoids running out halfway through a term. If you are teaching across multiple classes, keep a simple running log so the next group does not start from scratch. A little admin here saves a lot of frustration later.
Also consider the skill level of the group. Beginners often need more reprints because of first-layer issues, poor bed levelling or incorrect temperatures. That does not mean you should overbuy wildly, but it does mean a safe buffer is wise. In South African schools where timetables are tight and load-shedding can interrupt a print, a small reserve spool can make the differnce between a completed project and a lost lesson.
Estimate usage by lesson type and project size
A practical way to plan is to estimate grams per learner or grams per project, then add a buffer for failed prints and demonstrations. For example, a short classroom exercise may use only a few grams per learner, while a project week can use a full spool on several machines combined. Keep your estimates simple at first, then refine them once you know how your printers and students perform.
Use your actual print profiles where possible, because infill, wall count and layer height all affect consumption. If you are printing with thick walls or stronger infill for a prototype, the material use can rise quickly. If the work is mostly visual, such as nameplates or display pieces, it may use far less. The best planning habits are built around the objects you print most often, not a guess from a catalogue.
- Count the number of learners or groups using the printers each week
- Note the average size of the models they print
- Keep a buffer for failed starts, support material and test prints
- Review actual usage at the end of each term
Where classes share equipment, also plan for queueing. If three groups must finish project work in the same fortnight, you need enough stock for all three, not just the first group. A small school may get by with a handful of colours, while a larger lab may need a wider mix so learners do not all print the same thing in the same shade.
Choose colours and material types with the classroom in mind
Colour planning matters more than many teams expect. If you only keep one or two colours, some projects become dull and learners may lose interest. If you keep too many colours, stock control becomes messy and partially used spools sit on shelves too long. A balanced colour set usually works best for lesson planning, especially where learners are completing the same activity in groups.
For school use, it is sensible to keep a core range for everyday work and a smaller set of special colours for presentations, competitions and holiday programmes. Neutral colours such as white, grey and black are useful for prototypes and functional parts. Brighter colours can help younger learners stay engaged, but they also show layer lines and surface flaws more clearly, so they are handy for teaching quality control.
Material type should match the learning goal. Some lessons need a forgiving material for beginners. Others may need something suited to stronger parts or better heat resistance. Match the material to the printer setup and the room conditions. In coastal areas like Cape Town, Somerset West or Gqeberha, storage matters because humidity can affect print quality if spools are left open. Keep filament sealed when possible and do not leave it near open windows or damp storerooms.
- Keep a core set of everyday colours for class use
- Use special colours for displays and advanced projects
- Store spools in sealed containers or bags where possible
- Label each spool with material type, colour and date opened
Build a storage routine that protects the stock
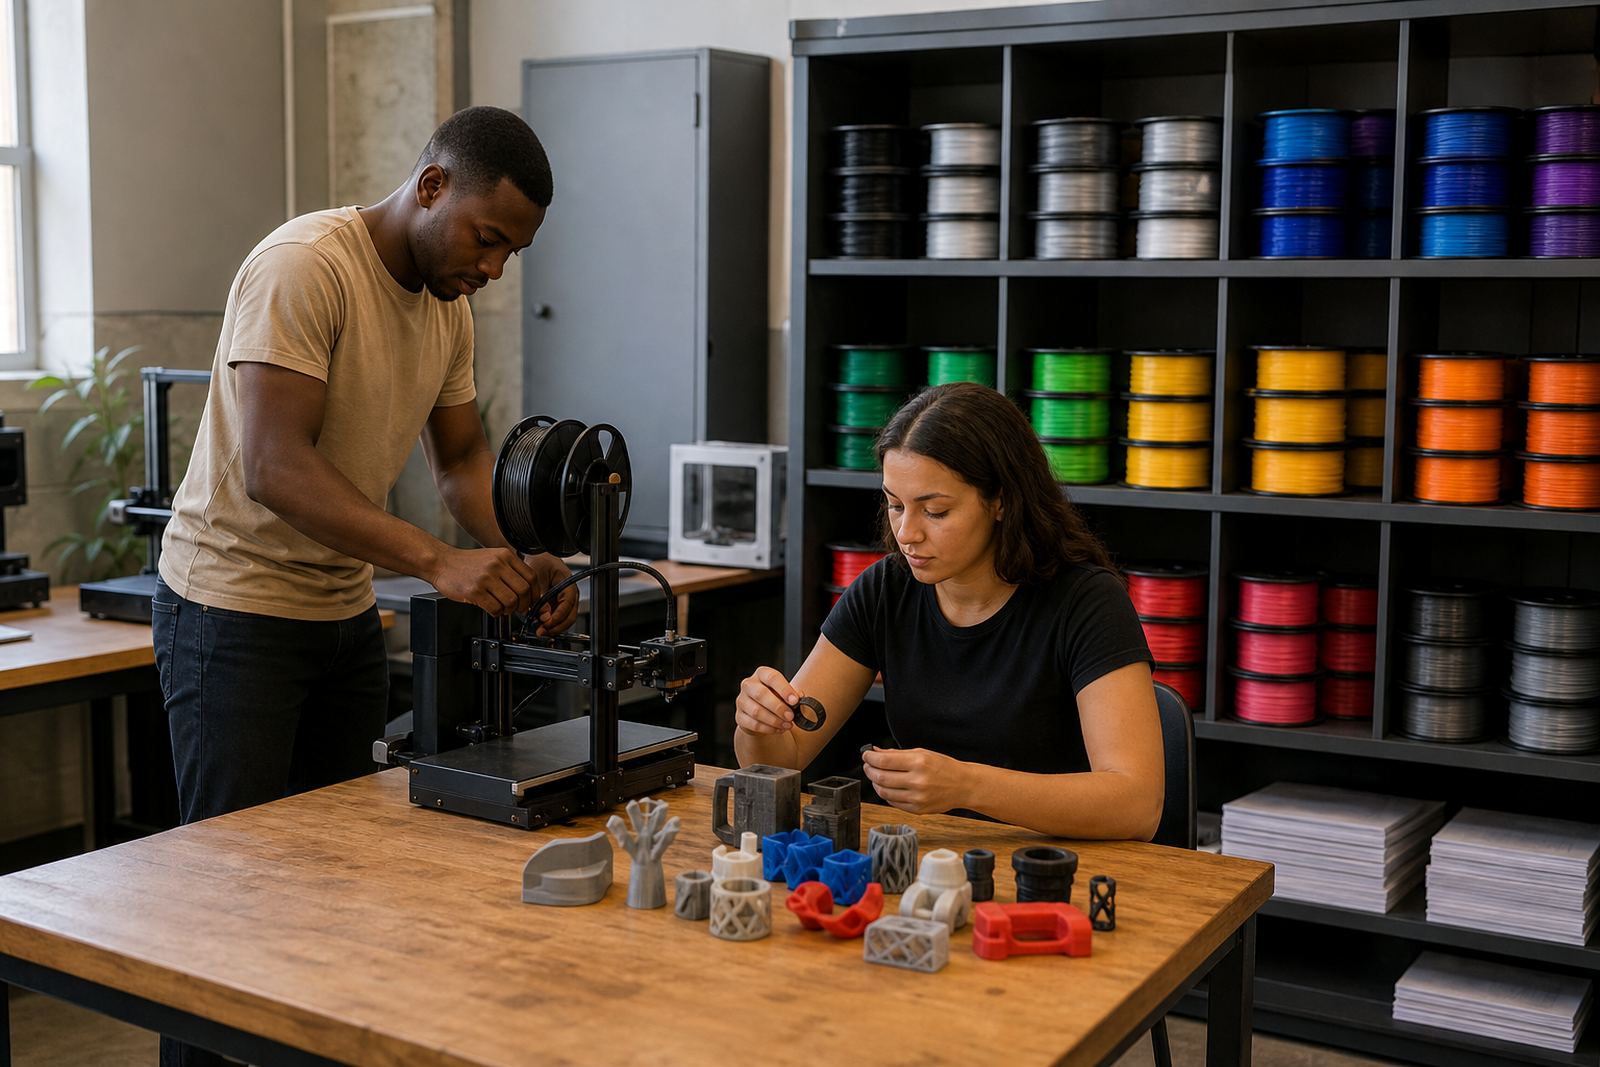
Good storage is part of filament planning. If you buy stock and then store it badly, the material may absorb moisture, tangle or become brittle before learners ever use it. A simple shelf system works well: keep unopened spools together, opened spools together, and damaged spools separate for test work only. Clear labels help staff know what can be used immediately and what needs attention.
Do a quick check before each term. Look for warped spools, dusty surfaces, damaged edges and loose packaging. In schools that run holiday programmes or maker clubs, the stock may move between rooms often, so a sign-out list can help. It does not need to be fancy. A paper register or shared log is often enough to track who took what and when.
Keep filament away from heat sources, direct sun and wet floors. If you are near the coast, or in a room with high moisture, add desiccant where practical and close packs properly after use. That small habit can reduce stringing, popping sounds during prints and poor surface finish. Teachers do not need to overcomplicate this, but a neat storeroom pays off fast.
Plan for printers, spares and the usual classroom interruptions
Planning filament without planning the printer room usually leads to waste. The number of machines, the age of the printers and the reliability of the power supply all affect how much material you should keep on site. If a print is interrupted by a municipal power cut or load-shedding, you may lose both time and filament. It helps to keep a buffer for restart tests and short calibration prints after interruptions.
Check that each machine is ready for the material you intend to use. Nozzle condition, bed adhesion, temperature settings and extruder wear all change print results. If the classroom runs many back-to-back jobs, schedule a few minutes between prints for cleaning and inspection. That habit cuts down on failed prints that waste material and lesson time.
- Keep a small reserve for test prints after power interruptions
- Match the material to the printer settings in use
- Replace worn nozzles and damaged parts before they affect output
- Allow time for cooling, cleaning and re-levelling between jobs
It also helps to decide who handles what. One person can track stock, another can check printers and a third can update the lesson plan. In a busy lab, that shared responsibility prevents one staff member from carrying the entire load, which is where things usually start slipping.
Use a simple term-by-term checklist
The easiest planning system is one you can repeat every term. Start with a stock count, compare it with the upcoming lesson plan and then order enough for the core activities plus a modest buffer. After the term ends, review what was used, what sat untouched and where the biggest waste came from. That review gives you better figures for the next cycle.
For schools that run clubs, holiday programmes and regular lessons, separate stock by activity if needed. A club may burn through smaller amounts over many weeks, while a project week may use more material at once. Keeping those uses separate helps you spot where the material is really going. It also keeps learners from dipping into project stock for casual prints, which can upset the whole plan.
- Count all opened and unopened spools
- Review the next term’s lesson calendar
- Allocate stock for regular lessons, clubs and project weeks
- Check storage, labels and printer readiness
- Set aside a buffer for reprints and interruptions
When the planning is done, the classroom runs better. Learners wait less, teachers spend less time chasing materials and the print room feels more organised. That may sound basic, but in practice it is what keeps the work moving. A tidy filament plan is one of the simplest ways to make 3D printing in schools feel manageable.