Start with one clear purpose for the day
Before anything is printed, cut, mounted or written up, decide what the display should achieve. Some schools want to show the full learning process, from first sketch to finished model. Others want a short parent-friendly demonstration that gives learners a chance to speak about design, printing and problem solving. Keep the purpose simple because every other choice depends on it.
If the audience includes parents, teachers and visiting community members, plan for mixed attention spans. A good display does not overload people with too much technical detail. It gives enough context for adults and enough structure for learners to stay on track. For schools in Stellenbosch, Cape Town, Johannesburg or Durban, this also helps when the event must fit into a tight school day and the room needs to turn over quickly after class.
- Choose one main message for the day
- Decide who will speak and who will demonstrate
- Set the time limit for each learner or group
- Confirm whether the event is formal, casual or classroom-based
Build displays that tell the whole story
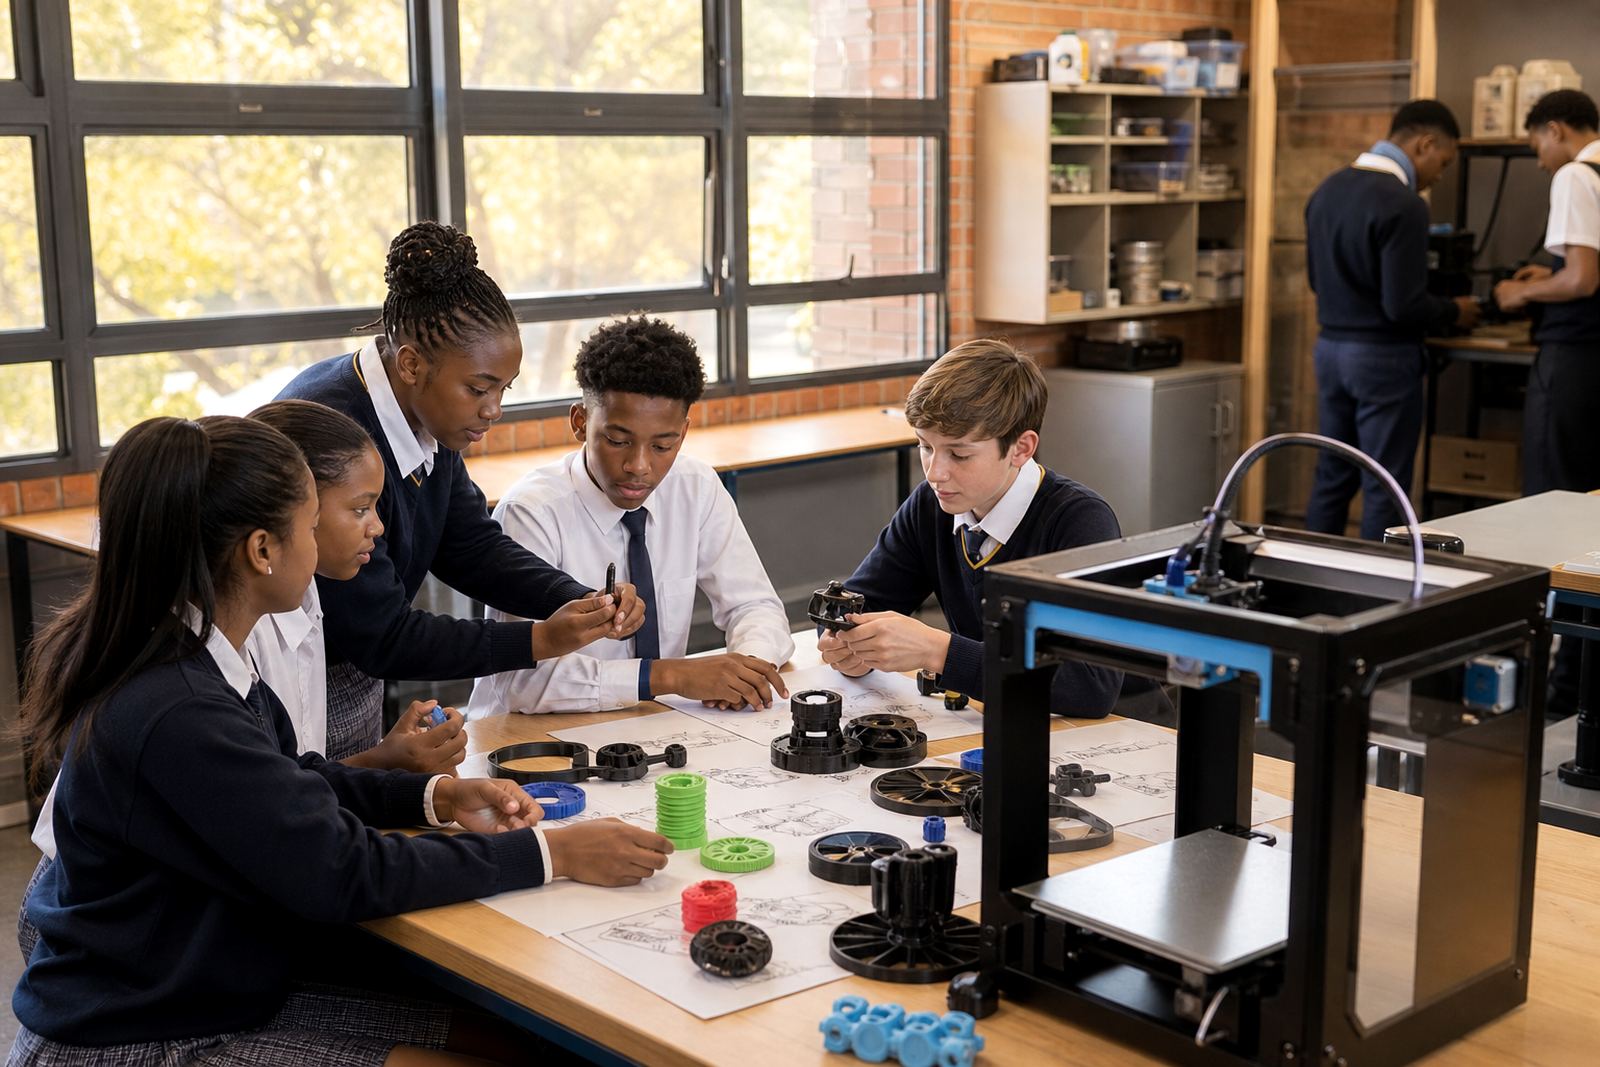
Learner work should be easy to understand at a glance. A display board, table or wall space should show the idea, the design steps and the final print. Include sketches, photographs, notes, material choices and a short explanation of what changed during testing. That way, visitors see the learning process instead of only the final object.
Keep labels short and readable. Use large headings, neat handwriting or printed cards where possible. If learners are presenting models that were printed in different materials or sizes, group them by project rather than by class when possible. This makes the table feel organised and helps visitors move through the space without confusion.
- Place the final print at the front, not hidden at the back
- Add one sentence about the problem the learner solved
- Show a draft, a failed print or a revised version where suitable
- Use the same label format across all groups
Prepare learners for speaking, not just showing
A model can speak for itself for a few seconds, but a display day usually depends on learner explanation. Practise short, clear speaking notes with each group. Learners should know how to explain what they made, why they made it, what went well and what they would change next time. This is especially helpful for younger learners who may feel shy once parents start asking questions.
Do a run-through the day before if possible. Let learners stand beside their work, point to the different parts and answer one or two common questions. Encourage them to speak in plain language. If they can explain the project without sounding rehearsed, the presentation usually lands better with families and visitors. Keep the tone friendly, not over formal.
- Start with the project name and the design idea
- Explain one challenge and how it was handled
- Use short sentences and normal classroom language
- Assign one learner to greet visitors at each table
Check the room before the first visitor arrives
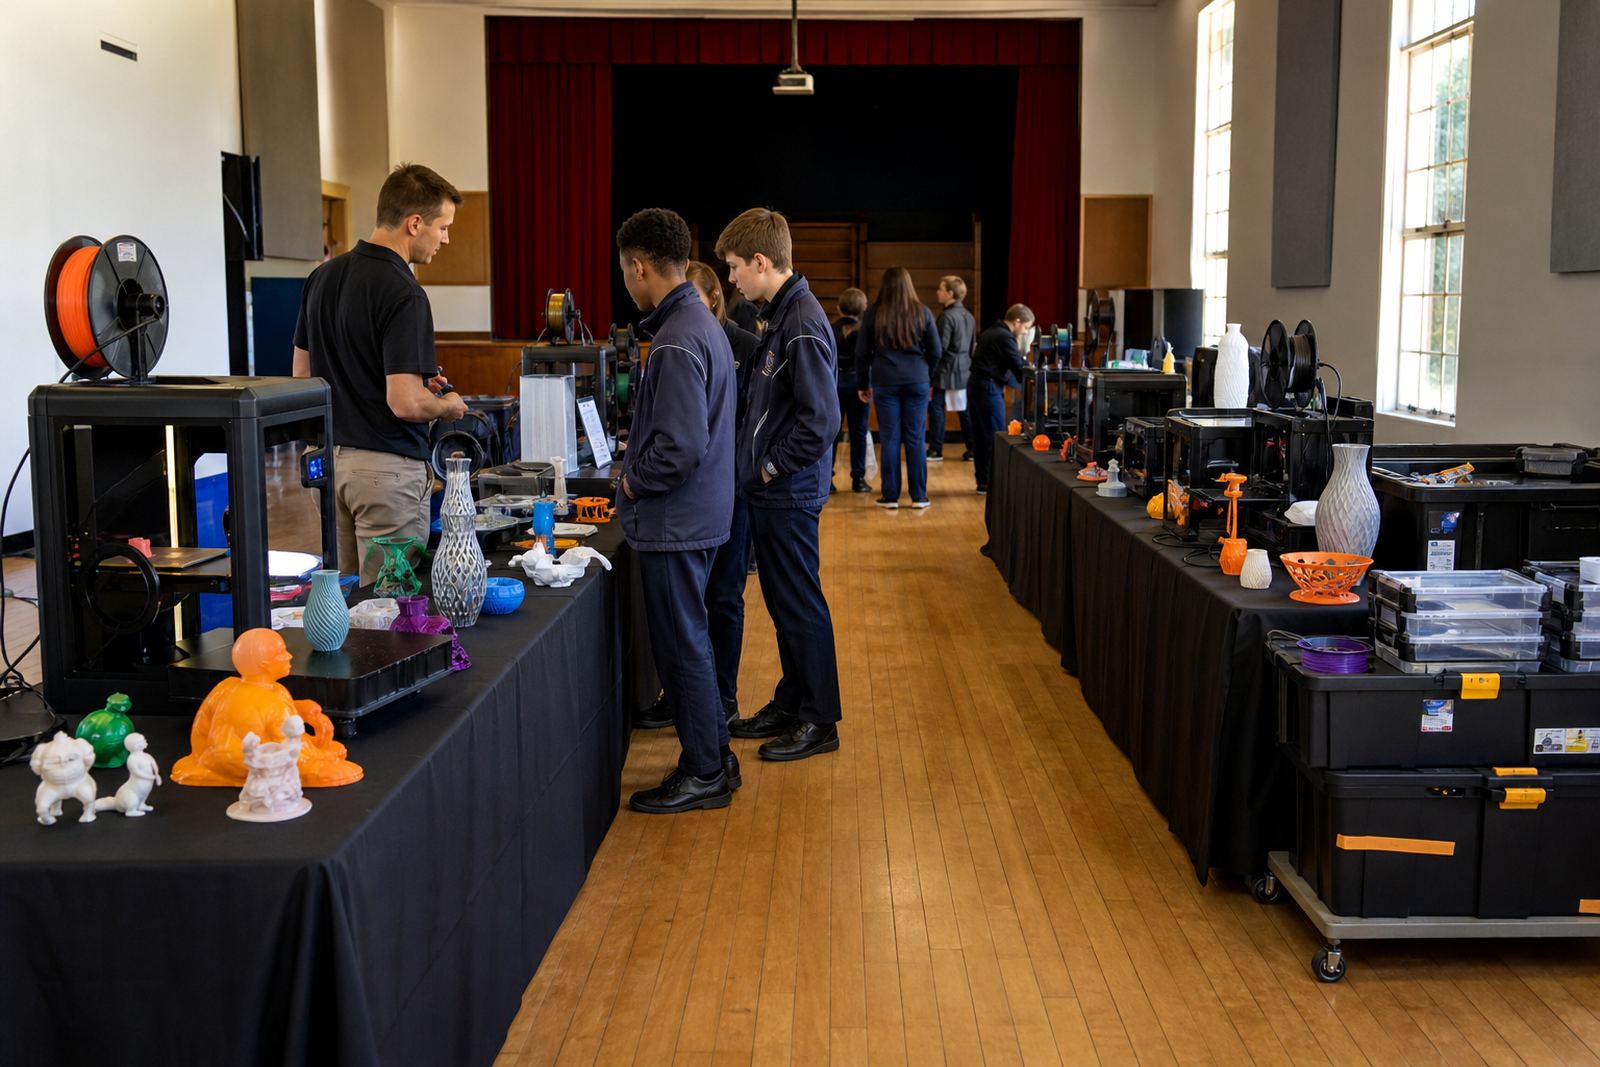
Practical room setup makes a bigger difference than most people expect. Tables should allow enough space for learners to stand behind their work and for visitors to move around without bumping into cables or equipment. If the display includes live printers, keep them in a supervised area with clear boundaries. In schools where power supply is unpredictable, make a back-up plan for load-shedding or a short interruption, especially if a printer must not be left unattended during a pause.
Use this as a simple final checklist:
- Power points are known and tested
- Extension leads are taped down neatly
- Printed models are cooled and safe to handle
- Replacement labels, pens and tape are ready
- Water, sanitiser and a waste bin are available
- One adult knows where the nearest support room is
If the event is held in a hall, library or multipurpose room, check ventilation as well. 3D printers and classroom materials should be used with care, and visitors should be kept at a sensible distance from hot parts, moving parts and loose cables. Nothing fancy is needed, only good common sense and a tidy space.
Make it easy for parents to follow along
Parents often appreciate a simple structure they can understand in a few minutes. A welcome sheet, a short timetable and a table plan help them know where to go first. If the display includes different grades or project groups, mark the route clearly. A person at the entrance can also point visitors to the right table and keep the flow moving.
Think about what parents will ask. They usually want to know what the learners made, what skills were used, whether the process was hands-on and how the school can support the work at home. Prepare a few plain answers. If there are demonstrations of CAD Basics, printer operations or project planning, keep the explanation brief and practical. The goal is to make the learning visible, not to overwhelm people with jargon.
Finish with reflection and a short follow-up
Once the visitors have left, give learners a few minutes to reflect while the event is still fresh. Ask what they enjoyed, where they felt unsure and what they would improve next time. That conversation is often as valuable as the display itself. It turns a one-day event into part of the wider learning process.
Capture a few notes for the next event as well. Which displays were easiest to understand? Which project was crowded or difficult to see? Did the speaking groups need more practise? A small review after the day helps teachers plan the next display with less stress and better results. If your school runs maker clubs or holiday programmes, these notes can also guide future projects. Good preparation now saves time later and the next display usually runs smoother, even if the room is busy and the printer cable is a bit too short.