Start With the Learner Group, Not the Machine
Before you pick a project, look at who will be using the printer and what they already know. A Grade 4 class doing its first design lesson needs a very different task to a senior learner who has already used CAD tools and understands basic measurement. The best project type is the one that can be completed with confidence in the time you have, not the one that looks most impressive on paper.
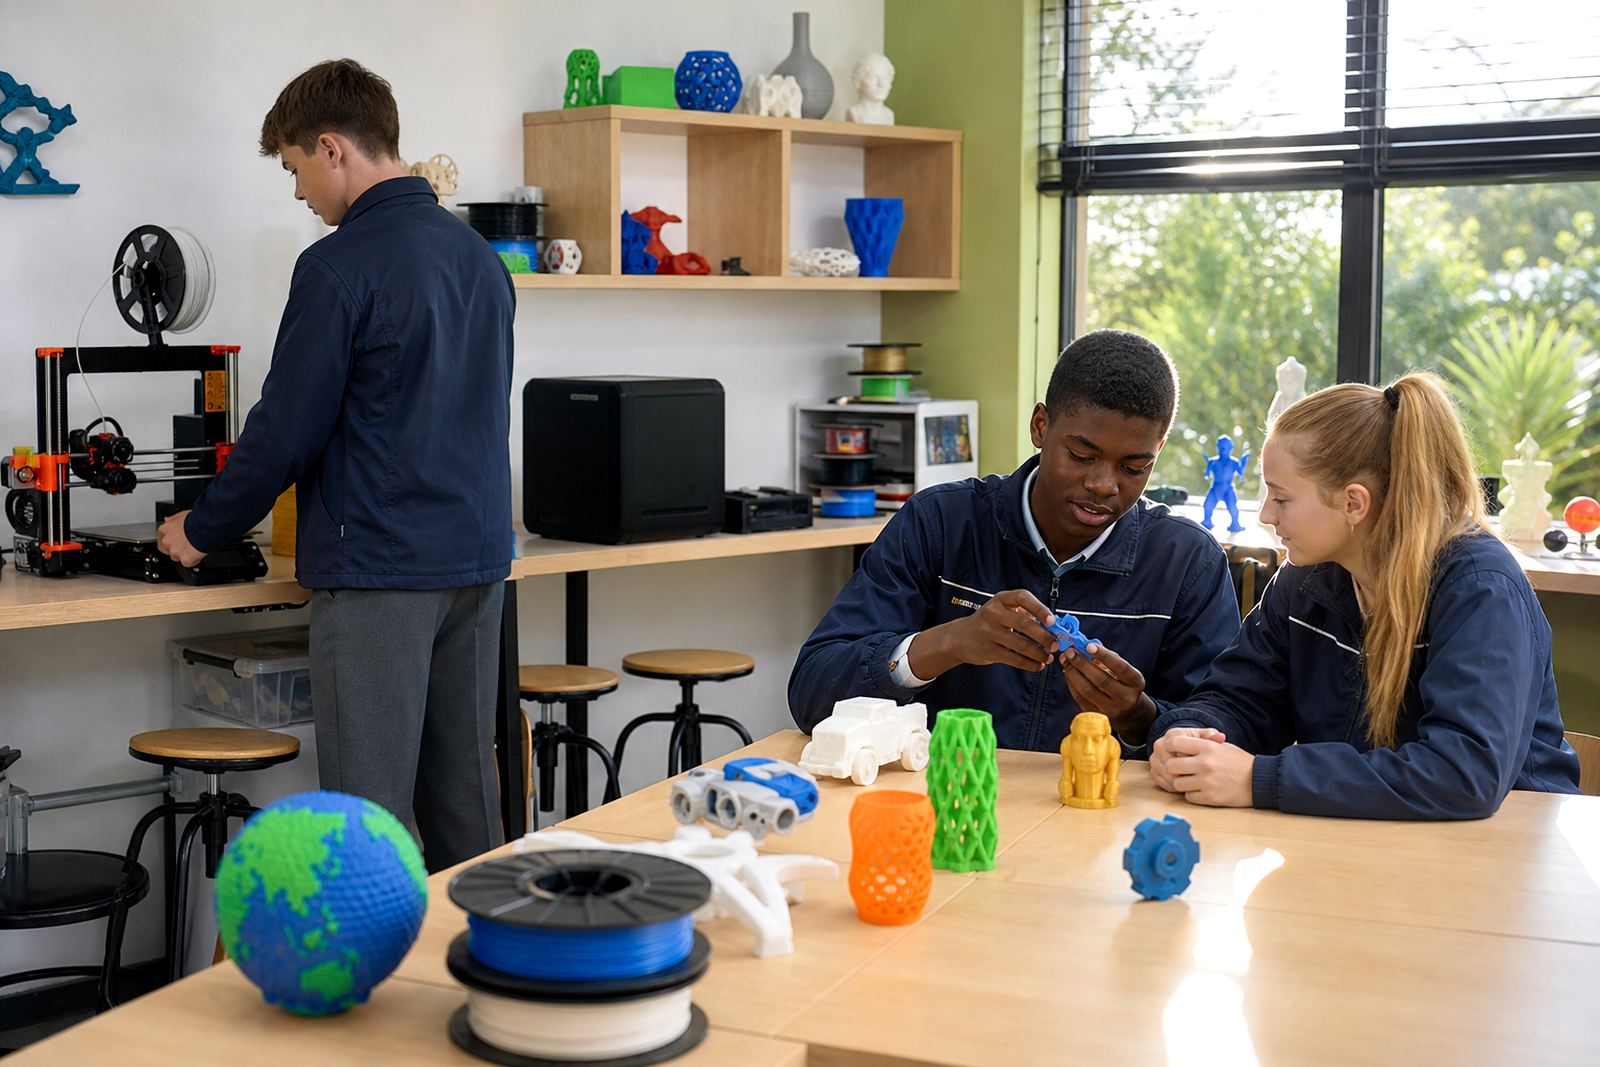
For younger learners, choose simple objects with clear purpose such as name tags, key fobs, puzzle pieces or low relief shapes. These projects build confidence because the geometry is easy to understand and the print time is usually manageable. Older learners can handle stronger design requirements, moving parts, interlocking parts or objects that must fit around a real-world measurement. If the class is new to 3D printing, keep the first few projects short and repeatable so learners can focus on the full process from idea to finished print.
- Match the task to reading level, motor skills and patience for waiting through a print.
- Use one clear design goal per project, such as size, fit, function or decoration.
- Keep the first print under classroom time limits where possible, especially during short periods.
Use Time Limits to Shape the Project Size
Project length affects everything from learner attention to machine use. A school with one afternoon per week will need smaller projects than a maker club that meets twice a week. Short lessons work best when the class can complete one design decision, one print run and a quick review. Longer programmes can include testing, redesign and a second print, which is where learners really start to see how small changes affect the outcome.
A useful rule is to work backwards from the teaching slot. If you only have 45 minutes, choose a project where the design can be started in advance or where learners can work on a shared base shape and then customise details. If you have a half day or more, you can add measurement tasks, slicing settings and post-print finishing. In busy schools, this also helps when load-shedding or room sharing cuts into the day, because smaller projects are easier to pause and pick up again.
- Short lesson: one shape, one feature, one print.
- Medium lesson: design, slice, print and reflect.
- Longer programme: brief, prototype, review, redesign and final print.
Choose Projects That Fit the Printer and the Room
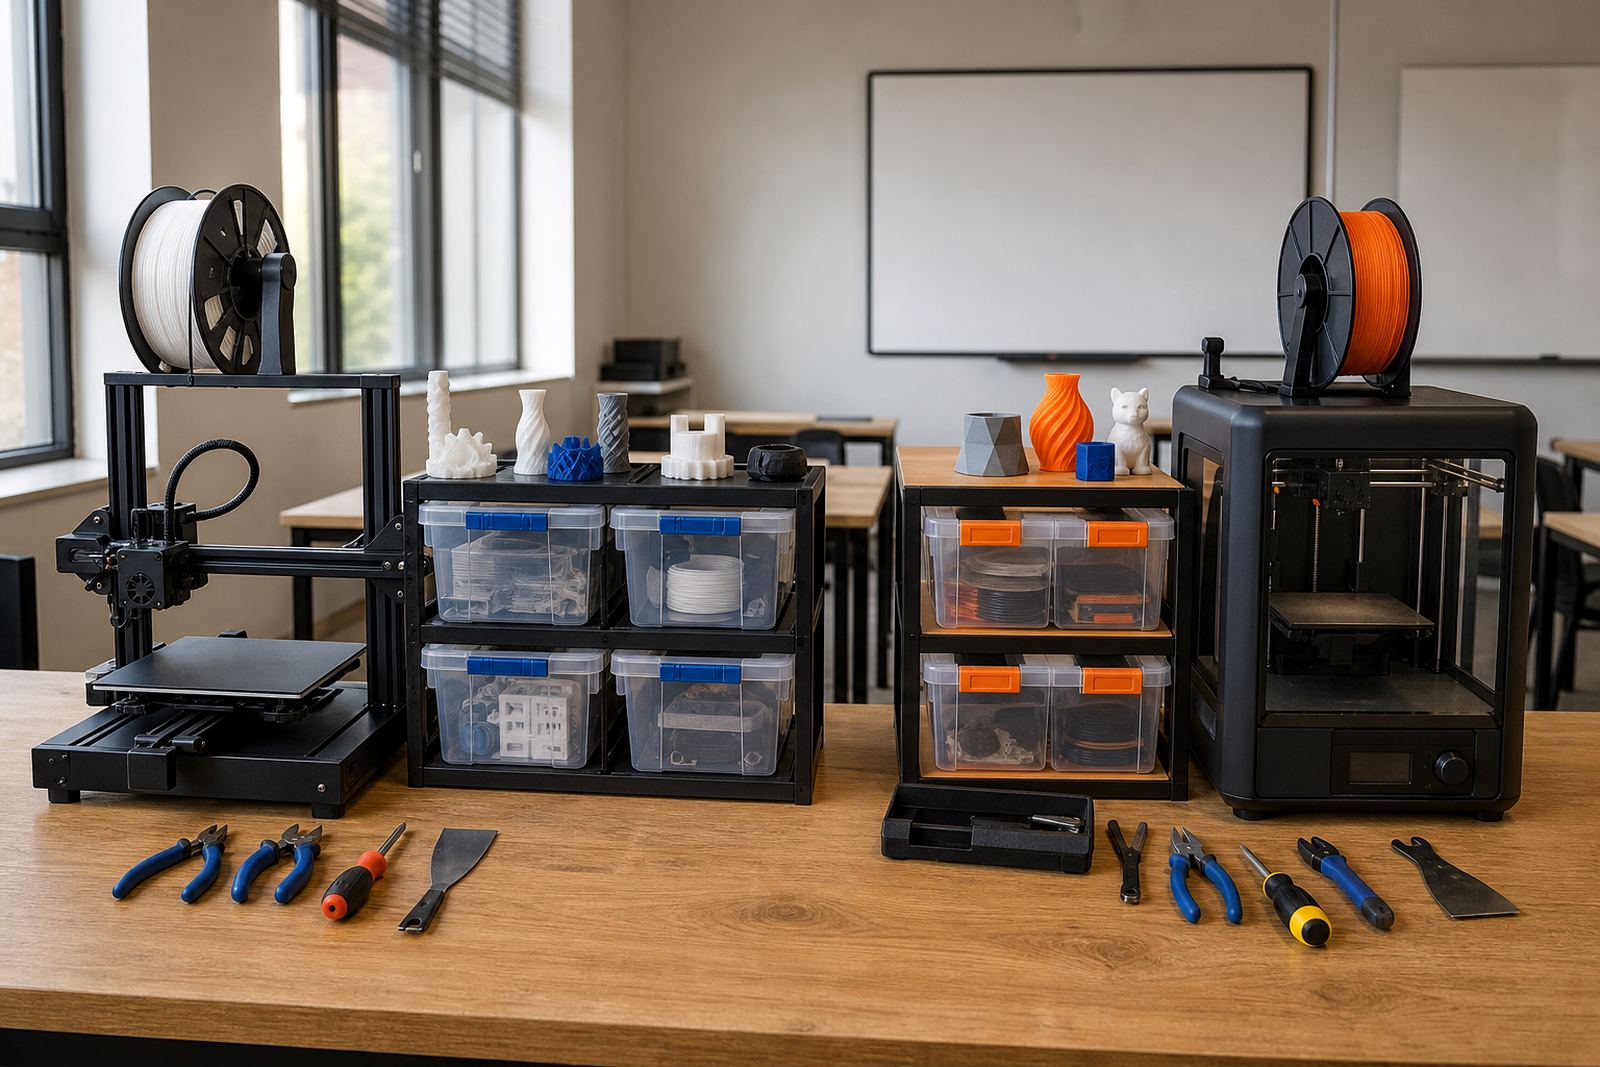
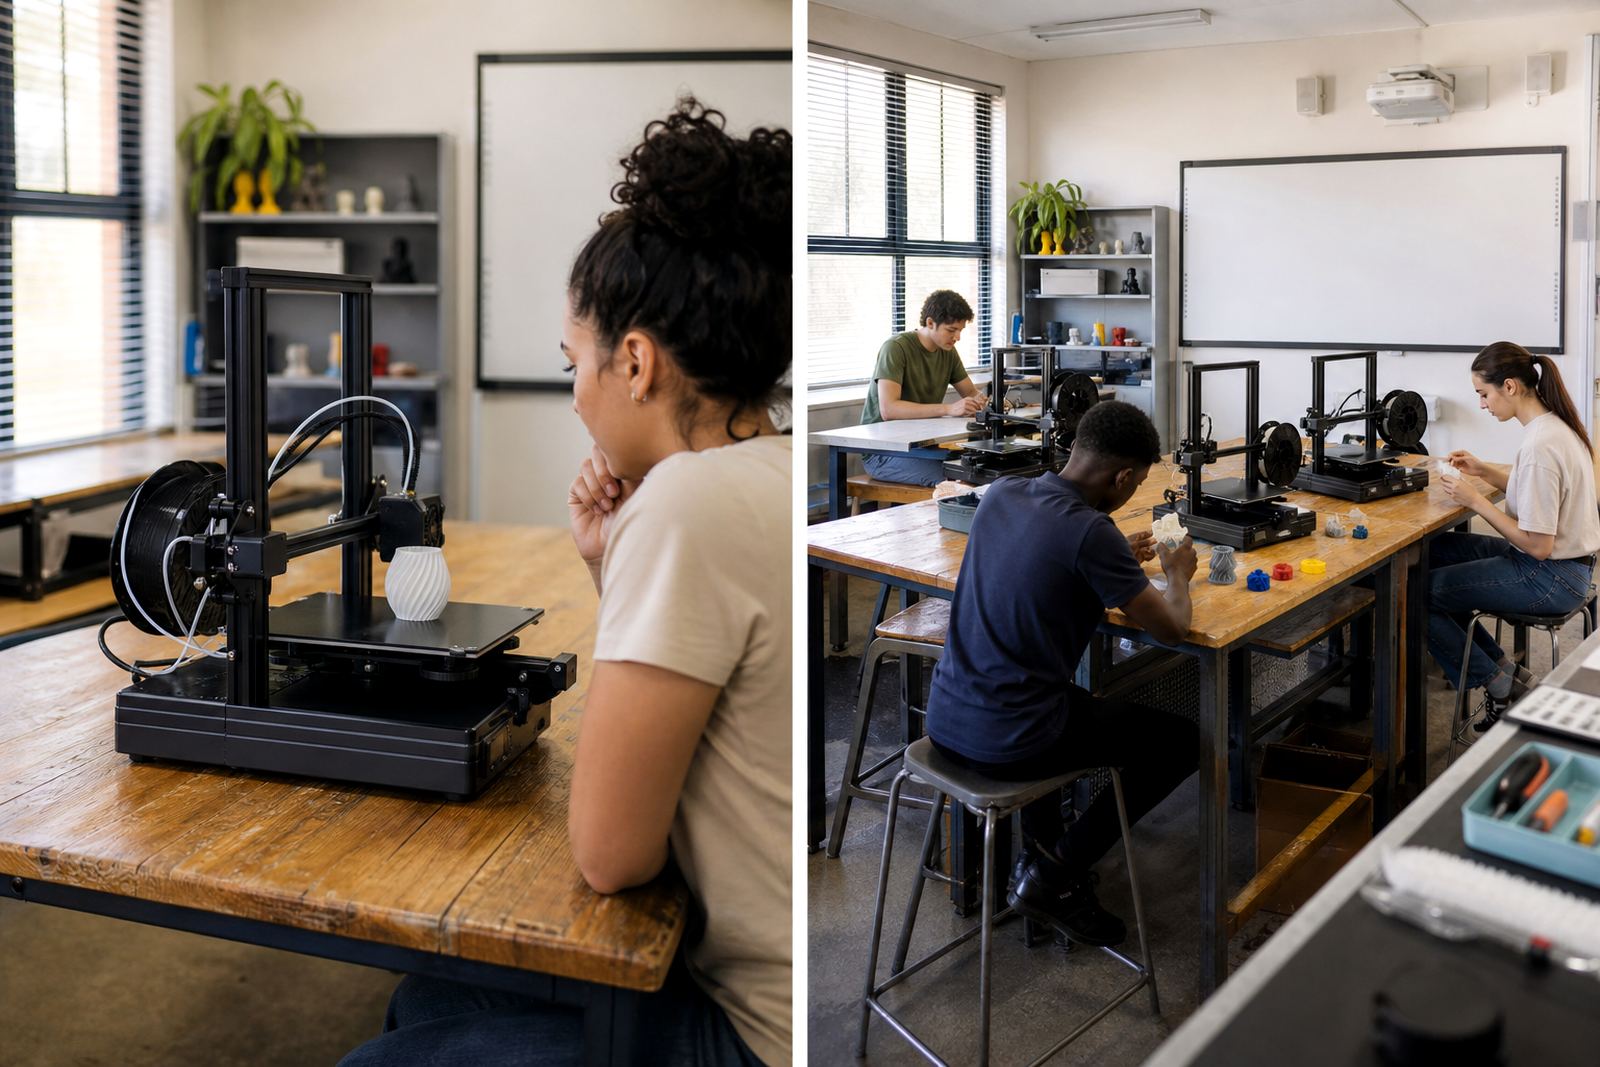
Not every project suits every classroom setup. A small printer bed limits the size of the object, while a shared lab needs projects that can be grouped by print time and material use. If the room has limited ventilation, keep to safe classroom routines and avoid overcrowding the area around the printer. Coastal schools in places like Cape Town, Durban and Gqeberha may also need to think about humidity, filament storage and keeping materials sealed between sessions.
Simple, flat or low-height prints are often the safest starting point. They use less material, are easier to monitor and reduce the risk of failed prints. Taller objects, articulated parts and detailed enclosures need more supervision and a steadier power supply. If you are working in a school where the power can go off without warning, plan projects that can tolerate a restart rather than a large one-off print that uses too much time or material. A printer is only one part of the setup; the room, storage and supervision matter just as much.
- Check bed size before setting the project dimensions.
- Store filament in sealed containers where moisture is a problem.
- Keep the workspace clear so learners can move safely around the printer.
- Use simple prints when the class is new to machine handling.
Select a Level of Difficulty That Supports Learning
A good project teaches one new skill at a time. If the model is too complex, learners spend their energy just trying to keep up. If it is too simple, they finish quickly but learn very little. The right balance depends on the lesson goal. A design class may focus on measurement and shape, while a printer operations lesson may focus on bed levelling, file preparation and checking the first layer.
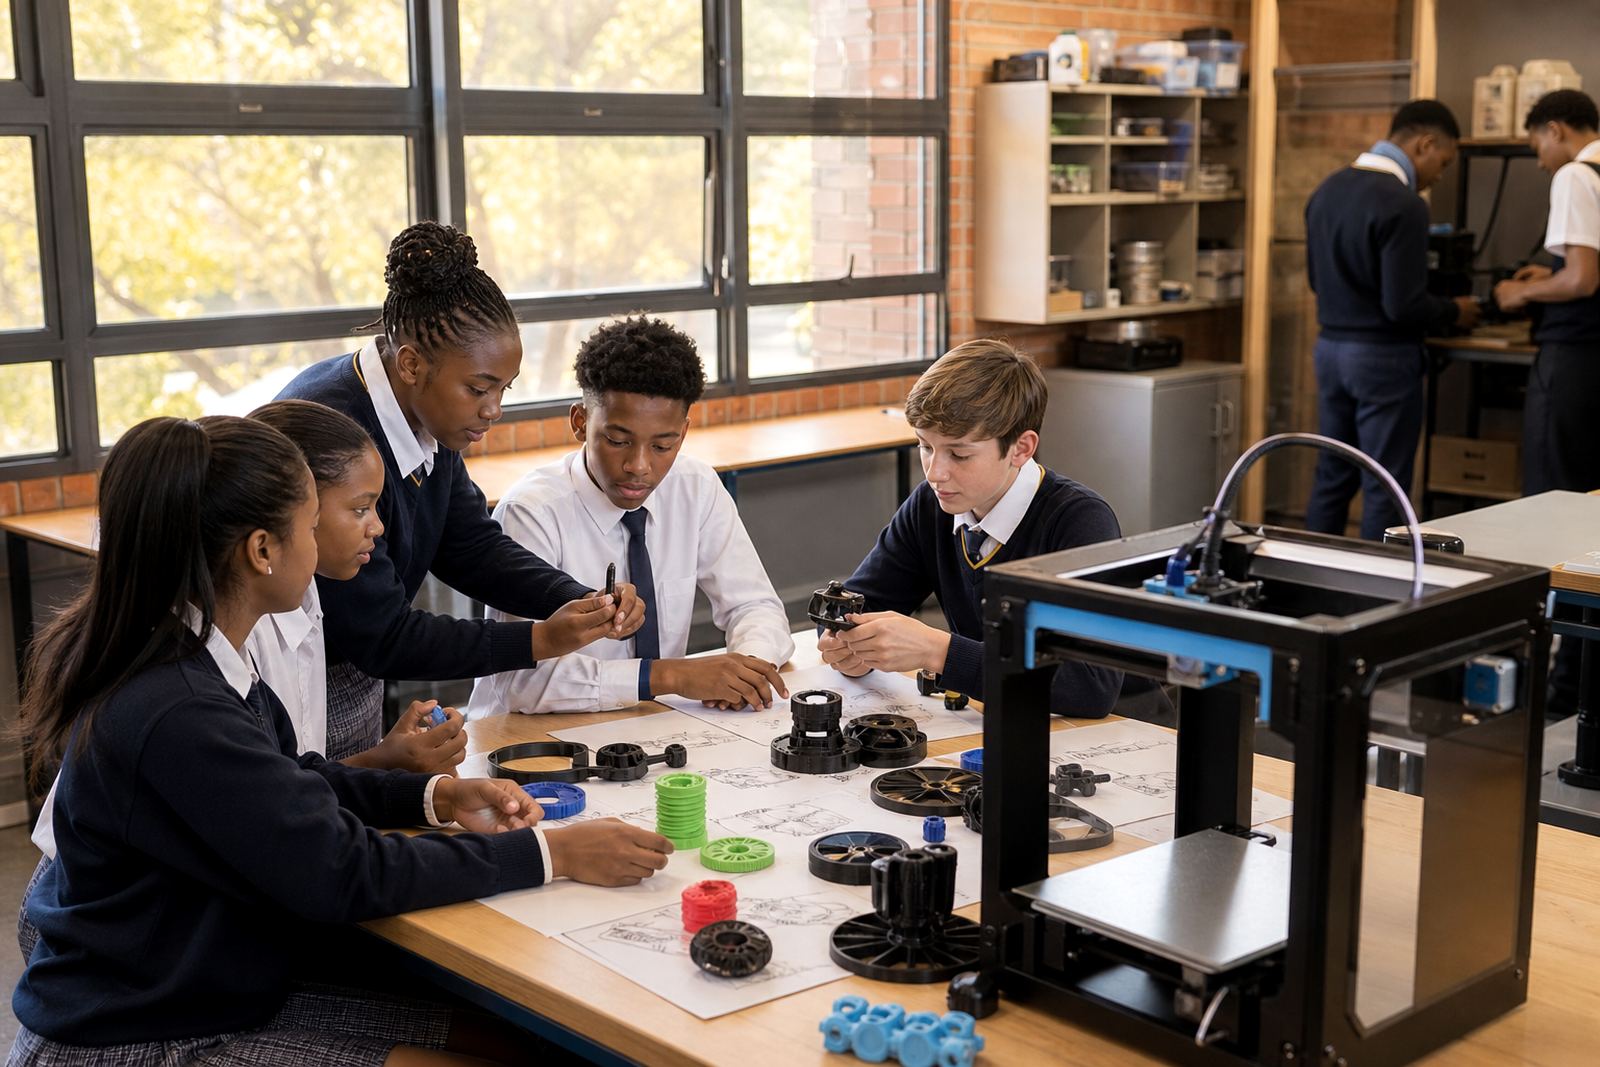
Think about what you want learners to remember after the lesson. Do you want them to understand scale, tolerances, material choice or problem solving? Choose the project type to match that goal. For example, a hook, holder or bracket works well for fit and function. A badge or sign works well for lettering and layout. A container or simple casing teaches learners to think about walls, clearances and how the object will be used in real life. Keep the scope tight or learners end up guessing instead of designing.
- Pick one learning outcome per project.
- Use a familiar object when teaching new software or machine steps.
- Save highly detailed models for more advanced groups.
Plan for Safety, Supervision and Clean-up
Classroom safety does not need to be complicated, but it must be consistent. Learners should know where to stand, when not to touch a hot printer and how to wait their turn around moving parts. A short safety reminder before each session helps keep the room orderly, especially when the class is excited about the print result. Teachers should also keep an eye on cables, loose tools and bags left near the work area.
It helps to build safety into the project choice itself. Smaller parts are easier to remove and inspect. Simple prints reduce the need for knives, sandpaper or sharp finishing tools. Where post-processing is needed, it should be supervised and done on a suitable surface. In some schools, especially those with many learners in one room, a rotating system works better than a crowded queue at the printer. That keeps the class focused and lowers the chance of mishaps.
- Do a short safety check before every print session.
- Keep hands clear of heated parts and moving axes.
- Store tools and printed items away from walkways.
- Assign one person to monitor the printer while others continue classwork.
Build a Project Checklist Before You Begin
A simple checklist saves time and helps teachers avoid last-minute surprises. It also makes it easier to choose between project options when a class is split by ability or when equipment is shared between groups. The checklist should cover the learner group, the lesson length, the printer setup and the level of support available on the day. Once those points are clear, the right project type usually becomes obvious.
Use the checklist below as a quick planning tool before each new lesson. If one item falls short, adjust the project rather than forcing it through. A smaller model, a shorter print or a simpler design can still be a strong learning activity. The aim is steady progress, not trying to cram too much into one session.
- Who is the project for and what do they already know?
- How much class time is available?
- What printer bed size and material are on hand?
- Can the class manage the safety steps without rushing?
- Does the project support the lesson goal clearly?