Set Up A Clear Flow From Printer To Shelf
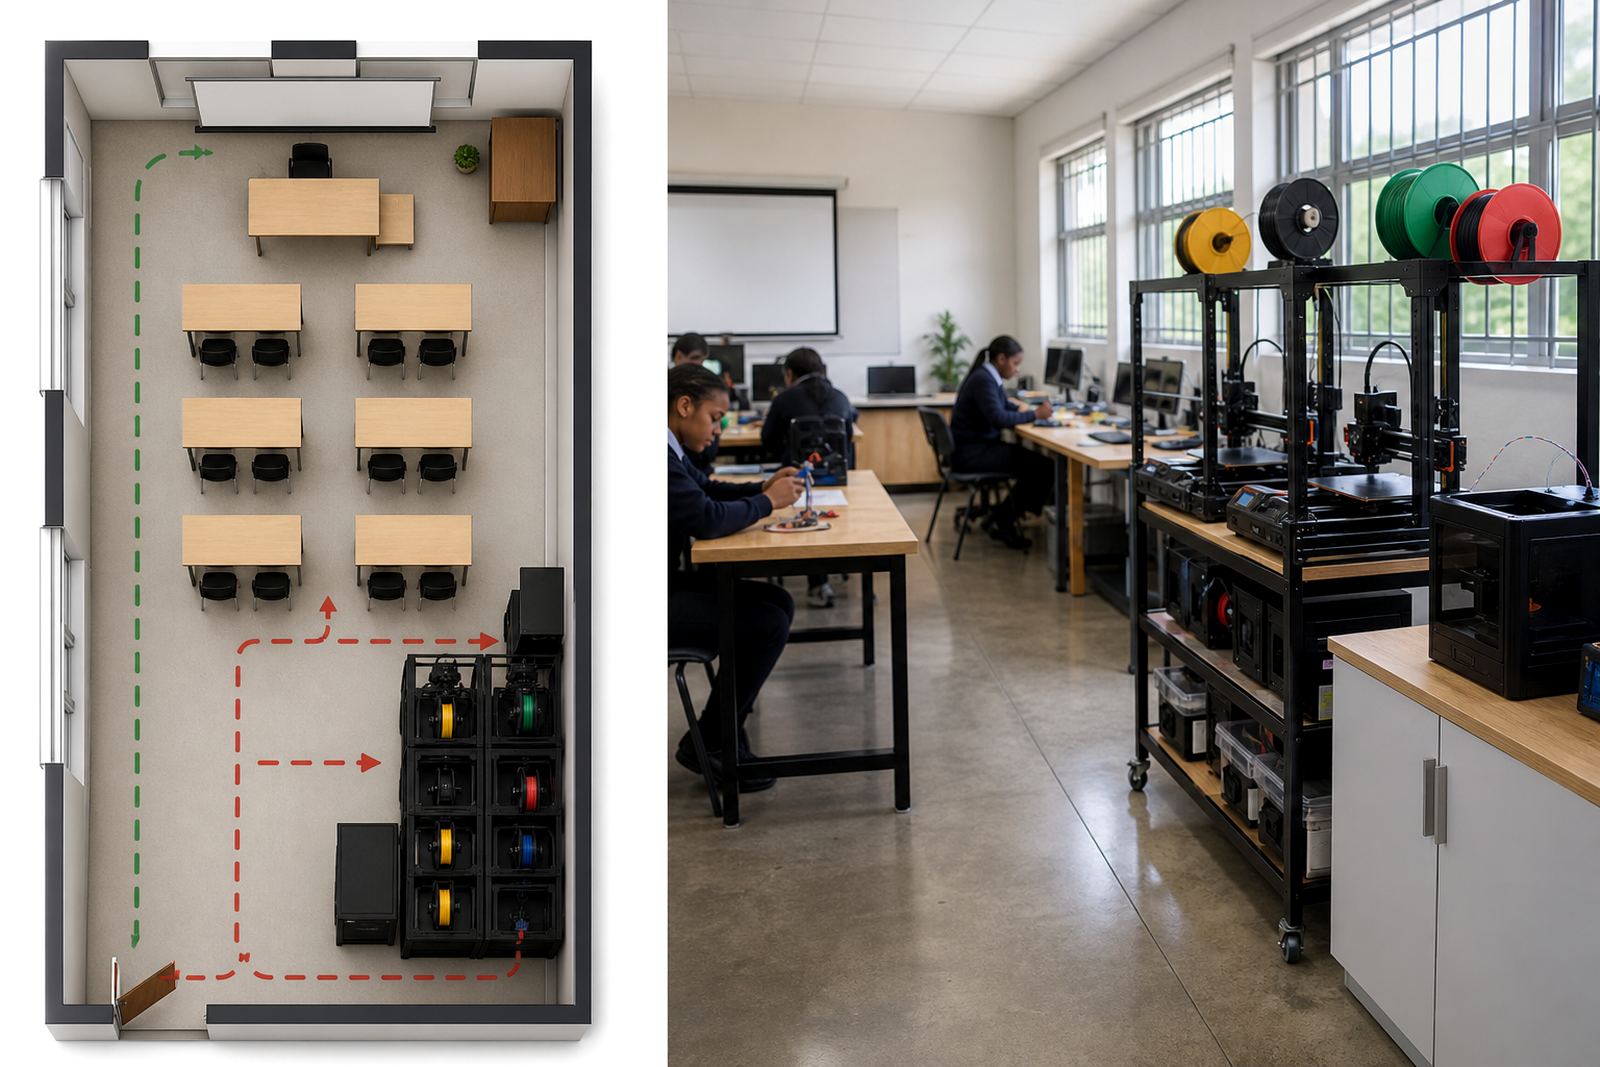
Start by planning one direction of movement for every print. A part should come off the printer, cool on a safe surface, be checked for quality, then move into display or storage. When learners know the route, there is less handling and fewer damaged prints. In a school setting this also helps with supervision because tools do not end up scattered around the room.
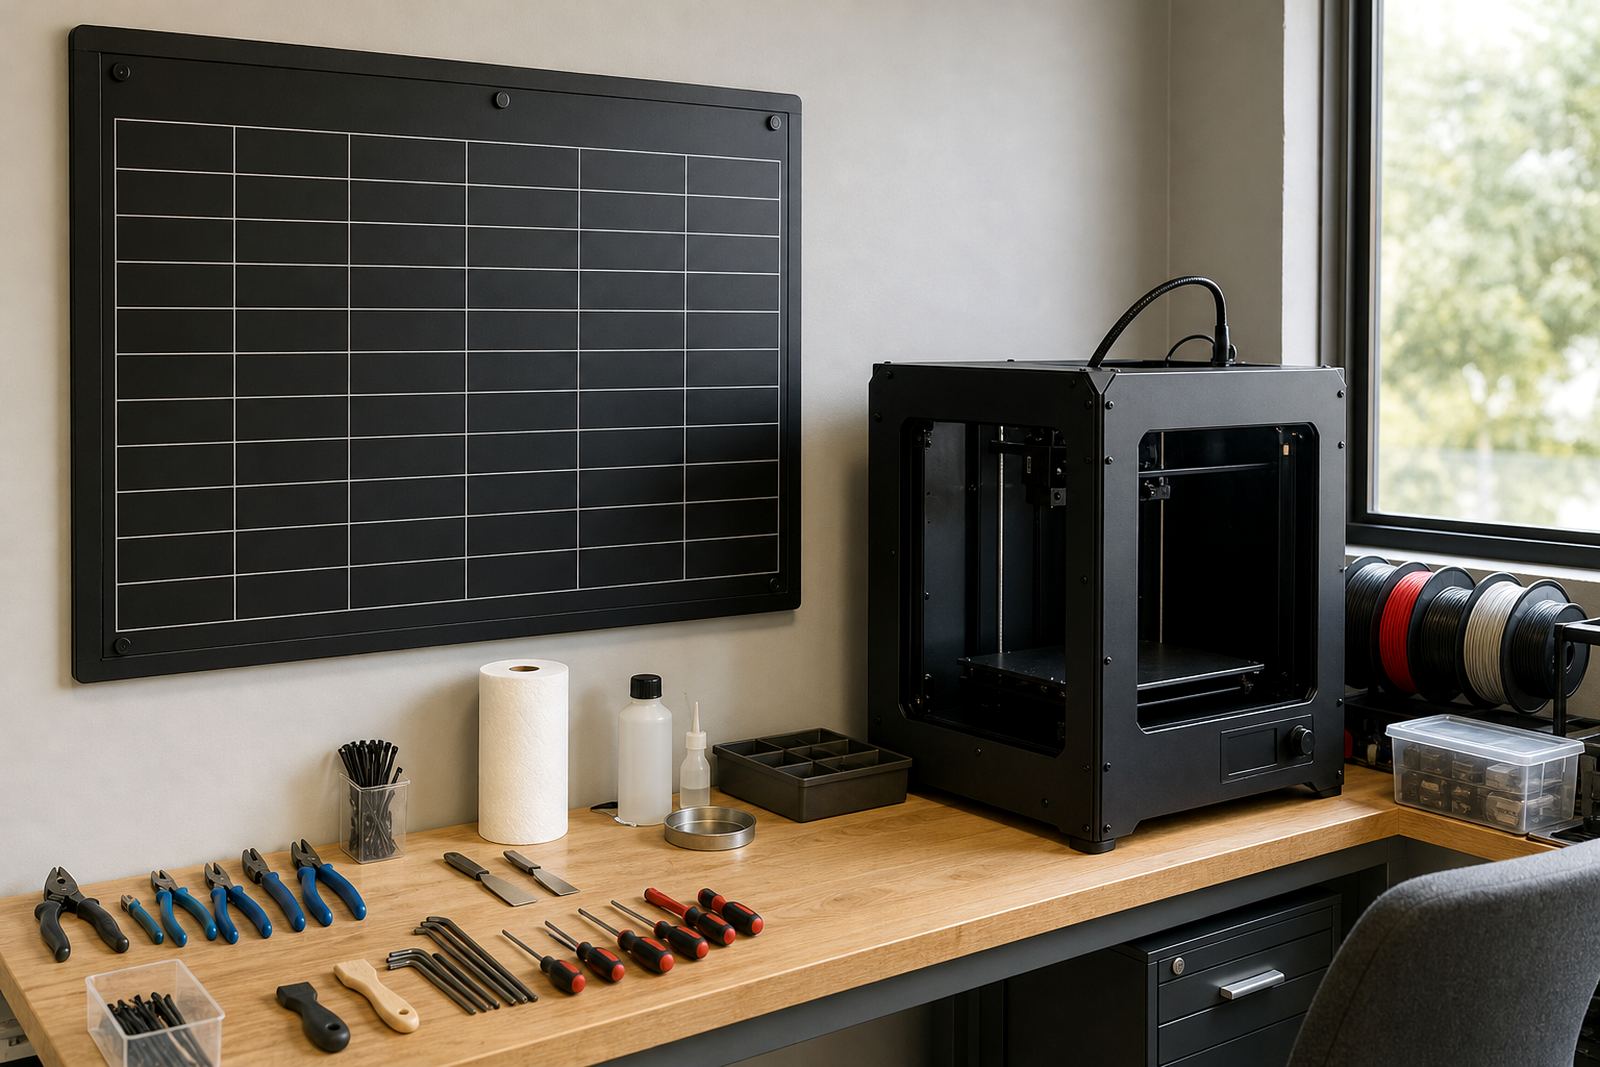
Keep a small staging area near each printer with a heat resistant mat, a scraper, tweezers and a labelled tray for fresh prints. Place a second area a few metres away for finished work. That small gap matters, especially in crowded classrooms where bags, books and chargers are always underfoot.
- Separate fresh prints from stored parts
- Use one tray per class or project group
- Keep sharp tools in a locked or supervised spot
- Leave space for cooling so parts are not touched too soon
Use Storage That Matches The Material
Different materials behave differently in South African classrooms. Some absorb moisture in coastal areas like Cape Town, Durban and Gqeberha, while others can soften in hot rooms during load shedding if there is no air circulation. Store filament in sealed tubs or bags with desiccant, and label each container with the type, colour and opening date.
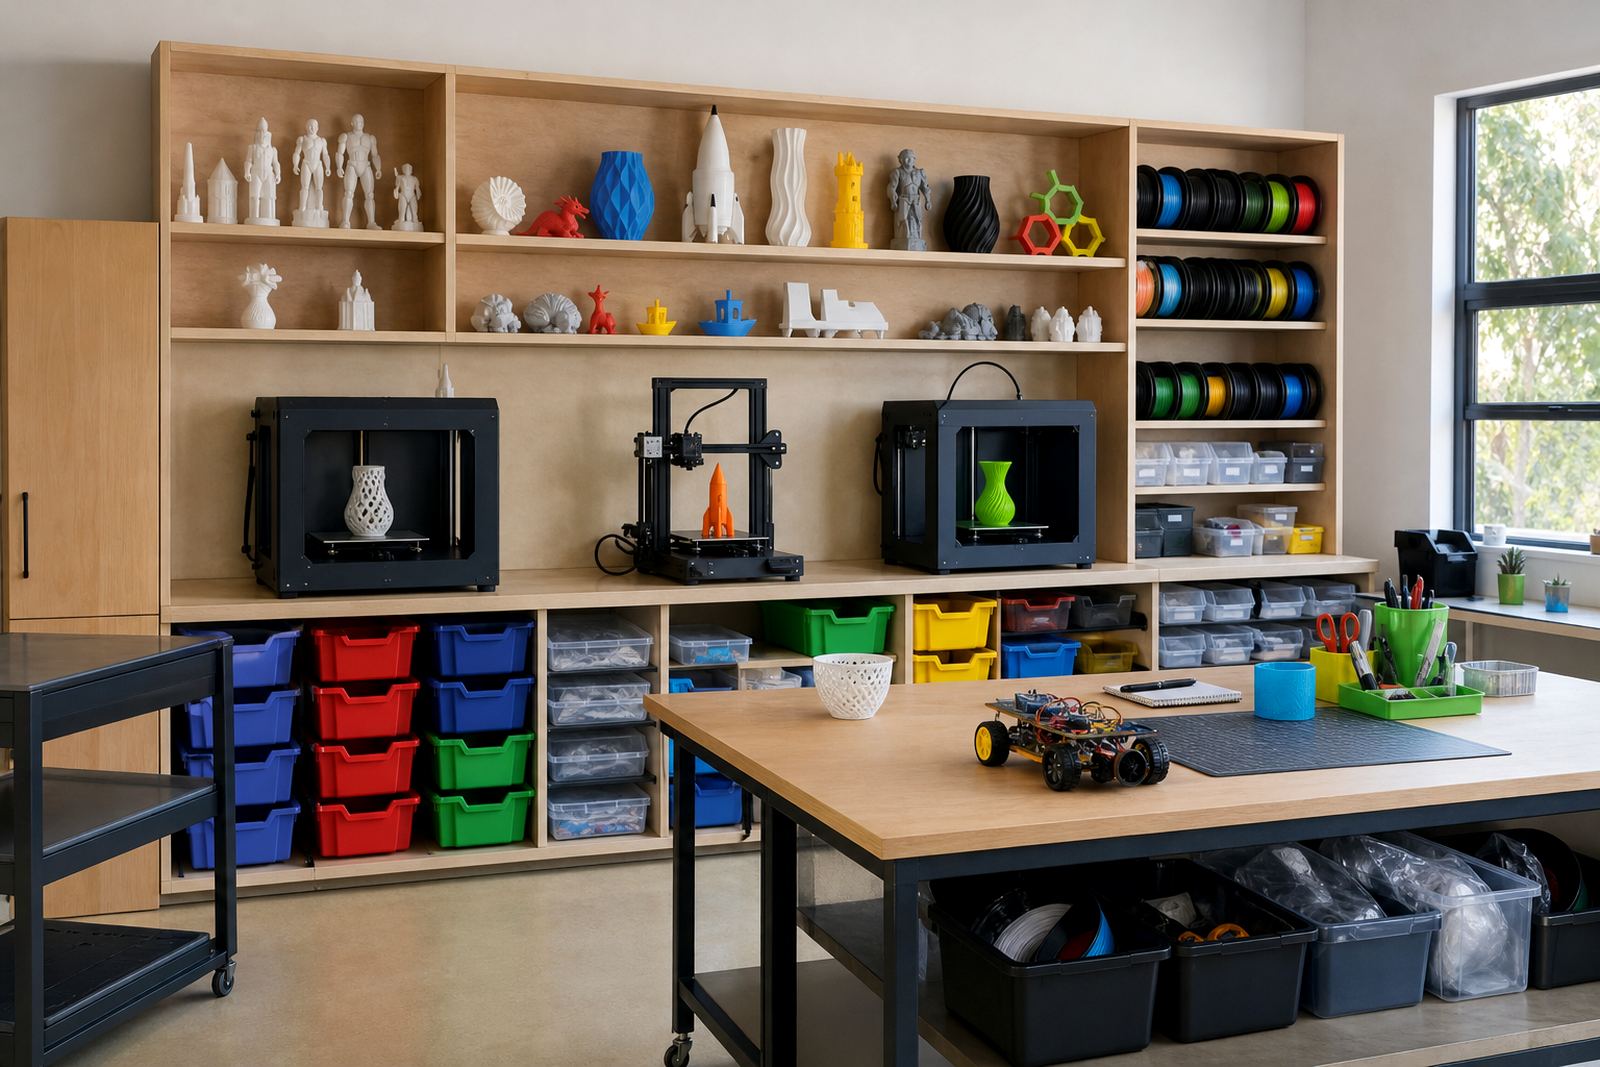
Finished prints should not be piled loose in a box. Use shallow crates, compartment trays or shelves with dividers so parts stay visible and easy to count. For assemblies and prototypes, keep screws, clips and inserts in smaller tubs nearby. This saves time when a learner needs to rework a model later, cause everything is still together.
- Seal filament in dry containers after each session
- Label parts by class, date and project name
- Keep small fittings in clear containers with lids
- Avoid stacking printed parts under heavy books or boxes
Display Finished Work So Learners Can Learn From It
Finished prints are useful teaching aids, not just nice objects on a shelf. Display one or two examples from each project so learners can compare clean layers, support removal, tolerances and surface finish. A simple shelf at eye level works better than a crowded table. If the room is in a busy school corridor, use a closed cabinet with glass or clear panels so the work stays protected.
Write a short card for each item with the lesson focus, print time and any problem solved during the process. That turns the display into a practical record. It also helps during parent visits or open days when staff need to explain what learners made without searching through a pile of samples.
Label Tools So Anyone Can Reset The Room
Well labelled storage reduces the load on teachers and support staff. When every tool has a marked location, the room can be reset at the end of a lesson without guesswork. Use colour coding for groups of equipment such as cutting tools, measurement tools, cleaning items and printer spares. Keep labels large enough to read from a standing position, especially for younger learners.
A wall board or pegboard is useful for the most used items. Hang snips, calipers, brushes and scrapers where they can be seen immediately. Drawn outlines on the board help learners return each item to the correct spot. It sounds simple, but it stops the usual Monday morning hunt for missing tools.
- Mark each shelf, tub and hook clearly
- Use one colour for one category of tool
- Keep the most used items at shoulder height
- Count tools at the end of every session
Keep Safety And Access Working Together
Safety matters most where learners are handling hot parts, sharp edges and moving printer components. Store blades, snips and cleaning tools where only supervised learners can reach them. Keep cables tidy and off the floor to avoid trips. If the room is used after hours, make sure storage doors close properly and that the area can be locked. A neat room is easier to secure and easier to inspect.
Set a few classroom rules and keep them visible near the printers. Do not touch the nozzle or bed until the teacher gives the all clear. Do not remove a print while it is still warm unless the process allows it. Keep drinks away from the equipment. These reminders do not need a lot of wording, just clear instruction and repeat practice.
End Of Term Checklist For A Tidy Print Room
Before a term ends or a school holiday starts, give the room a proper reset. Wipe shelves, count spools, check for cracked containers and inspect finished models that must be kept for future lessons. Repair labels that have peeled off and remove any mixed up material. This is also the best time to note what has run low so the next batch can be ordered before classes start again.
Use a simple handover list for teachers and support staff. If several people use the room, the checklist keeps everyone on the same page and avoids duplicate orders. A tidy storage system saves time, reduces damage and makes it easier to start the next project without a long clean-up first.
- Count filament, tools and spare parts
- Clear broken prints and unwanted scraps
- Check locks, lids and shelf labels
- Record items that need replacement or repair