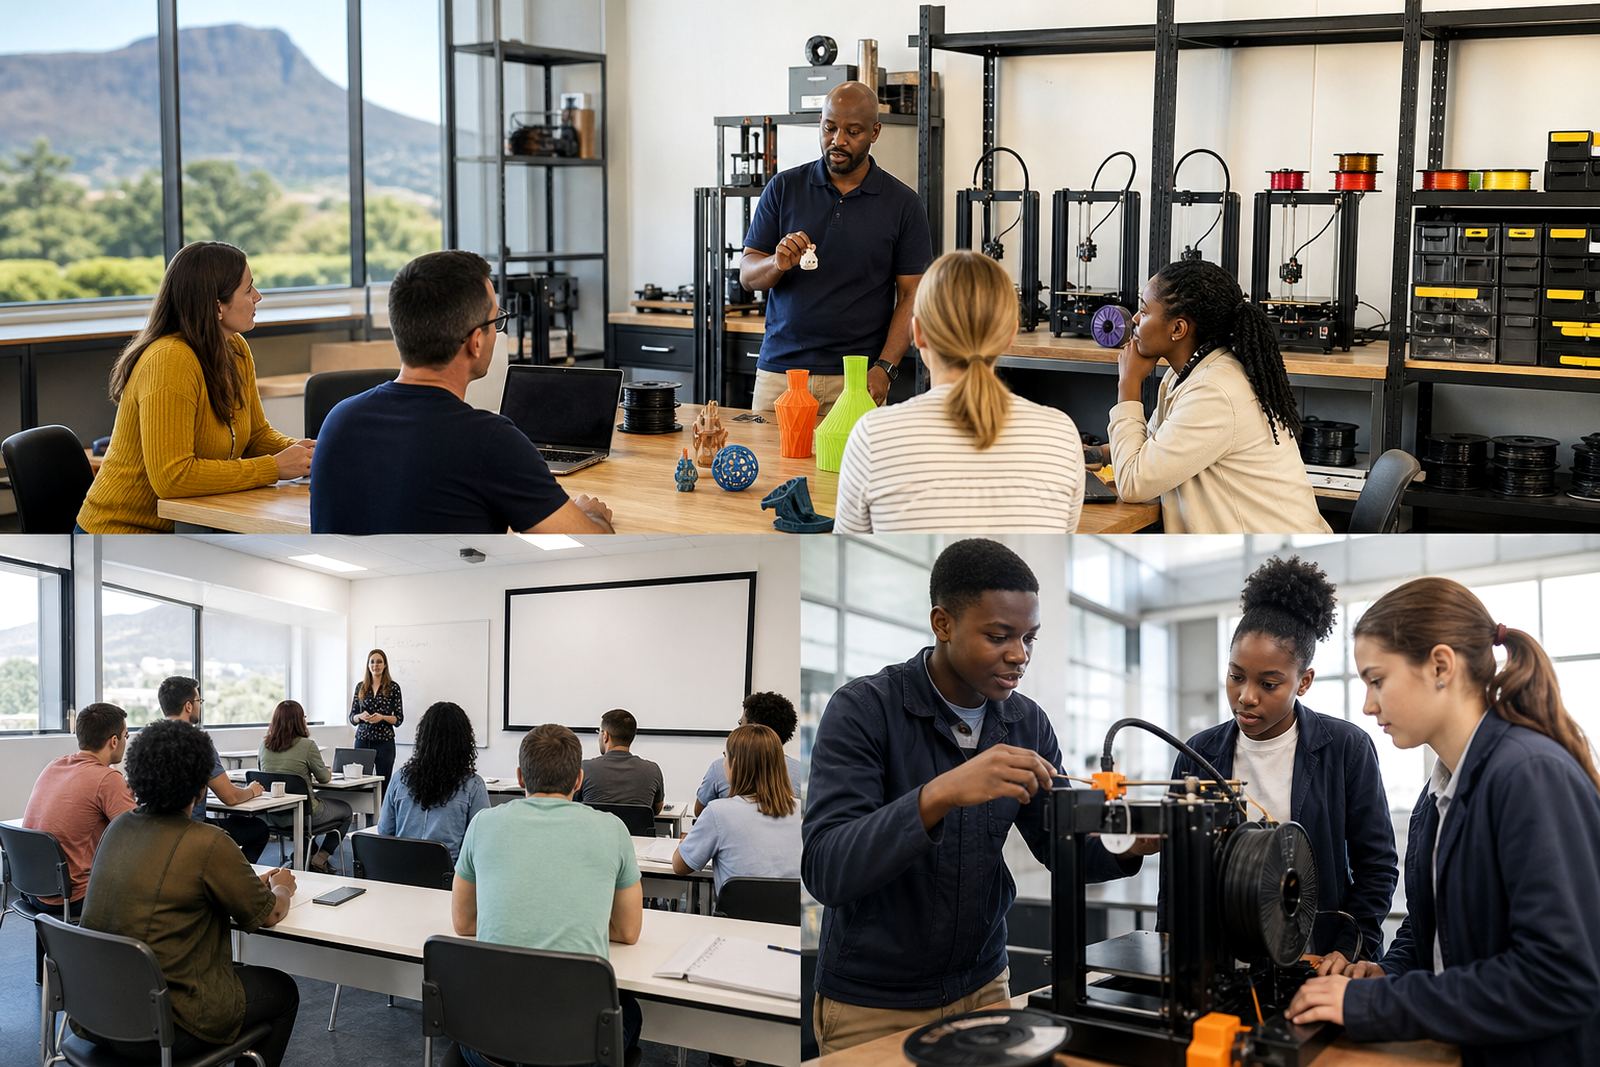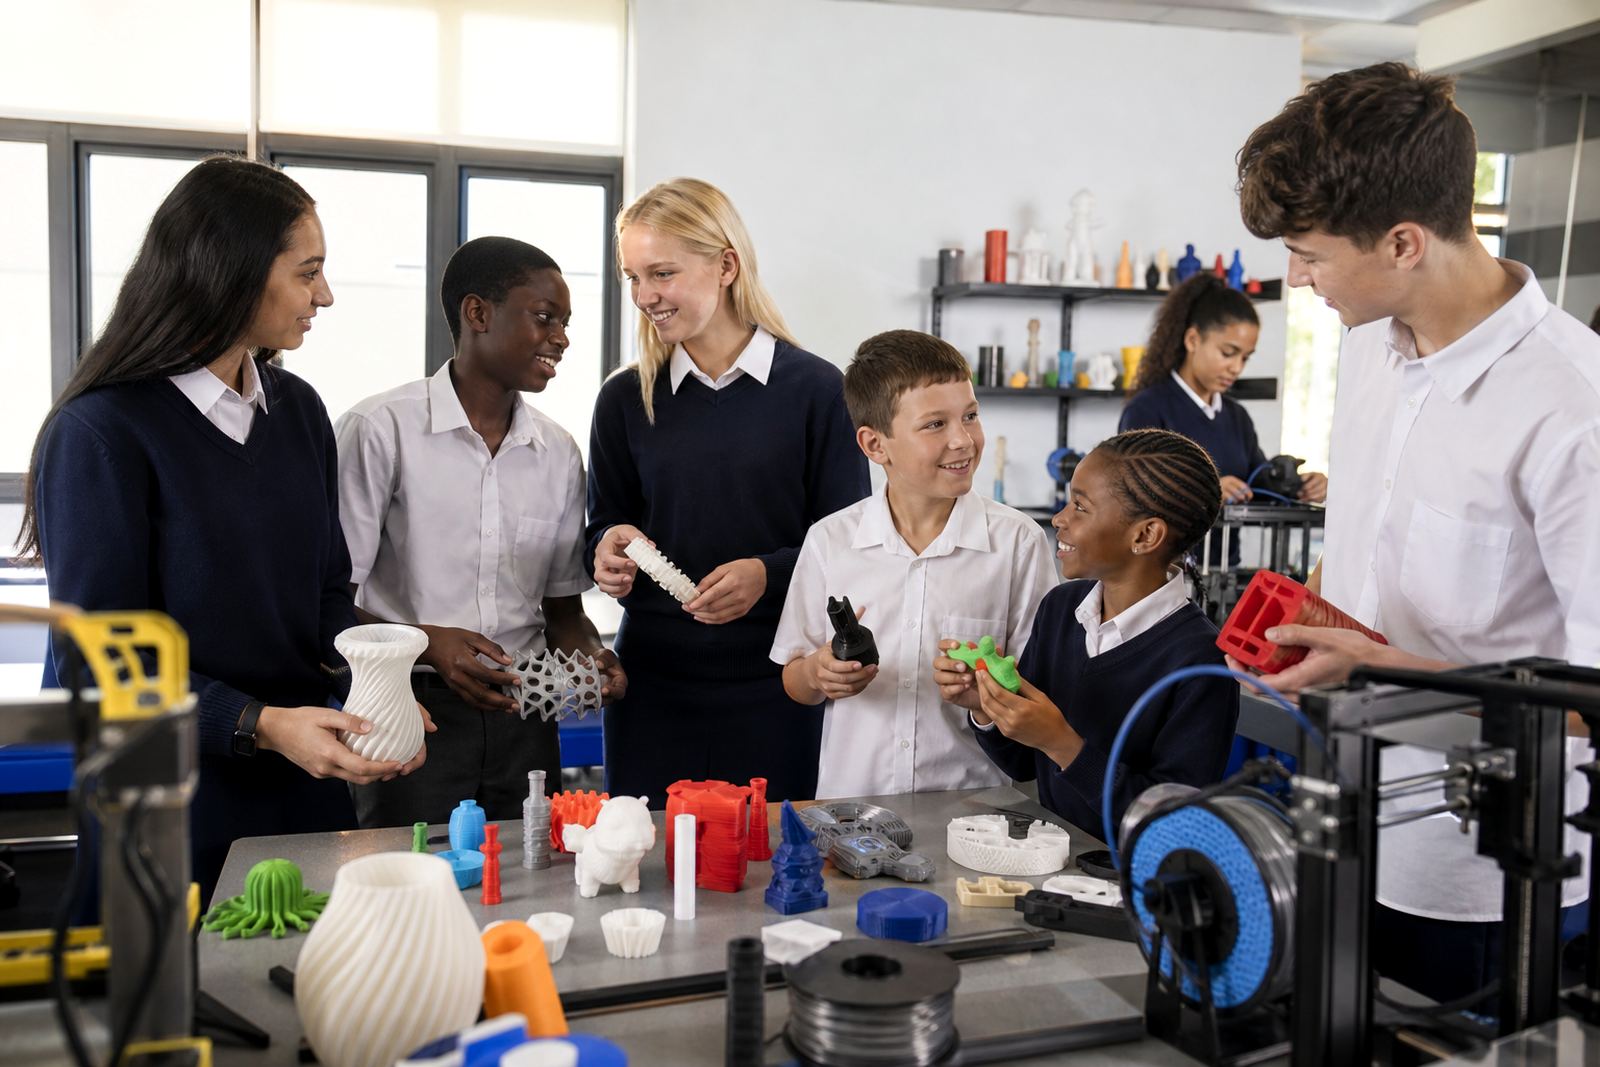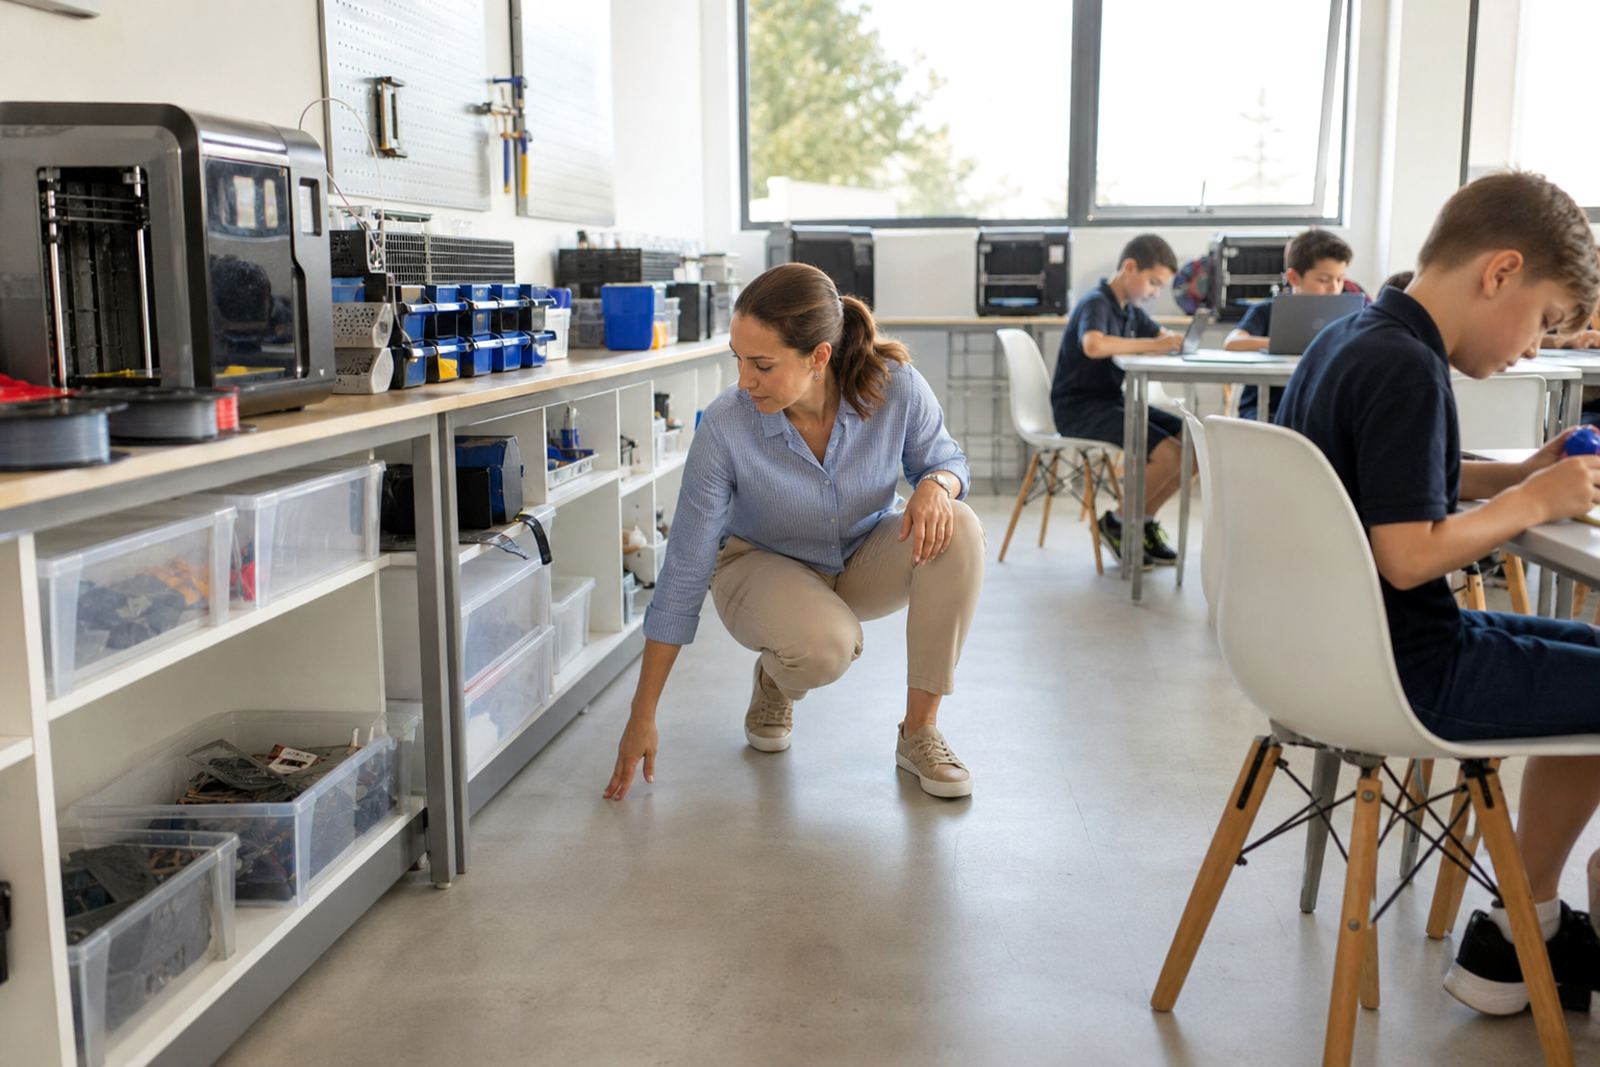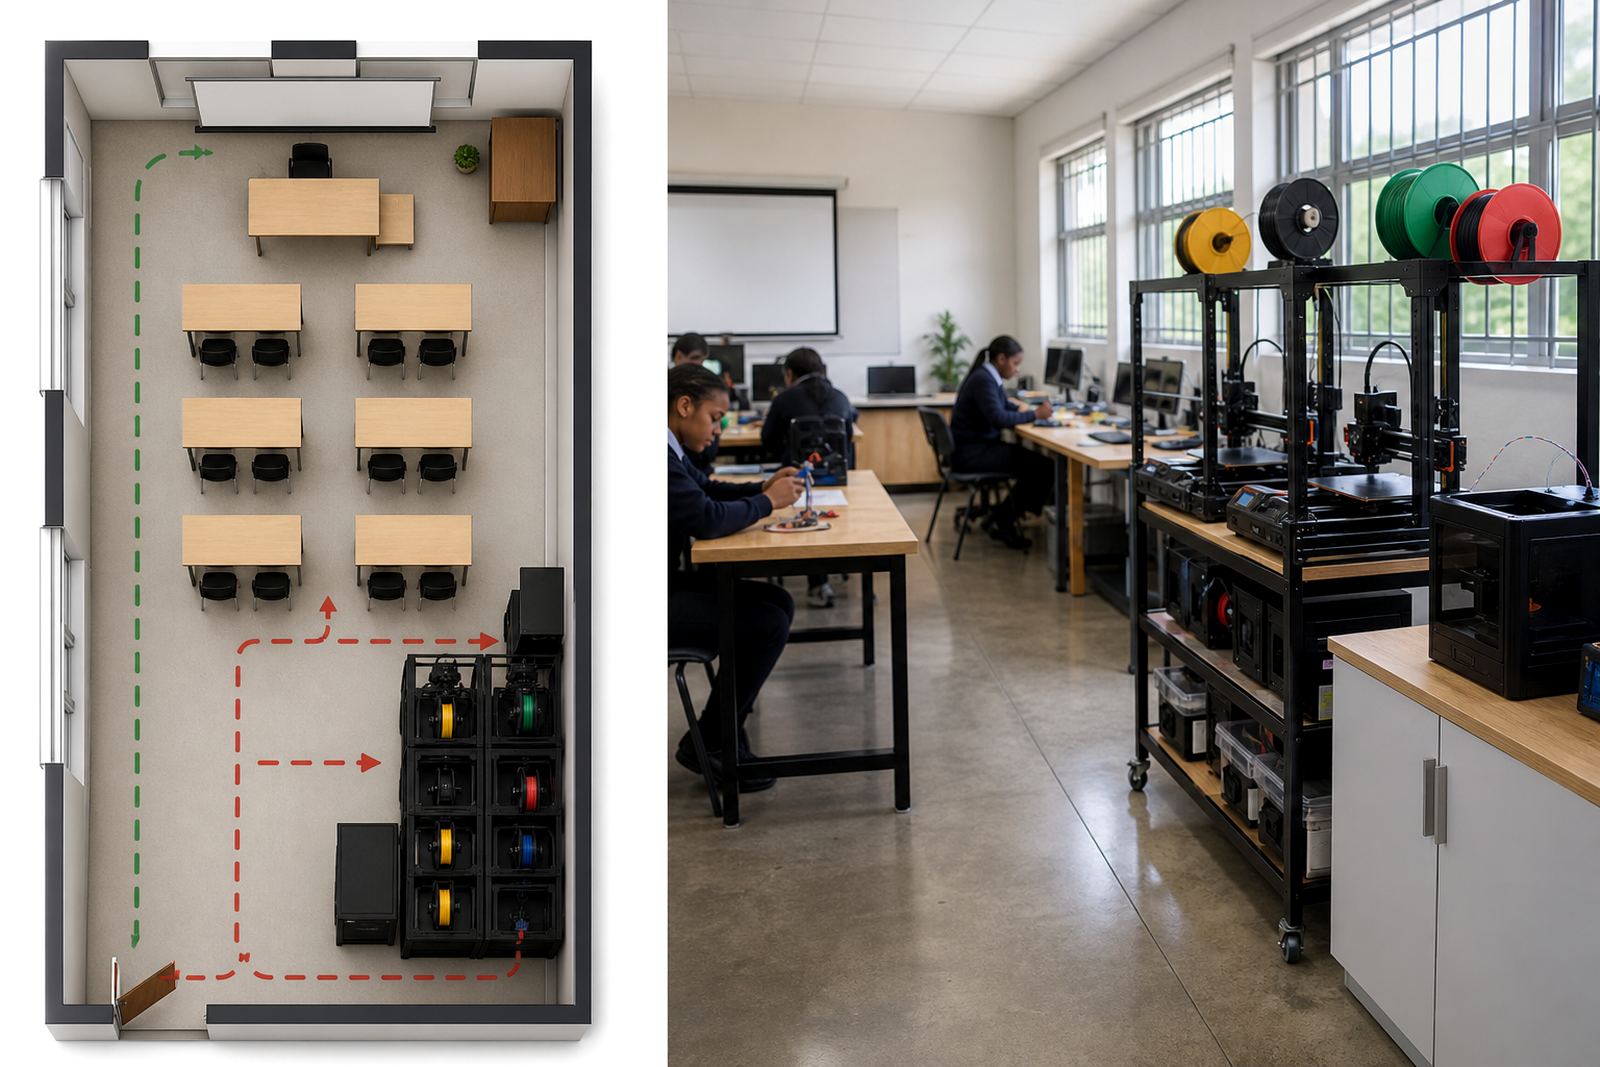
Start with the room you already have
Before you move a table or bring in equipment, measure the room and note where doors, windows, plugs and fixed cupboards are. In many South African schools the available space is shared with ICT, robotics or art classes, so the layout must work around daily traffic and after-school activities. Allow a clear walking route from the entrance to the print area, with enough space for learners to stand back while a printer is operating.
A useful rule is to separate the room into three simple zones: teaching, printing and storage. The teaching zone is where learners sit during demonstrations, the printing zone is where machines run, and the storage zone is for filament, tools and project work. Keep the teaching area close enough for supervision, but far enough from heat, moving parts and hot build plates.
- Measure wall lengths, doorway width and window positions.
- Mark fixed obstacles such as sinks, built-in shelves and pylons.
- Check where learners enter and where they are likely to queue.
- Leave room for wheelchairs or other access needs where possible.
Place printers where staff can see and reach them
Printer placement affects both safety and teaching time. Put machines where adults have a clear line of sight from the front of the room and from the supervising point. Avoid corners hidden behind tall storage units, because a jammed print or loose cable can go unnoticed. If the room has large windows or strong afternoon sun, keep printers away from direct heat and dust from open windows.
Power access matters too. Use proper wall sockets and avoid stretched extension leads across walkways. In areas with load-shedding, plan where the machines will be paused, switched off and restarted safely. A printer should sit on a level, stable surface that does not wobble when the door opens or when a class moves around it. On the coast, where humidity is higher, it helps to keep printers and filament off the floor and away from damp walls.
- Keep printers visible from the main teaching position.
- Leave space around each machine for loading, cleaning and maintenance.
- Avoid placing printers under air vents or in direct sun.
- Use stable tables or benches that can handle vibration.
Build a clear supervision line for lessons
Good supervision is not only about having a teacher in the room. It is about being able to see hands, screens and machines at the same time without constant movement. Arrange seats so learners face the teaching point and can turn to view a live demonstration without crowding the printers. If the room is narrow, a single central aisle is often better than several tight walkways that become blocked during practical work.
For younger learners, keep the working zone closer to the front. For older groups, create a signed movement pattern so only a few learners approach the printers at once. This reduces pushing, accidents and confusion when a print finishes. It also helps when a class is doing design work while another learner checks the machine. A practical room is one where the teacher can speak once and be heard clearly.
- Place learner seats so faces are visible from the front.
- Keep one clear aisle to printers and storage.
- Use floor markers or tape where appropriate to guide movement.
- Limit the number of learners standing at the machines at one time.
Plan storage for filament, tools and projects
Storage is often the difference between an organised lab and one that becomes untidy within a week. Filament should be stored in sealed containers or cupboards, especially in humid coastal areas where material can absorb moisture and print poorly. Small tools, scrapers, cutters and nozzles need labelled drawers or tubs so teachers can see at a glance what is missing. Keep sharp tools locked away when not in use, and store hot-end parts or spare components separately from learner materials.
Finished prints, failed prints and works in progress also need a home. Use clearly marked shelves or boxes for each class or project group. If the lab supports maker club sessions or holiday programmes, make sure there is a safe place for half-finished models so they do not end up on windowsills or under tables. A tidy storage plan saves time and cuts down on lost parts, which is a headache no school needs.
- Use sealed storage for filament and keep it off damp floors.
- Label containers for tools, spare parts and cleaning items.
- Keep hot items separate from learner access areas.
- Set aside a shelf or tub for each class project.
Safety points that belong in every school lab
A school lab does not need complicated safety rules, but it does need consistent ones. Learners should be told where hot surfaces are, what moving parts can do, and why they must not touch a machine while it is running. Good habits should be repeated every lesson, especially when younger learners are in the room. Keep a basic first aid kit nearby and make sure staff know who to call if there is a burn, cut or electrical fault.
Ventilation should be considered during room planning too. Printers need fresh air and a clean environment, so avoid cramped spaces with poor airflow or heavy dust. If the school has strict municipal or building rules for a conversion room, office or storeroom, check them before altering walls, sockets or fire exits. In an ordinary classroom, the safe approach is usually the simplest one: keep exits clear, keep cables neat, and do not crowd the machines.
- Explain hot surfaces and moving parts before the first lesson.
- Keep fire exits, switches and extinguishers unobstructed.
- Store cleaning materials and blades away from learners.
- Set a rule for what to do if a print fails or a power cut happens.
Set the room up for daily teaching, not just the first day
Many labs look fine on opening day and then become hard to manage because there is no routine behind the layout. Build in a daily opening check, a lesson-start checklist and a closing checklist. That way the room stays usable when the term gets busy and there are tests, sport fixtures and substitute teachers. A good layout supports quick setup, quick packing away and fewer interruptions. It also makes it easier for teachers to hand over the space to one another.
For schools in Stellenbosch, Cape Town, Johannesburg, Pretoria, Durban and Gqeberha, the same principle applies: keep the room simple enough for regular use, not just special events. A practical lab is one where a teacher can walk in, switch on what is needed, teach the lesson and lock up without confusion. If the room supports proper supervision and storage, the technology becomes part of the school day instead of a hassle.
- Open with a power, ventilation and surface check.
- Confirm that tools, filament and project boxes are in place.
- Clear waste, failed prints and loose offcuts at the end of each session.
- Lock storage and switch off equipment before leaving.