Start with one shared outcome, not one shared task
Mixed ages need a common goal before they need the same worksheet. In a 3D-printing session that could mean designing a keyring, a small label holder, a simple classroom tool, or a themed model with a fixed size limit. When everyone is working toward the same end result, it becomes easier to offer different levels of support without splitting the class into separate activities.
Choose a project that can be completed in steps. Younger learners can focus on shape, colour choices, and basic measurements. Older learners can handle scaling, wall thickness, print settings, and file checks. If the class is very mixed, keep the first session focused on planning and sketching, then move to software and printing once the group understands the process.
- Set one clear brief for the whole group
- Allow different levels of detail in the design
- Keep the final print size manageable
- Plan for 1 or 2 learning goals per session
Build roles so every learner has a useful job
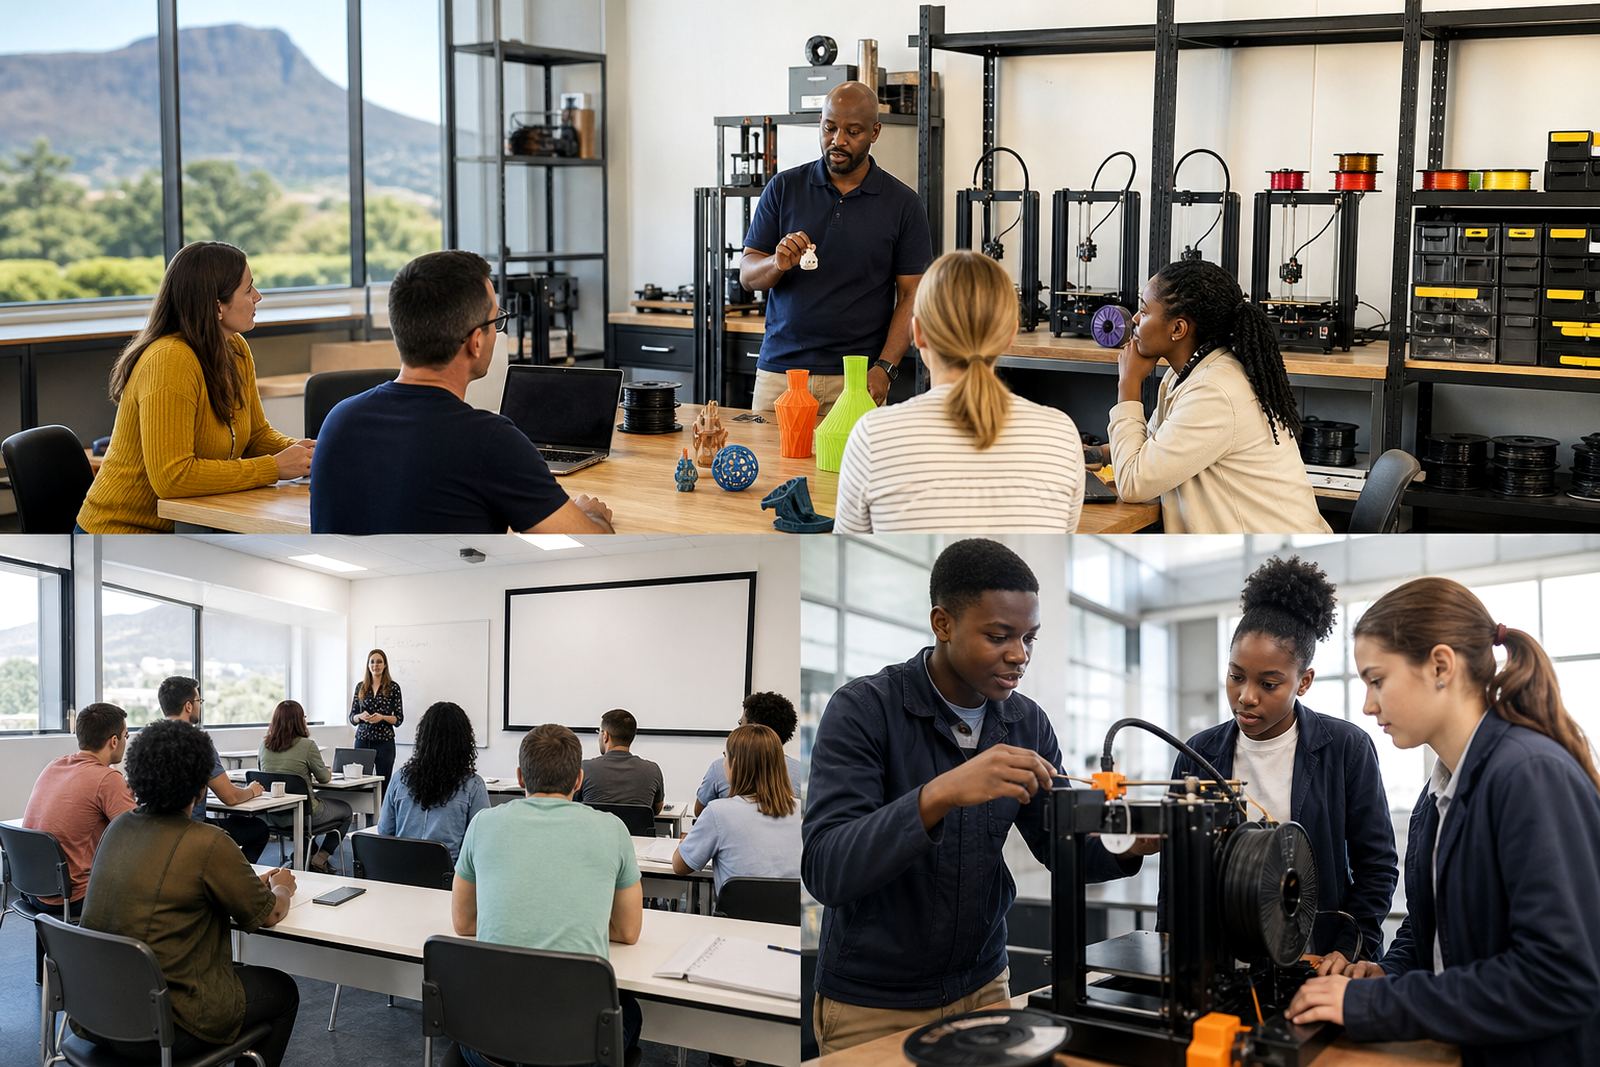
In a mixed-age room not everyone should sit at a computer at the same time. Rotate practical roles so learners stay involved while the printer runs. One learner can measure, another can record dimensions, another can check the model name, and another can prepare the next tool or material. This keeps the lesson moving and gives quieter learners a way to contribute.
For younger groups, use simple role cards with short instructions and pictures. For older groups, assign extra responsibility such as file naming, timekeeping, or checking whether the model will need support material. A teacher or facilitator can oversee the technical steps while learners handle the parts they are ready for. It also helps in large classes where attention spans differ quite a lot.
- Measurer
- Sketcher
- Computer operator
- Material handler
- Quality checker
Use starter files and open-ended extensions
A good mixed-age activity starts with a simple base file. This gives beginners confidence because they are not starting from scratch. From there, offer optional extension steps for stronger or older learners, such as adding a hole, changing the base shape, or adjusting the dimensions. That way the whole group can reach the same checkpoint while working at different levels.
Keep the extension tasks practical. A learner who finishes early can test fit, improve stability, or create a second version with one changed feature. If a school is running a holiday programme or Maker Club, this approach works well because the learners can stay busy without needing a separate activity for every age group. It also reduces frustration when some learners move faster than others.
- Provide a base template for beginners
- Offer 2 or 3 optional design changes
- Set a clear minimum and maximum size
- Use one folder naming rule for everyone
Keep the workstation calm, safe, and easy to understand
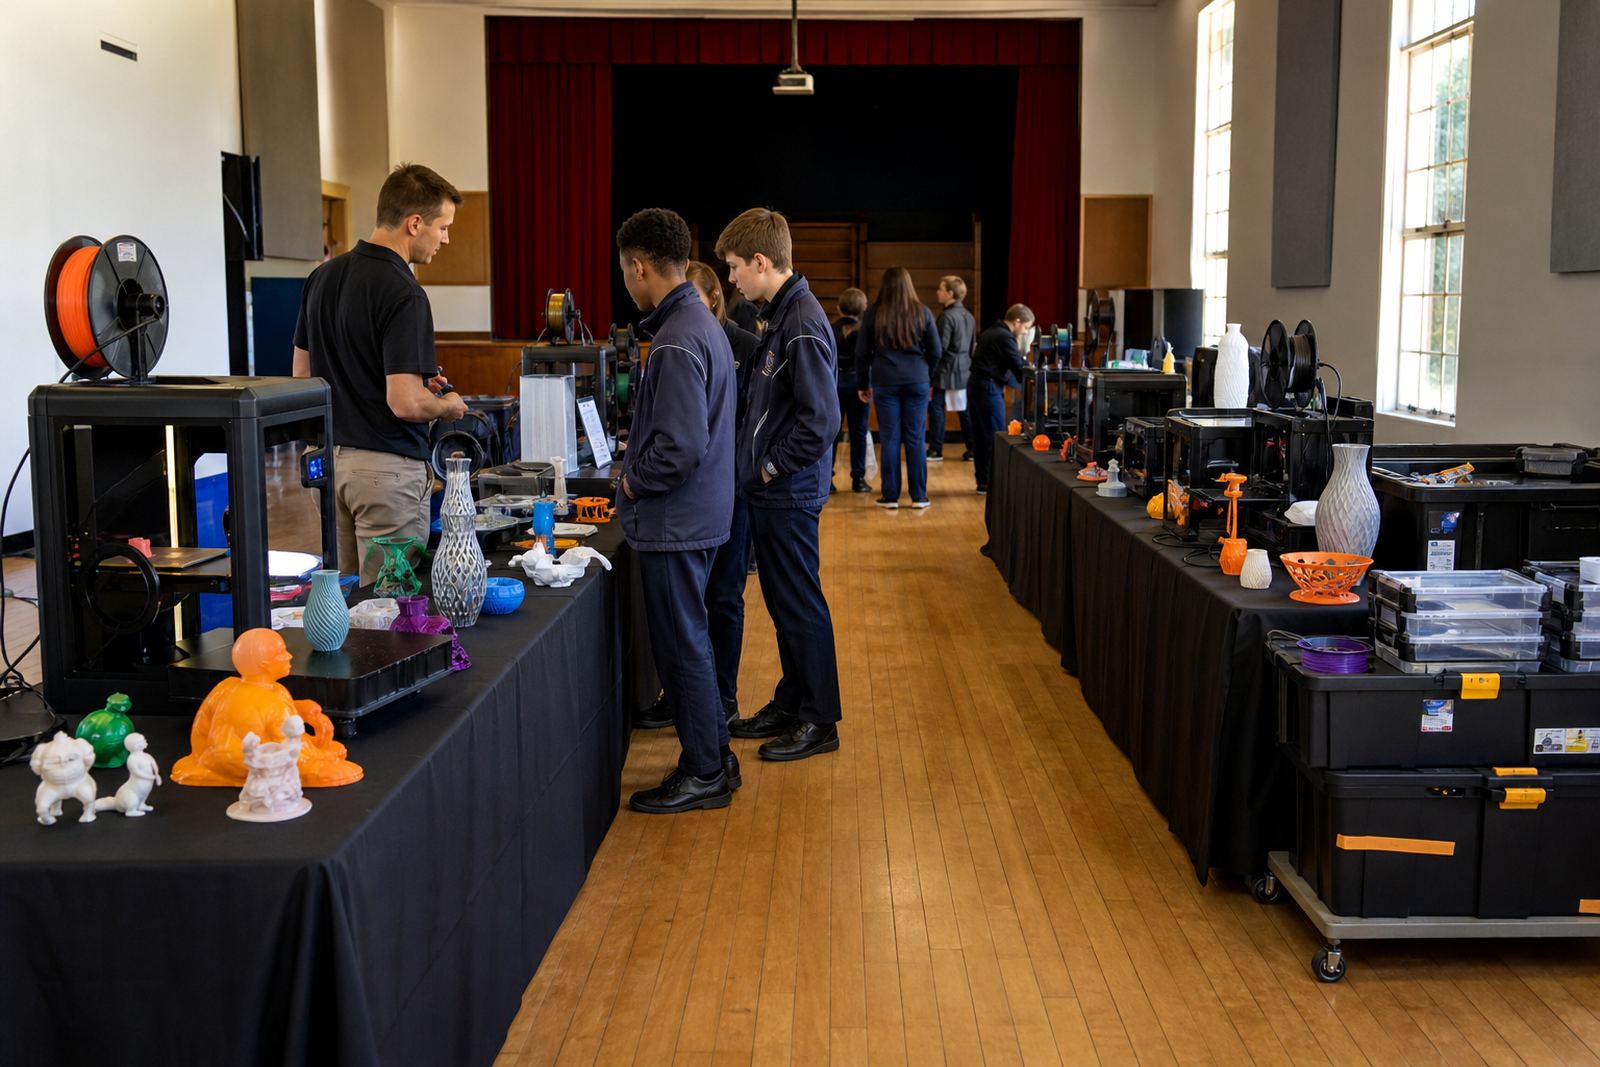
3D printers, tools, and heated parts need steady supervision, especially where younger learners are present. Set up one clear movement path around the printer and keep loose bags, water bottles, and paperwork away from the work surface. Learners should know where to stand, when to wait, and who may touch the printer. That keeps the room orderly and avoids confusion during busy print changes.
For safety, show the group the hot end, build plate, moving parts, and power controls before any printing starts. Explain that they should not reach inside the machine while it is operating, even if the print looks finished. If the room is warm or the school experiences load-shedding, plan the lesson so the printer can be shut down properly and restarted according to the equipment instructions. In coastal areas, keep filament stored dry and sealed when not in use.
- Keep hands clear of heated parts
- Store filament in a dry place
- Use a tidy cable and tool layout
- Supervise every printer during operation
Match the pace to the group, not the loudest learner
Mixed ages often mean mixed attention spans. Some learners want quick results, while others need more time to understand the software or the machine settings. Rather than rushing the whole class, break the lesson into short stages with a visible finish point for each stage. That helps everyone stay on track and makes it easier to pause for questions without losing momentum.
Use check-ins after each step: design, preview, print prep, and post-print review. This is especially useful for teachers introducing 3D printing for the first time. If the group is very uneven, pair learners carefully so that one learner is not doing all the work while the other watches. A stronger learner can explain a step, but both should still have a task to complete. Small wins matter here.
Checklist for pacing:
- Show the full lesson plan before starting
- Set a time target for each stage
- Pause for questions at fixed points
- Use quick demonstrations instead of long explanations
- Keep one backup activity ready for early finishers
Review the print together and let learners explain what changed
The last part of the lesson should be a short review, not just a handover. Ask learners to compare the first sketch with the final print and explain what changed. That discussion helps younger learners see progress, while older learners start to understand why print orientation, wall thickness, and support choices matter. It also gives the teacher a simple way to spot gaps before the next session.
Use questions that suit different ages. For example: Did the model match the plan? What was easy? What was tricky? What would you change next time? If the class has been working on a shared classroom project, keep one sample model aside and label the steps that were used. Schools in Stellenbosch, Cape Town, Johannesburg, Pretoria, Durban and Gqeberha often find this useful when different classes reuse the same equipment over the week.
- Compare the sketch and the print
- Ask each learner to name one lesson learned
- Save files with clear dates and class names
- Note any machine or material issues for next time
Plan support for teachers before the learners arrive
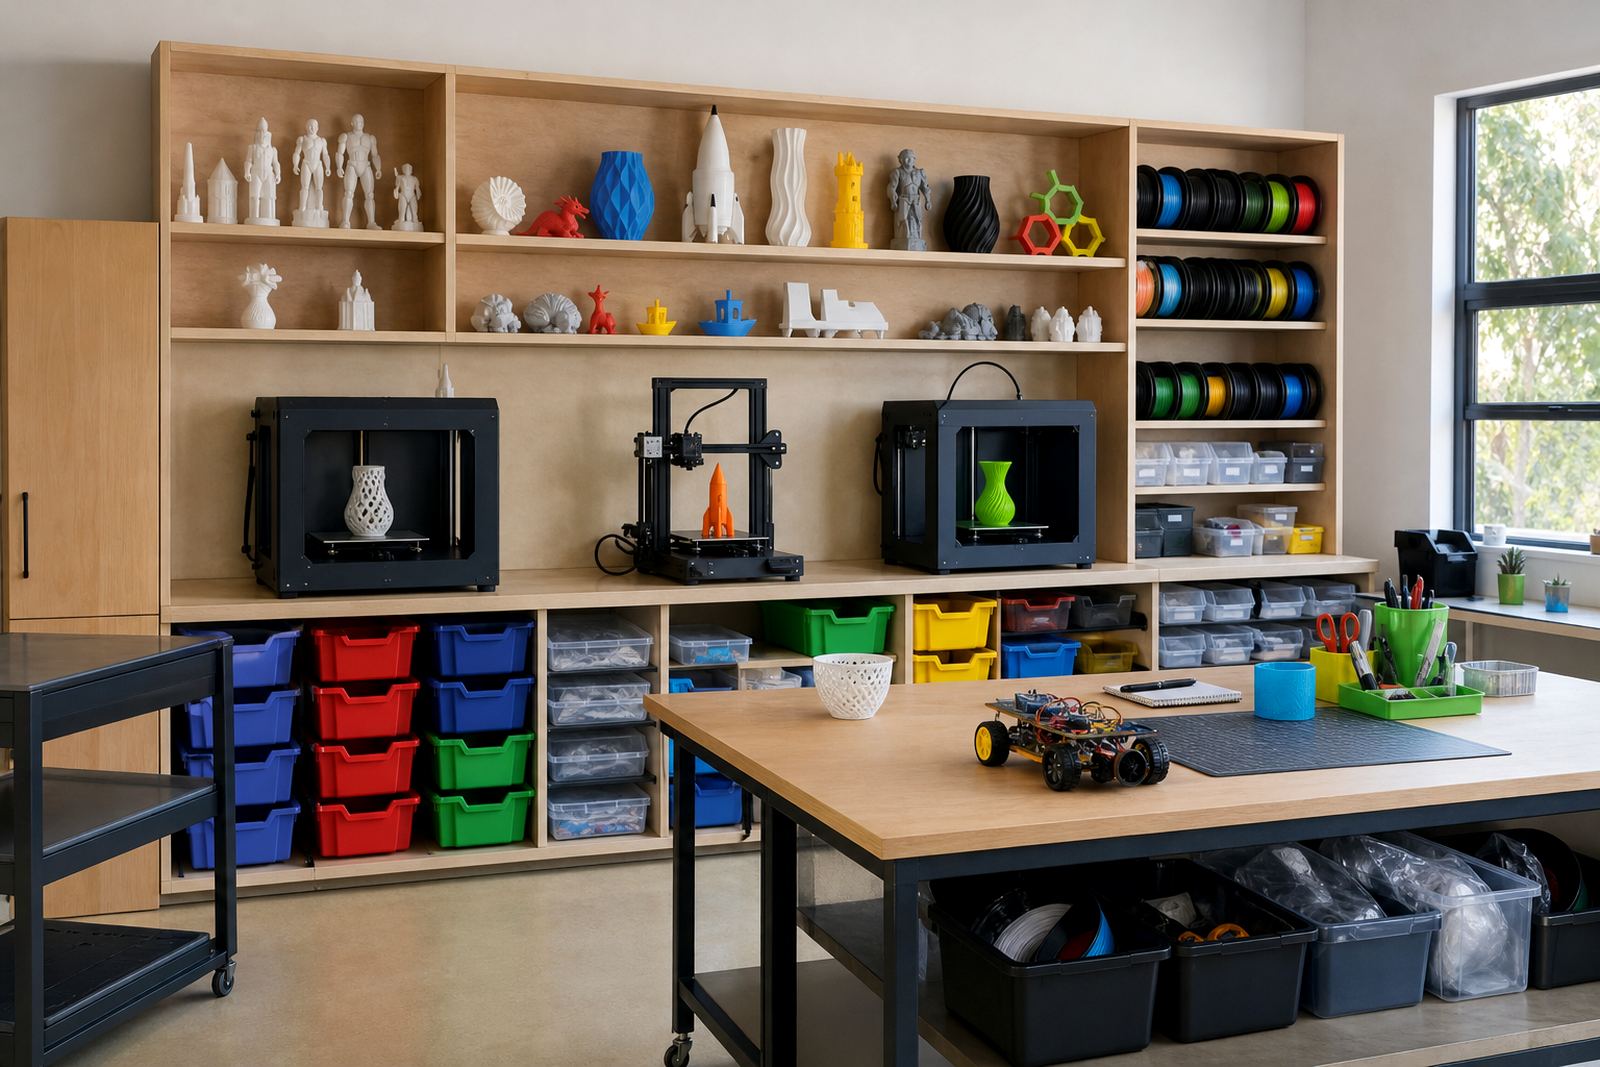
Mixed-age work runs better when the adults know exactly what the lesson needs. Teachers should have the project brief, the print sequence, the safety reminders, and the cleanup steps before the session starts. If the school is using a lab kit, it helps to label the tools, keep spare nozzles and basic maintenance items together, and decide who is responsible for storage after each class. That saves time and reduces wear on the equipment.
A short briefing before the first session can cover how the room will be managed, which learners need closer support, and what to do if a print fails. A clear plan also makes it easier to run activities across different sites, from Paarl and Somerset West to larger school groups in Gauteng and KwaZulu-Natal. When the teacher is prepared, mixed ages become an advantage instead of a challenge.